|
Marketo |
Dynamics 365 Marketing |
|
We can create forms in Marketo to be used on the landing pages.
|
There are 4 types of Marketing forms – Landing page, Subscription Center, Forward to a friend, and Event Registration.
|
|
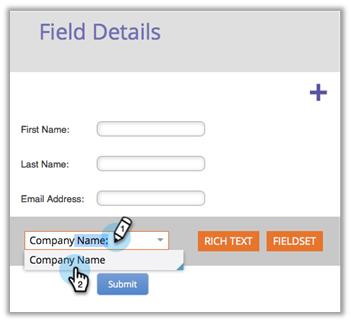
Add fields to form
|
Fields are mapped to the contact and/or the lead table in Dynamics 365 and can be added to the form.
We can define input fields that can be used in the form. |
|
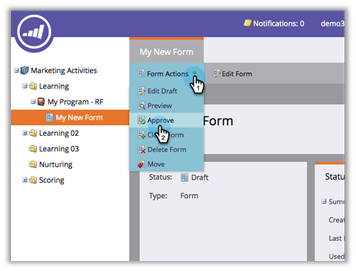
The form must be approved before being used on the landing pages.
|
A form must me made go live before it can be used on the marketing page or embedded on the external site.
|
|
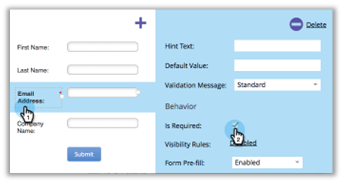
Fields labels can be edited, fields can be made required.
|
Fields labels can be defined, along with default value, field requirement, error message, etc.
|
|
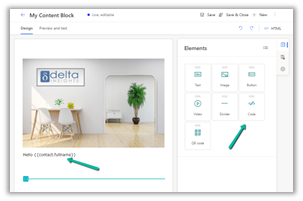
Forms can be previewed
|
Forms can be previewed as shown below.
|
|
Select a form theme/edit CSS of the form theme
|
Inside HTML Designer we can specify the CSS and layout of the form.
|
|
Pre-fill – Marketo forms will pre-fill fields with the web visitor information using the cookie. Form Pre-fill doesn’t work when embedding a form on your page. It only works on the Marketo landing page.
|
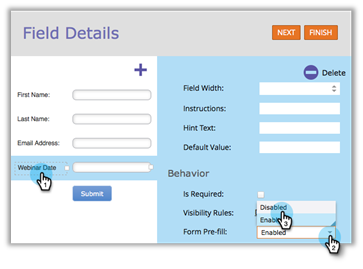
Enable pre-filling for forms. Prefilling works when the form is a subscription center form or when the landing page form has a remember me option available when filling in the form. At form level –
At field level –
|
|
Hidden form fields and auto populating the hidden form field
Hidden fields can be auto-populated with different parameter types – Default value, URL, Cookie Value and Referrer parameter
|
Form fields can be hidden and can provide a default value
Pass hidden data or pre-populate marketing form fields Setup lookup fields via API |
|
Enable Captcha in Marketo forms.
|
Add a Captcha element to the form.
|
|
Embed form on an external website. Embed code can be generated for the Approved form.
Form Prefill does not work when using the form embed code on your pages or a Marketo landing page. Form Prefill is only meant to work when the form is used in a Marketo landing page via the Insert Element option. Once the code is embedded on your website, any changes to the form in Marketo will be pushed to your site upon the form approval. You do not need to make more changes to the code. |
Embed the form on an external website. We can
along with the option of publishing a native marketing form on a native marketing page on the Power Apps Portal configured.
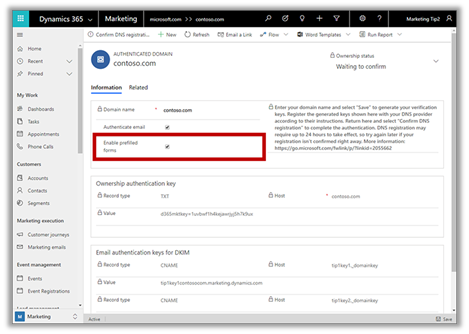
After designing the marketing form, save it and go live. Open the form hosting tab, and create a new Form page, where we can define additional configuration settings for the forms that will be embedded externally. We will also have to authenticate the domain where the form will be used.
Copy the embed code and paste it on your website page.
We can Enable prefilling on embedded marketing forms on an external website. Prefilling allows fetching contact information from the dynamic’s database because of which additional security measures are in place for protecting user privacy. For pre-filling to work below are the requirements –
|
|
The core functionality of the Marketo web form can be extended using Form 2.0 JavaScript API |
We can extend marketing form capability using JavaScript API |
|
We can also use Form capture to integrate a form created externally. Select Capture form in Marketing forms, in the dialog specify the URL of the web page, where the tracking script is set up and the form is available for mapping.
Next, it will check for the script / or script can be generated and can be copied to the external webpage.
Followed by selecting the external form on the web page and providing mapping for each of the fields.
Select Go live for the marketing form and it can begin to accept data from the external form. Prefilling doesn’t work in the case of the form capture option. |
|
|
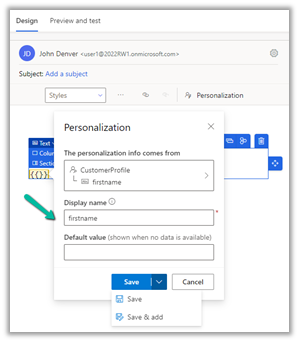
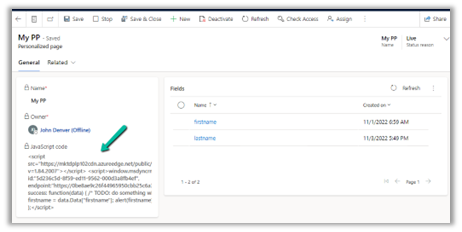
Additionally – Marketing provides Personalized Page Content Specify the fields to be used for personalization and select Go Live to generate the JavaScript code.
Copy/Use the JavaScript code in the external web page to access the fields specified.
Prerequisite –
|


Hope it helps..


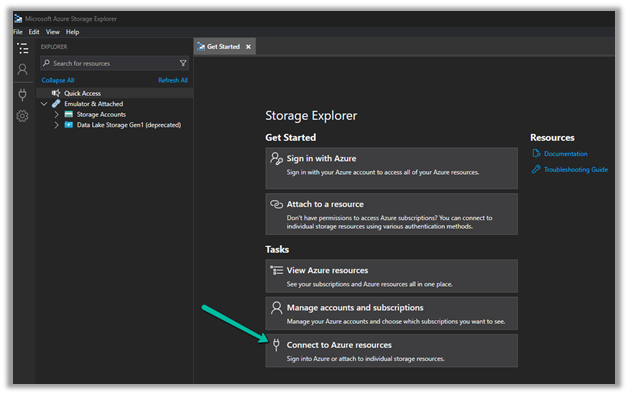

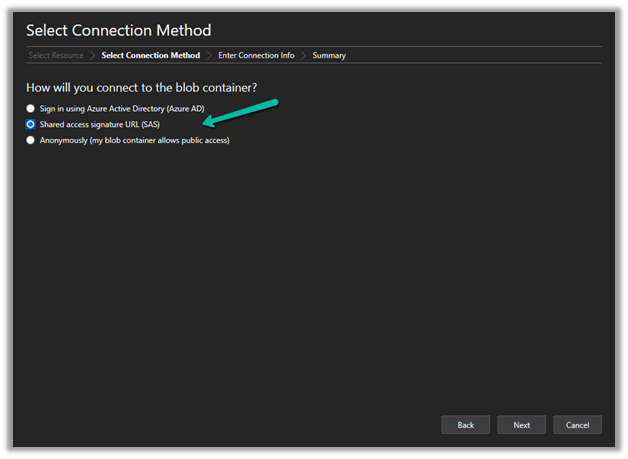
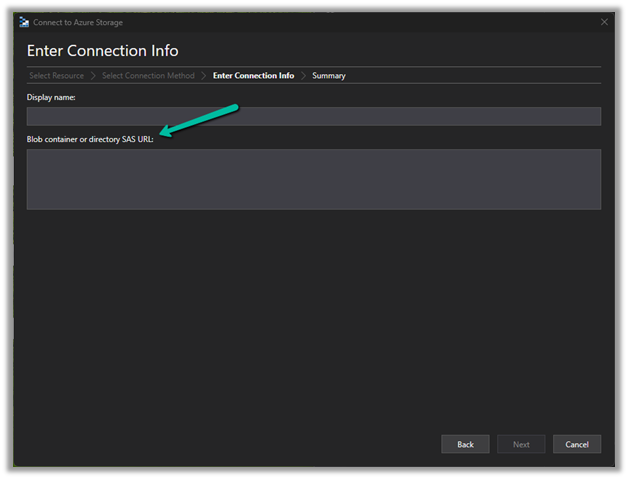
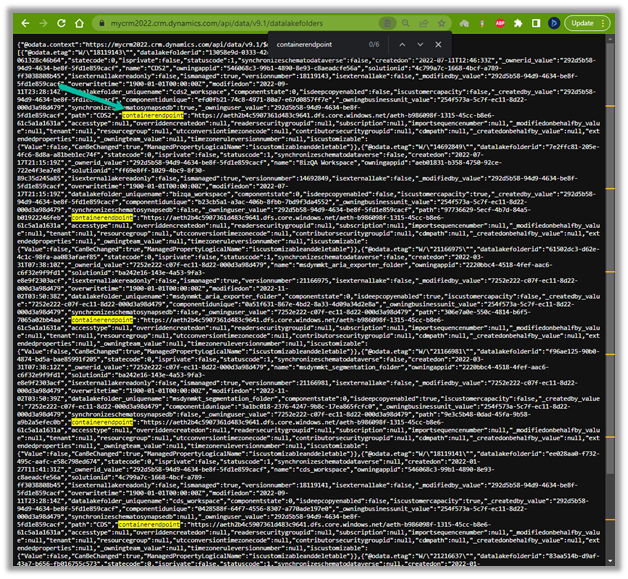
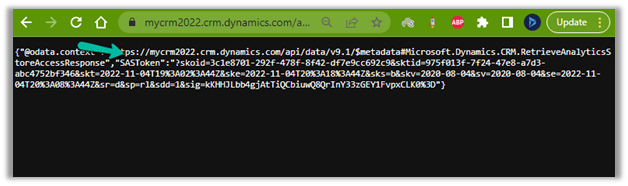
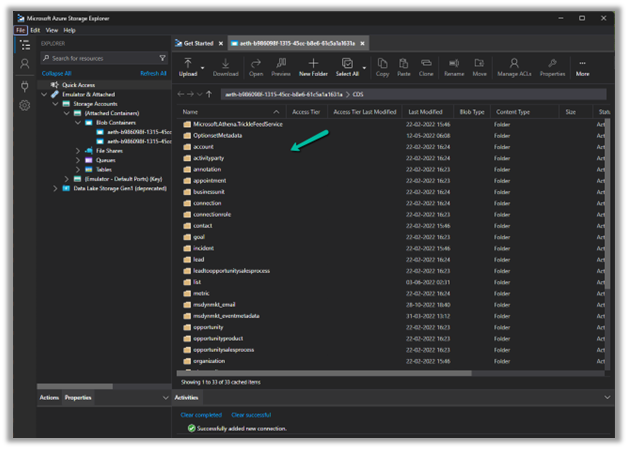
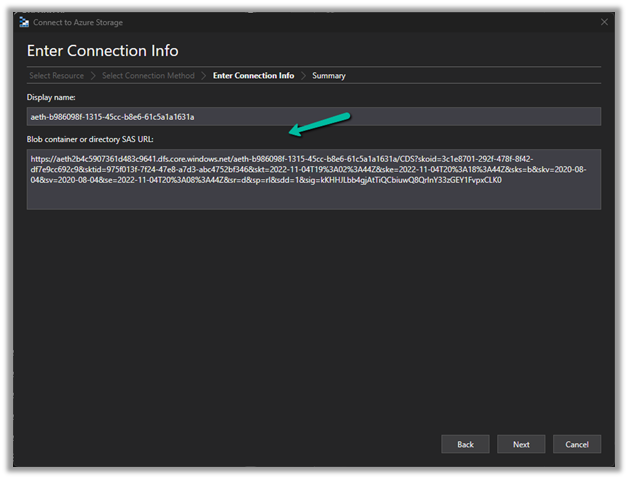 Now we have access to the storage