While attempting to delete a historical Dynamics 365 Field Service Work Order, we encountered the following error:
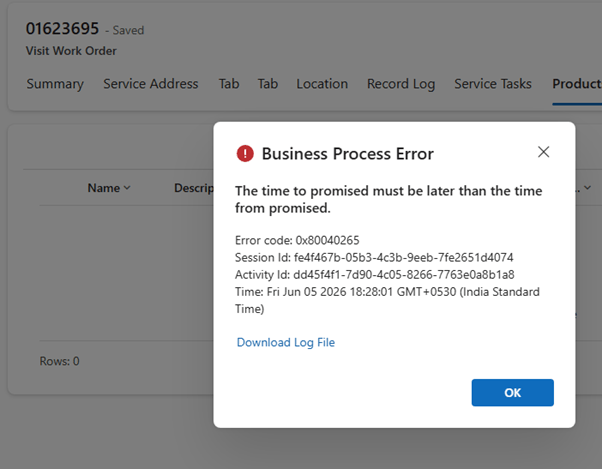
Exception Message: The time to promised must be later than the time from promised.
ErrorCode: -2147220891
HexErrorCode: 0x80040265
Error Details: {“errorCode”:2147746405,”message”:”The time to promised must be later than the time from promised.”,”code”:2147746405,”raw”:”{\”_errorCode\”:2147746405,\”_errorFault\”:{\”_responseXml\”:null,\”_errorCode\”:2147746405,\”_innerFault\”:{\”_responseXml\”:null,\”_errorCode\”:0,\”_innerFault\”:null,\”_callStack\”:null,\”_responseText\”:null,\”_annotations\”:null,\”_hasCustomerInfo\”:false,\”_messages\”:[\”The time to promised must be later than the time from promised.\”]},\”_callStack\”:null,\”_responseText\”:\”{\\\”error\\\”:{\\\”code\\\”:\\\”0x80040265\\\”,\\\”message\\\”:\\\”The time to promised must be later than the time from promised.\\\”,\\\”@Microsoft.PowerApps.CDS.ErrorDetails.ApiExceptionSourceKey\\\”:\\\”Plugin/Microsoft.Dynamics.FieldService.FieldServicePlugin\\\”,\\\”@Microsoft.PowerApps.CDS.ErrorDetails.ApiStepKey\\\”:\\\”919f17c2-2931-4b27-b6b2-daaf91aaaaf8\\\”,\\\”@Microsoft.PowerApps.CDS.ErrorDetails.ApiDepthKey\\\”:\\\”1\\\”,\\\”@Microsoft.PowerApps.CDS.ErrorDetails.ApiActivityIdKey\\\”:\\\”1642f2af-356e-45c3-b971-42b11e9e91d9\\\”,\\\”@Microsoft.PowerApps.CDS.ErrorDetails.ApiPluginSolutionNameKey\\\”:\\\”
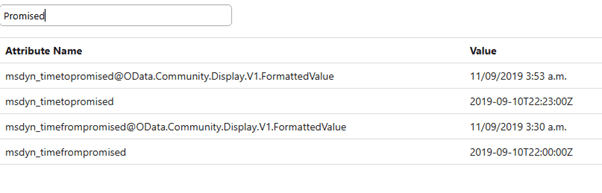
At first, the error suggested that the Work Order contained invalid promise dates. We reviewed the values stored on the record and found that Time To Promised was already later than Time From Promised.
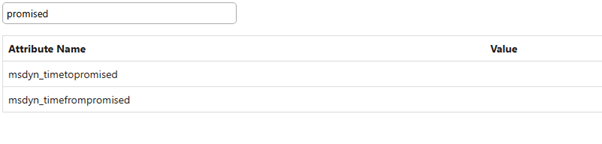
Since the values appeared valid, we attempted to clear both fields using SQL 4 CDS:

The update completed successfully and both fields were set to NULL.
However, deleting the Work Order still resulted in the same error.
Changing the Work Order Status to Cancelled also didn’t help.

After further testing, we changed the Record Status from Active to Inactive. Once the record was inactive, the Work Order could be deleted successfully.

Based on the plugin trace, deleting the Work Order triggered an internal update before the delete operation was executed. It appears that when the Work Order was Active, additional Field Service validations were performed, resulting in the promised date error even after the fields were cleared.
After changing the record to Inactive, the delete operation likely followed a different validation path, allowing the Work Order to be deleted successfully.
Hope it helps..