In our previous post, we implemented a simple Honeypot for Dynamics 365 Customer Insights – Journeys Real-Time Marketing forms using JavaScript.
Although that prevents most automated submissions, the validation only runs in the browser. Anyone can bypass the JavaScript and submit requests directly to the server.
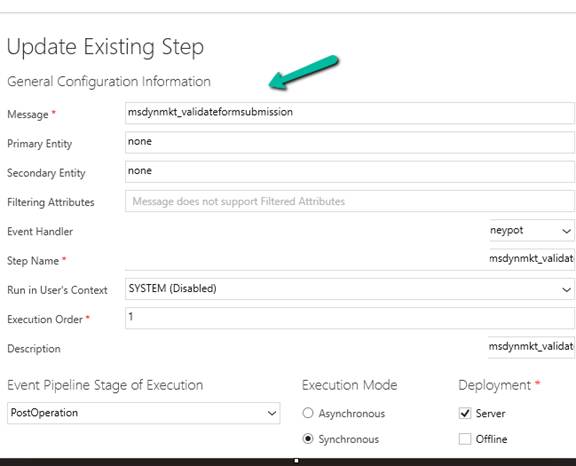
Fortunately, Customer Insights – Journeys provides a server-side validation pipeline through the msdynmkt_validateformsubmission message, allowing us to validate every form submission before a Lead, Contact, or custom record is created.
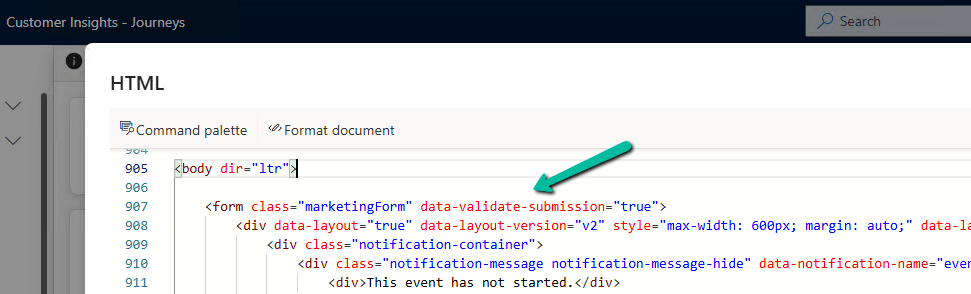
When a form with the data-validate-submission attribute is submitted, Microsoft first executes its built-in validation plugin, followed by any custom plugins registered on the same message.
Update the HTML of the marketing form and add the attribute –
One important behavior to be aware of is that if our form doesn’t contain Microsoft’s built-in CAPTCHA fields, the default Microsoft validation plugin sets IsValid = false, causing the submission to fail. Our custom plugin must overwrite this response by returning IsValid = true when our validation succeeds, or IsValid = false if it fails.
In this post, we’ll use this pipeline to validate the Honeypot field that we created in the previous article.
Previous article:
Implementing a Simple Honeypot in Dynamics 365 Customer Insights – Journeys Real-Time Marketing Forms
Register the Validation Plugin
The submitted form values are available in the msdynmkt_formsubmissionrequest input parameter.
Next, as described in the Microsoft Learn documentation, we can overwrite the response by returning a new ValidateFormSubmissionResponse with IsValid = true.
Read the Honeypot Field
var request = Deserialize<FormSubmissionRequest>(                (string)context.InputParameters["msdynmkt_formsubmissionrequest"]);
 var fields = request?.Fields ?? new List<FormField>();
 string honeypotValue = fields.FirstOrDefault(f => f.Key == HoneypotFieldName)?.Value;
Reject Bot Submissions
if (!string.IsNullOrWhiteSpace(honeypotValue))
{
    SetValidationResponse(context, false, "Form validation failed.");
    return;
}
Return the Validation Response
Customer Insights expects the plugin to return a ValidateFormSubmissionResponse. We also include the Honeypot field in ValidationOnlyFields, so it isn’t mapped to the target record.
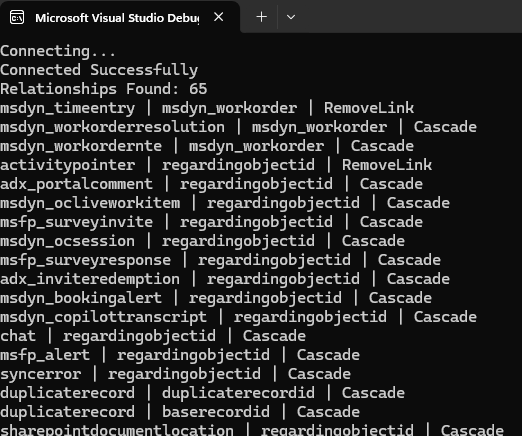
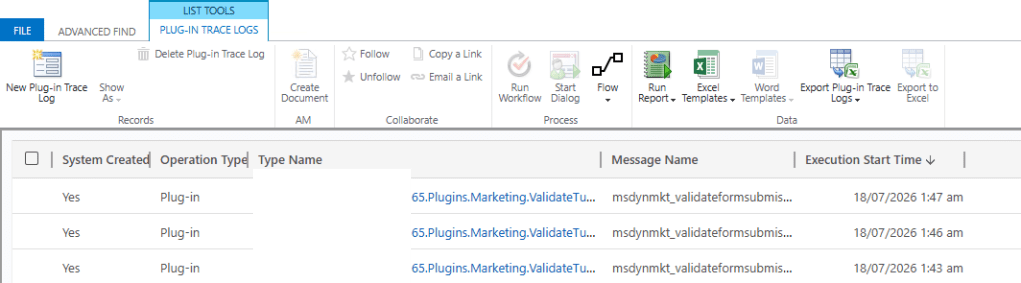
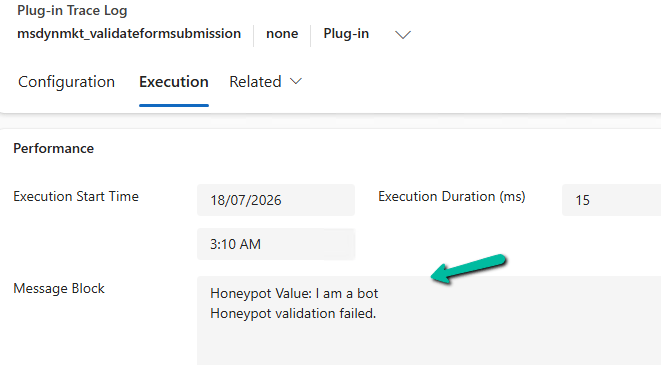
On Successful Form submission, we can see our validation plugin triggering
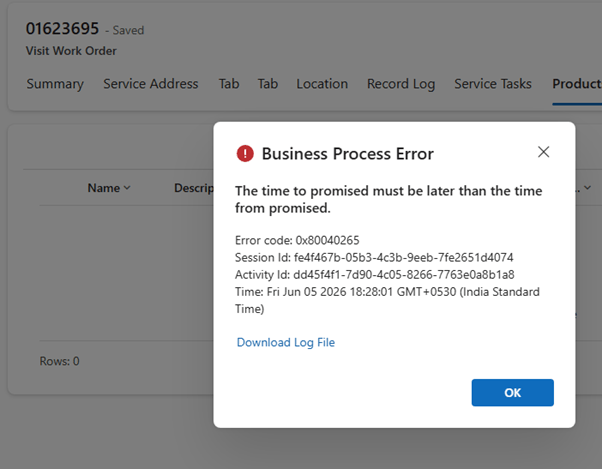
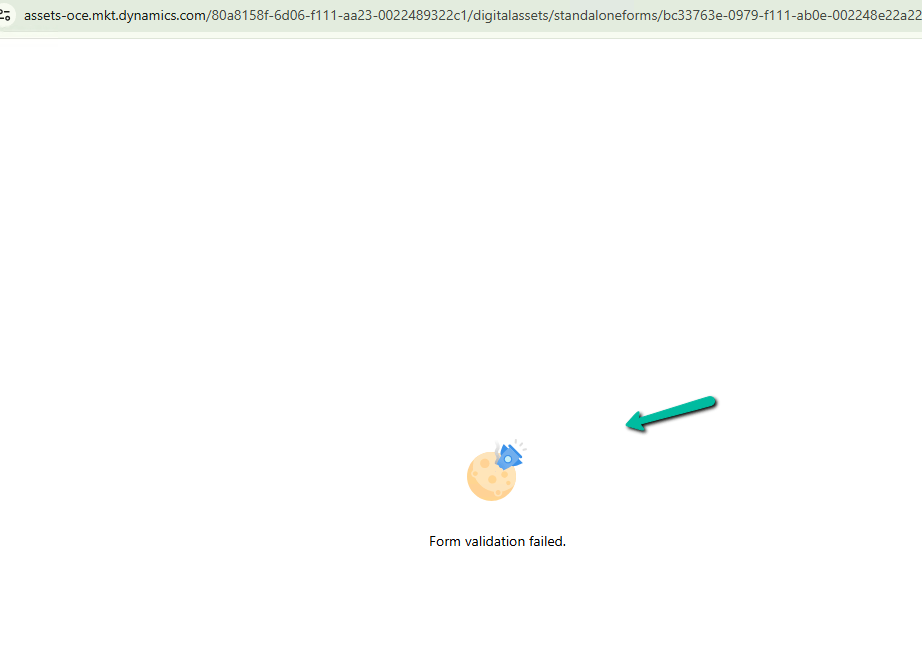
If server side validation fails (i.e. honey pot field has a value in it) we get our custom error message and submission fails.
Complete Plugin
using Microsoft.Xrm.Sdk;
using System;
using System.Collections.Generic;
using System.IO;
using System.Linq;
using System.Runtime.Serialization;
using System.Runtime.Serialization.Json;
using System.Text;

namespace DI.D365.Plugins.Marketing
{
    /// <summary>
    /// Plugin Registration
    ///
    /// Message: msdynmkt_validateformsubmission
    /// Stage: PostOperation
    /// Mode: Synchronous
    /// </summary>
    public class ValidateHoneypot : IPlugin
    {
        private const string HoneypotFieldName = "hp_check";
        private const string ErrorMessage = "Form validation failed.";

        public void Execute(IServiceProvider serviceProvider)
        {
            var context = (IPluginExecutionContext)serviceProvider.GetService(
                typeof(IPluginExecutionContext)
            );

            var tracing = (ITracingService)serviceProvider.GetService(typeof(ITracingService));

            if (!context.InputParameters.Contains("msdynmkt_formsubmissionrequest"))
            {
                tracing.Trace("Form submission request not found.");
                return;
            }

            var request = Deserialize<FormSubmissionRequest>(
                (string)context.InputParameters["msdynmkt_formsubmissionrequest"]
            );

            var fields = request?.Fields ?? new List<FormField>();

            string honeypotValue = fields.FirstOrDefault(f => f.Key == HoneypotFieldName)?.Value;

            tracing.Trace($"Honeypot Value: {honeypotValue}");

            if (!string.IsNullOrWhiteSpace(honeypotValue))
            {
                tracing.Trace("Honeypot validation failed.");

                SetValidationResponse(context, false, ErrorMessage);

                return;
            }

            tracing.Trace("Honeypot validation passed.");

            SetValidationResponse(context, true, null);
        }

        private void SetValidationResponse(
            IPluginExecutionContext context,
            bool isValid,
            string error
        )
        {
            var response = new ValidateFormSubmissionResponse
            {
                IsValid = isValid,
                ValidationOnlyFields = new List<string> { HoneypotFieldName },
                Error = error
            };

            context.OutputParameters["msdynmkt_validationresponse"] = Serialize(response);
        }

        private static T Deserialize<T>(string json)
        {
            using (var stream = new MemoryStream(Encoding.UTF8.GetBytes(json)))
            {
                return (T)new DataContractJsonSerializer(typeof(T)).ReadObject(stream);
            }
        }

        private static string Serialize<T>(T value)
        {
            using (var stream = new MemoryStream())
            {
                new DataContractJsonSerializer(typeof(T)).WriteObject(stream, value);

                return Encoding.UTF8.GetString(stream.ToArray());
            }
        }
    }

    #region Helper Classes

    [DataContract]
    public class FormSubmissionRequest
    {
        [DataMember(Name = "Fields")]
        public List<FormField> Fields { get; set; }
    }

    [DataContract]
    public class FormField
    {
        [DataMember(Name = "Key")]
        public string Key { get; set; }

        [DataMember(Name = "Value")]
        public string Value { get; set; }
    }

    [DataContract]
    public class ValidateFormSubmissionResponse
    {
        [DataMember(Name = "IsValid")]
        public bool IsValid { get; set; }

        [DataMember(Name = "ValidationOnlyFields")]
        public List<string> ValidationOnlyFields { get; set; }

        [DataMember(Name = "Error")]
        public string Error { get; set; }
    }
    #endregion
}
Conclusion
Adding a client-side Honeypot is a great first step, but validating it on the server makes the solution much more robust. Since every submission passes through the msdynmkt_validateformsubmission pipeline, bots can’t bypass the validation simply by skipping our JavaScript.
“The msdynmkt_validateformsubmission Custom API is implemented by Microsoft’s Microsoft.Dynamics.Cxp.Forms.Plugins.Plugins.ValidateFormSubmissionPlugin, which performs the default Microsoft CAPTCHA validation and initializes the msdynmkt_validationresponse. We can then register our own plugin steps on the same message. Microsoft recommends registering custom validation plugins with an Execution Order of 20, allowing them to execute after the out-of-the-box Microsoft.Dynamics.Cxp.FormsReCaptcha.Plugins.ReCaptchaValidationPlugin (Execution Order 10) and overwrite the validation response if required.”
References
- Microsoft Learn: https://learn.microsoft.com/en-us/dynamics365/customer-insights/journeys/real-time-marketing-form-customize-submission-validation
- Amey Holden: https://www.ameyholden.com/articles/recaptcha-v3-cloudflare-turnstile-for-customer-insights-journeys-forms
Hope it helps..