Before we delve into different scenarios, few key points, we need to be aware of about Phone Numbers in Voice Channels.
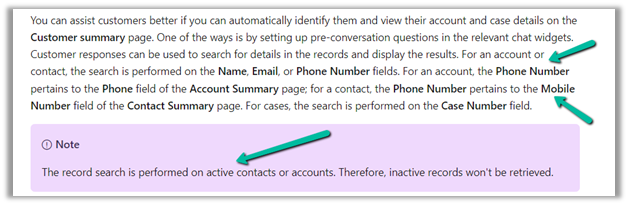
- Voice Channel considers Contact’s Mobile Phone (mobilephone) and Account’s Phone (telephone1) fields.
https://learn.microsoft.com/en-us/dynamics365/customer-service/record-identification-rule


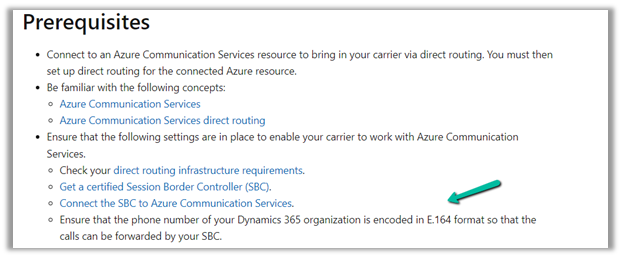
- The phone number should be in E.164 format inside Dynamics 365.
https://learn.microsoft.com/en-us/dynamics365/customer-service/voice-channel-bring-your-own-number?tabs=customerserviceadmincenter#prerequisites
https://developers.omnisend.com/guides/e164-phone-number-formatting

- If no matching customer (contact or account) is found, the conversation record will not have any customer prepopulated.

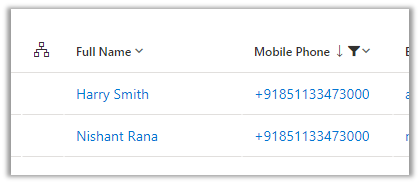
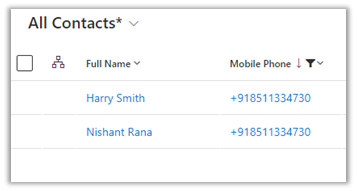
- If 2 contacts are having the same Phone Number (E.164) format, i.e. multiple matches found

In that case, also, no customer is tagged in the conversation record, the agent would have to search for the customer.

- If 2 contacts and 1 account have the same Phone Number


The Conversation records get associated with the Account record.
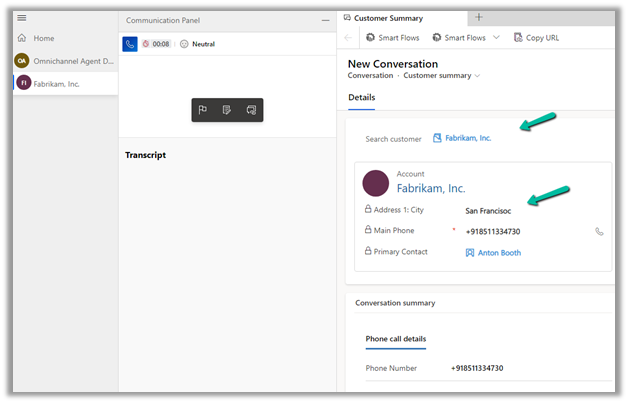
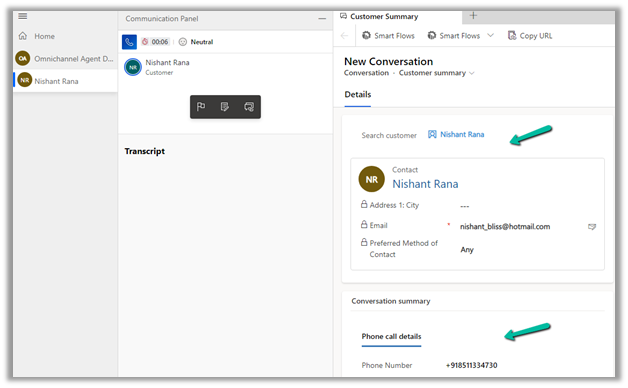
- If 1 contact and 1 account have the same Phone Number


The conversation record gets tagged against the Contact
- If there is only 1 account record with that phone number and no contact records
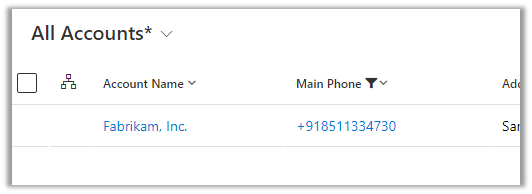
The conversation record has an Account tagged to it.

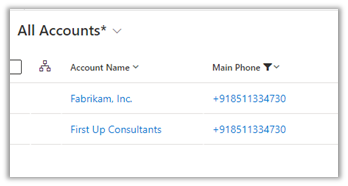
- In case multiple accounts are found with the same phone number and no matching contact


No customer is tagged in the conversation record

- If there are multiple contacts and multiple accounts with the same phone number
No customer is tagged in the conversation record.

In short –
|
Matching Contact
|
Matching Account
|
Result
|
|
0
|
0
|
NA
|
|
1
|
0
|
Contact
|
|
1
|
1
|
Contact
|
|
2
|
0
|
NA
|
|
0
|
1
|
Account
|
|
0
|
2
|
NA
|
|
2
2
|
1
2
|
Account
NA
|
Hope it helps..