Hi,
We were getting the below error while trying to run an Azure WebJob
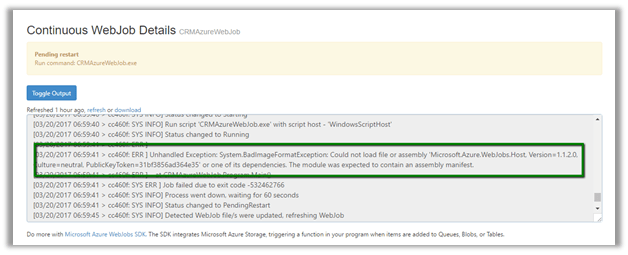
Got it fixed by updating the Microsoft.Azure.WebJobs nugget package to version 2.0. and publishing it again.

Hope it helps…

Hi,
We were getting the below error while trying to run an Azure WebJob
Got it fixed by updating the Microsoft.Azure.WebJobs nugget package to version 2.0. and publishing it again.
Hope it helps…

*Updated 19 Sep – 2018 : Check out this powerful tool DBSync’s CRM connector, which could be used for bi-directional seamless integration of all the popular Application and Database with Microsoft Dynamcis 365- https://www.mydbsync.com/product/microsoft-dynamics-365-crm-integration
Data Export Service is an add-on that allows replicating CRM Online Data to Azure SQL Database.
The below video by expert Scott Durow is the best resource to learn about it
https://www.youtube.com/watch?v=txms2Yvn6Vc
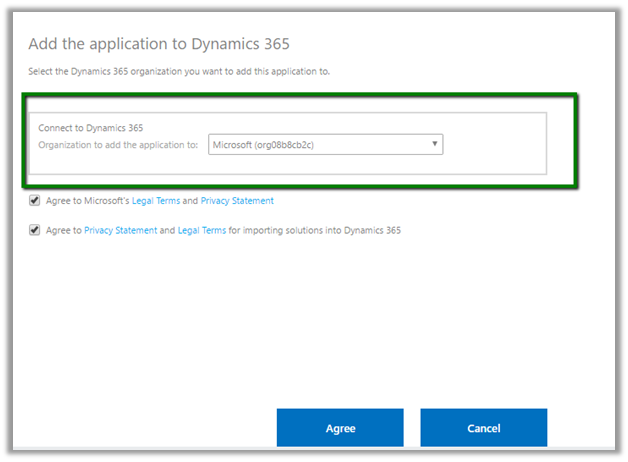
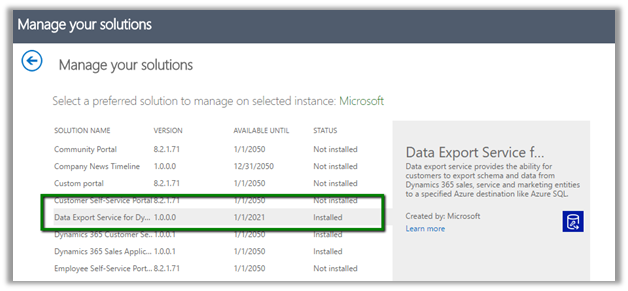
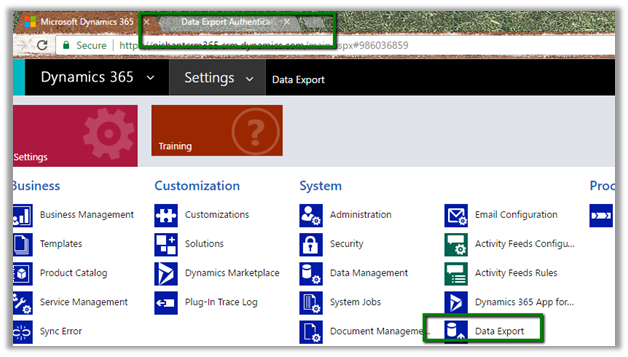
Below are the steps we need to follow to configure it.
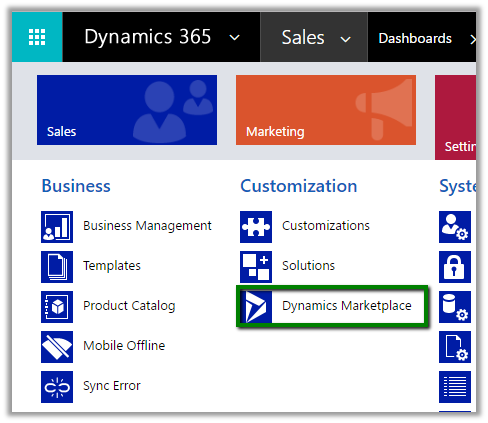
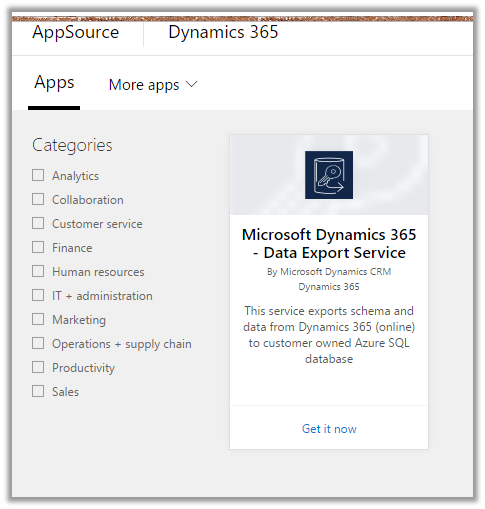
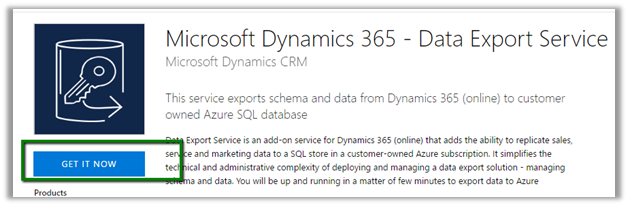

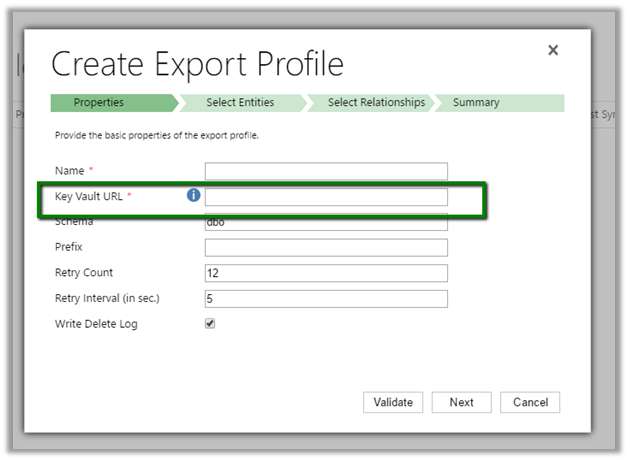
Basically, here we need the Key Vault URL here which stores the database connection string securely.
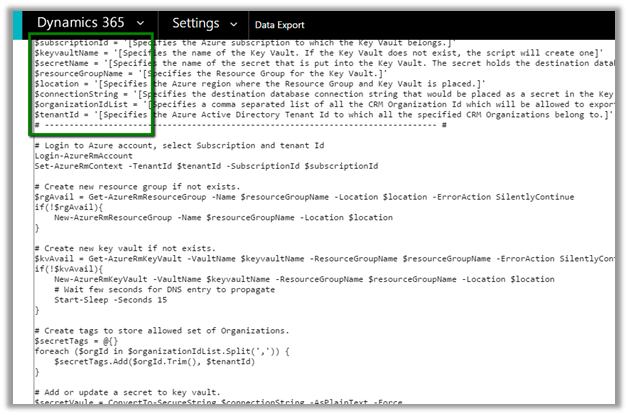
Clicking on the information icon opens up the dialog box with the below PowerShell script, which needs value for variables like subscription id, key vault name, secret name, tenant id etc.
i.e.

So as a first step here we need to configure Azure Active Directory (if Office 365 and Azure Tenant are separate)
https://docs.microsoft.com/en-us/azure/billing/billing-add-office-365-tenant-to-azure-subscription
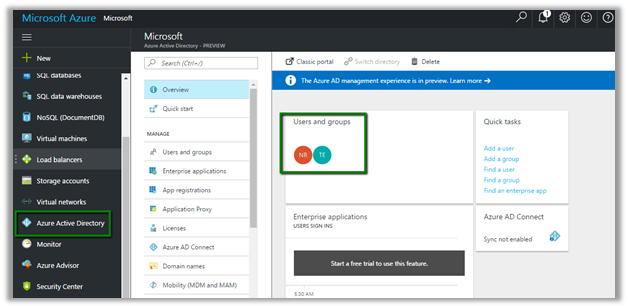
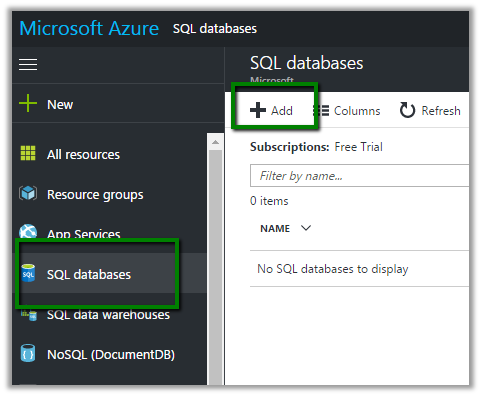
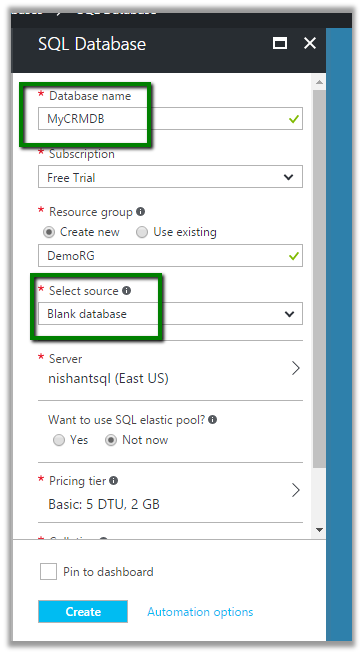

Next we need to create a User that will be used to configure Data Export Service and has appropriate rights in the database
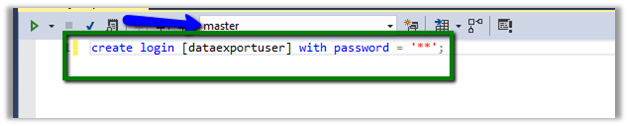
Here the user has been assigned db owner role
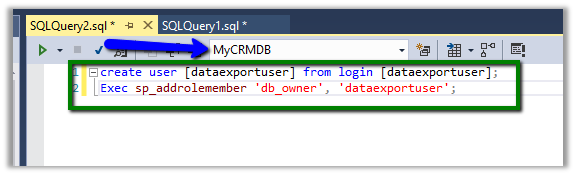
For the minimum rights required check the below article
https://technet.microsoft.com/en-us/library/mt744592.aspx

Now let us replace the below placeholders one by one


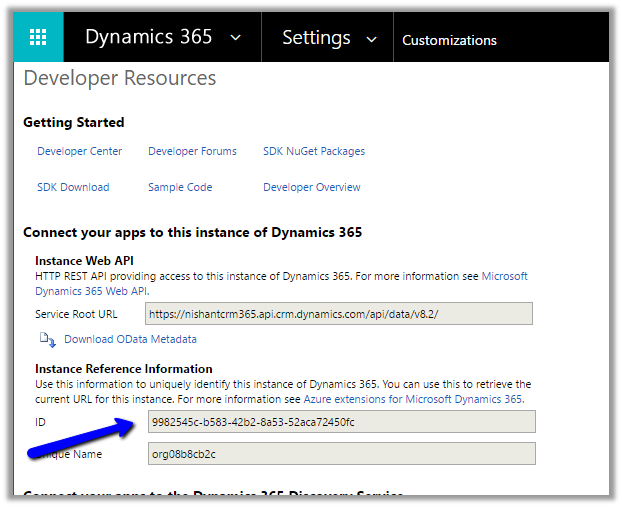
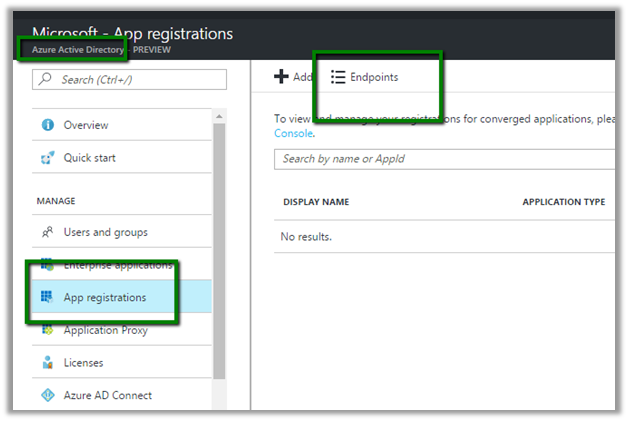


KeyVault record created in Azure à

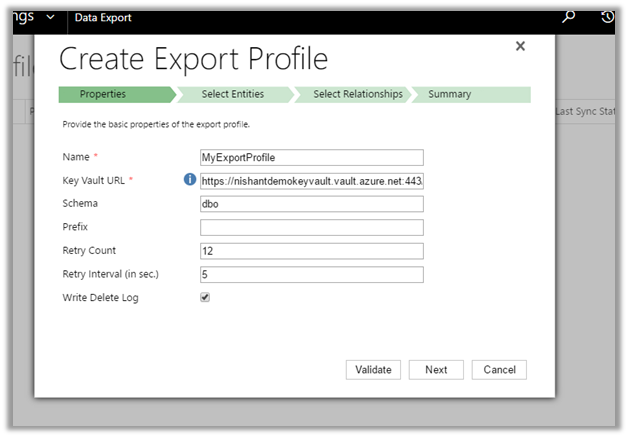
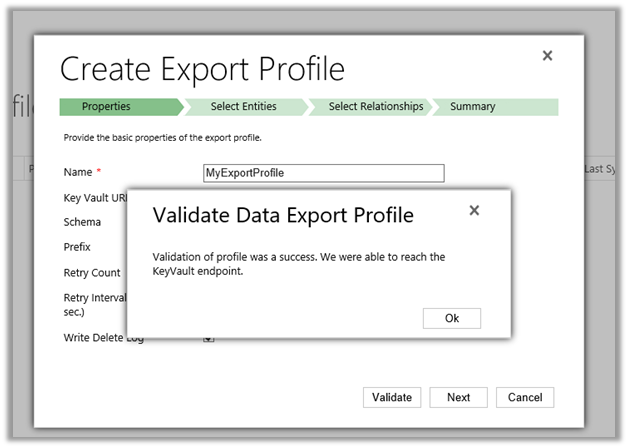
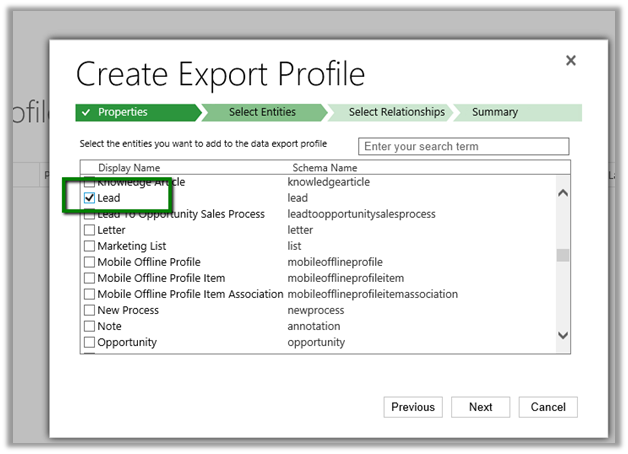


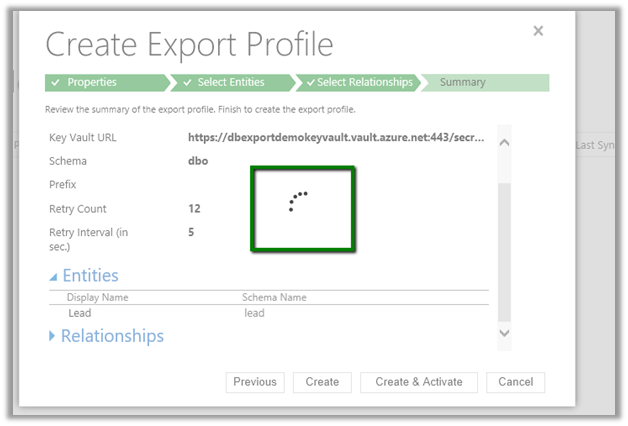
This creates the profile record in CRM


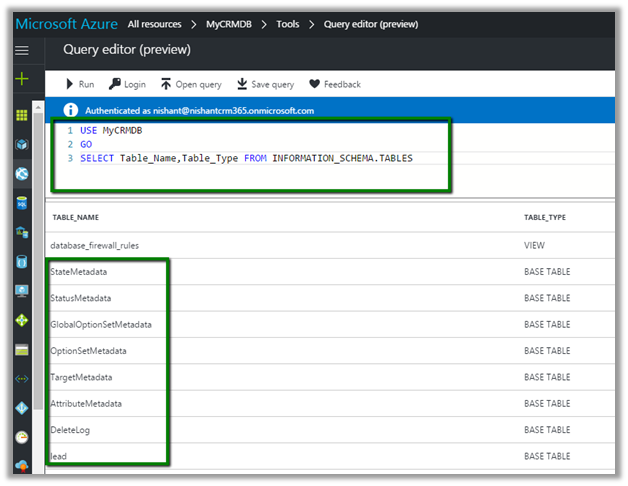
The records synchronized –
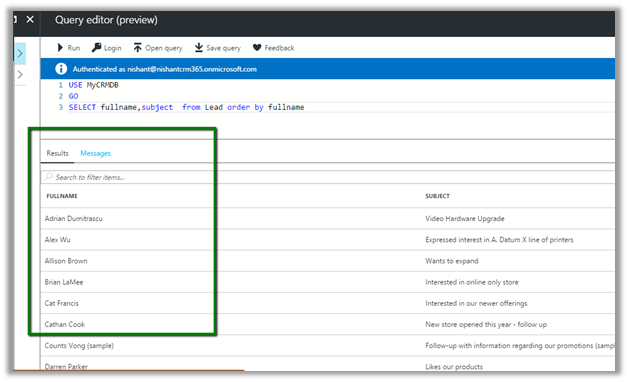
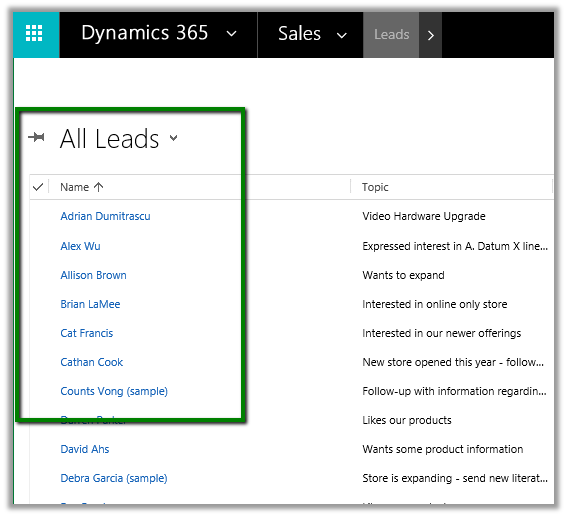
Let us delete the below selected lead records –

Delete Log table will hold the information of the deleted lead records

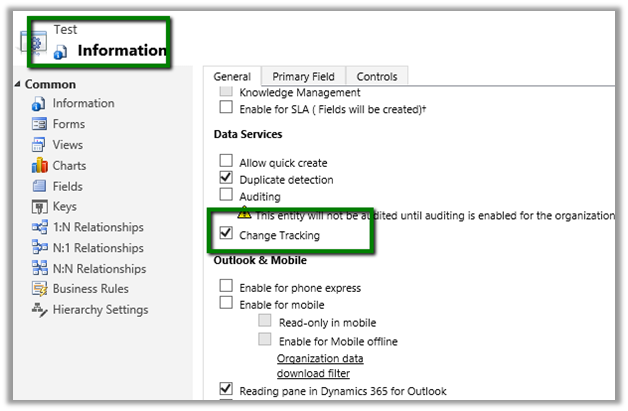
To create export profile for a custom entity, (say for e.g. entity named Test in our case)

We need to enable Change Tracking in it.
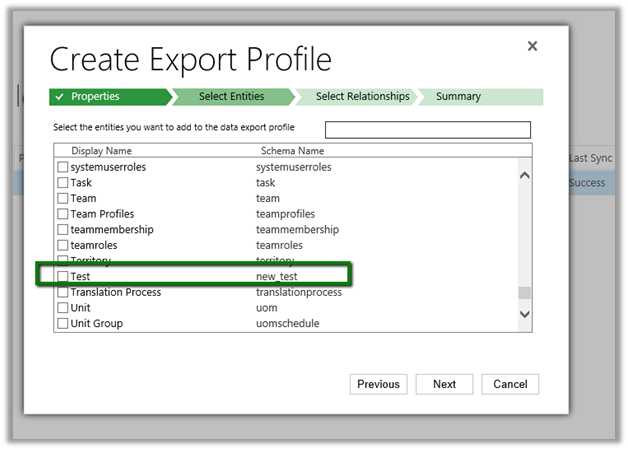
Get all the details here
http://develop1.net/public/post/Dynamic365-Data-Export-Service.aspx
https://technet.microsoft.com/library/a70feedc-12b9-4a2d-baf0-f489cdcc177d
Hope this helps..

Let us create a simple logic app that on create of a contact record in CRM creates the same contact in Gmail.
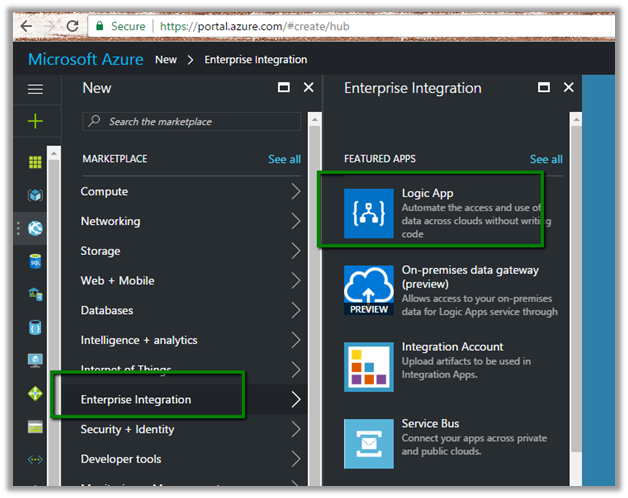
Log in to the azure portal.
https://portal.azure.com/#create/hub
Select New Logic App
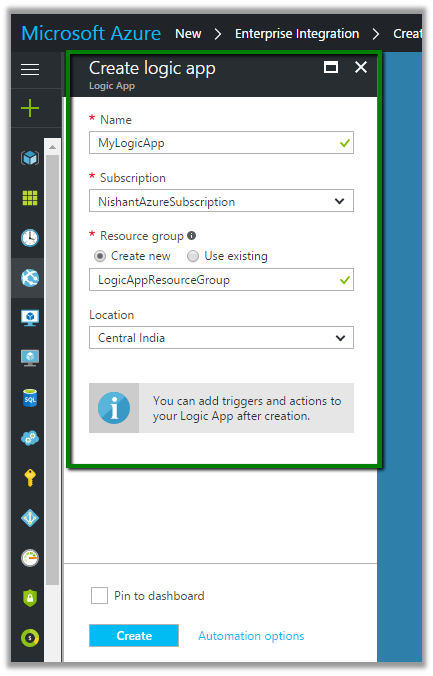
Specify Name, Resource Group and Location for the logic app.
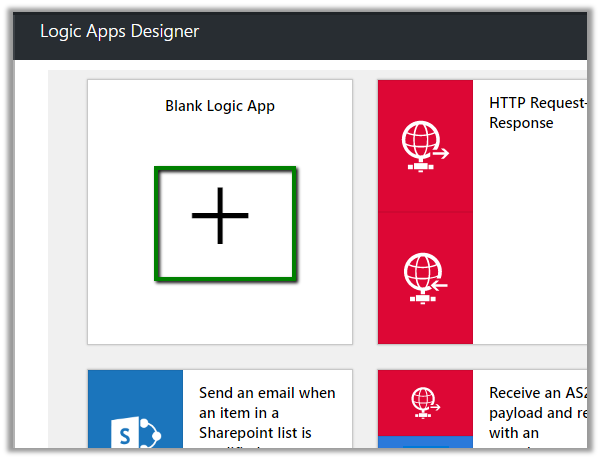
Select Blank Logic App
Select “When a record is created” as Trigger.
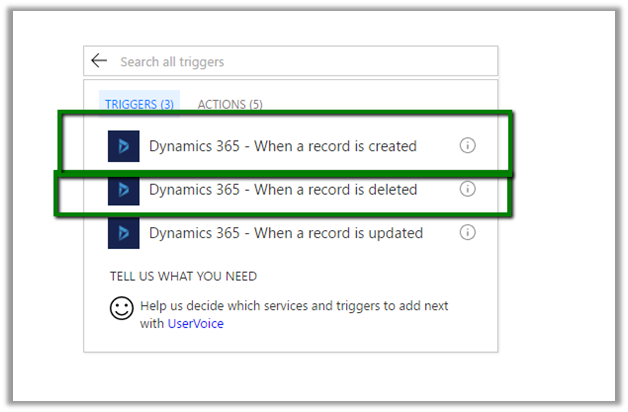
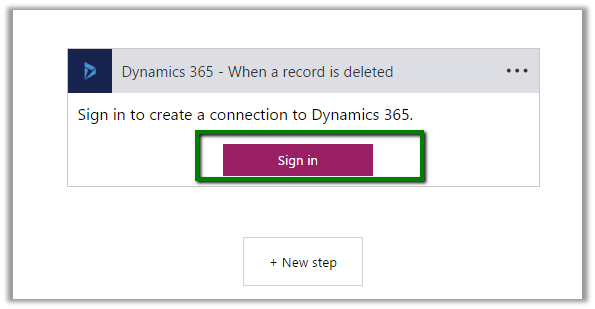
Sign in to Dynamics 365 Instance.
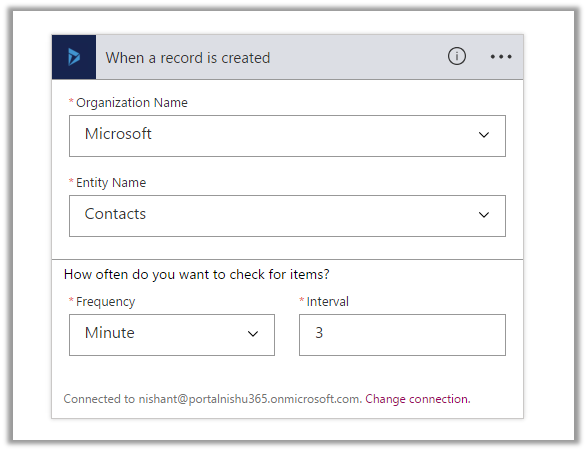
Select the Organization name and Entity as Contact.
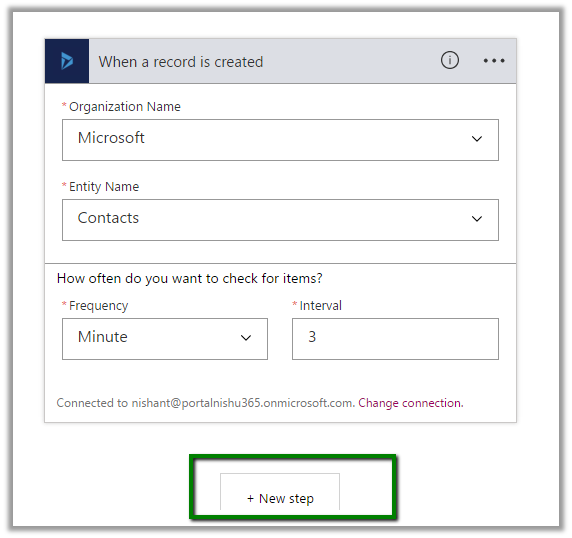
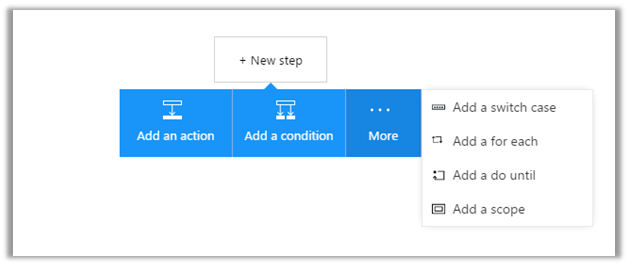
Select Add an action and the New Step
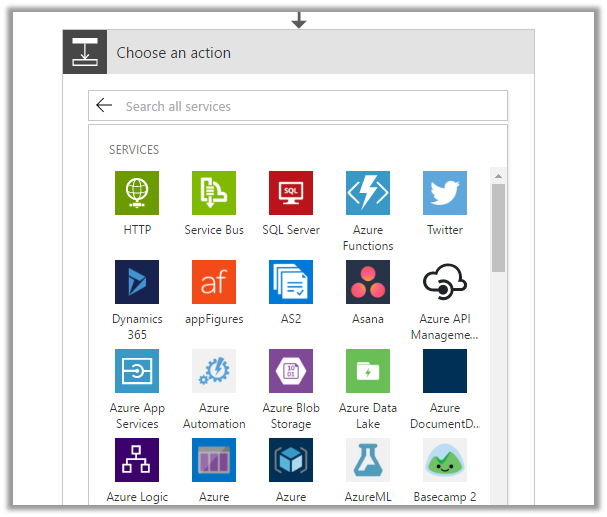
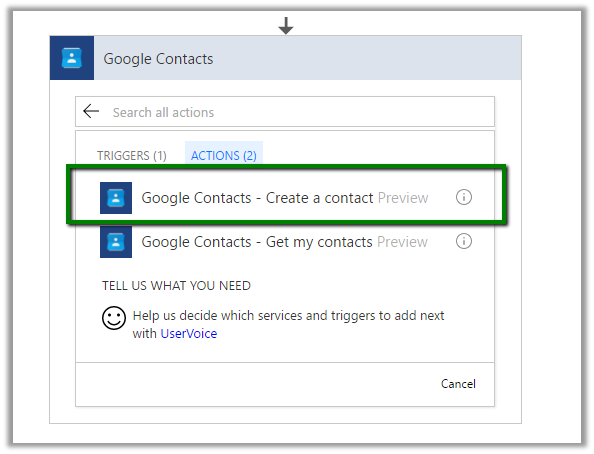
Choose Google Contacts as the Service
Sign in to your Gmail account to be connected
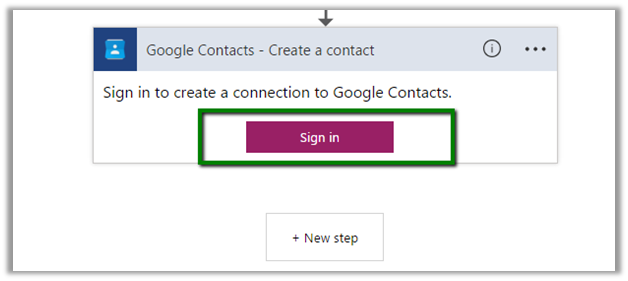
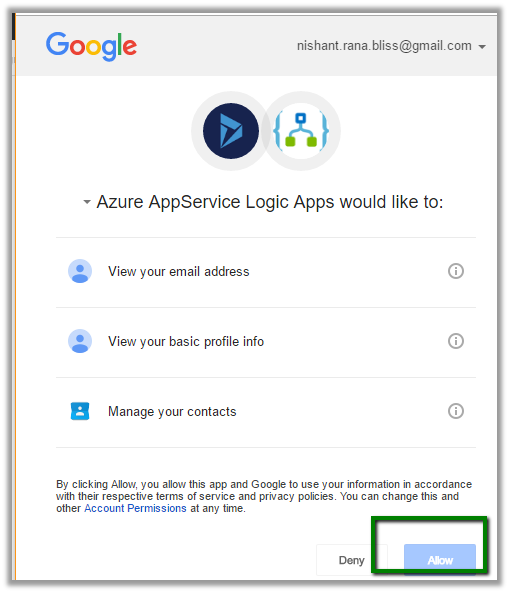
Allow permission to Logic App to access Gmail
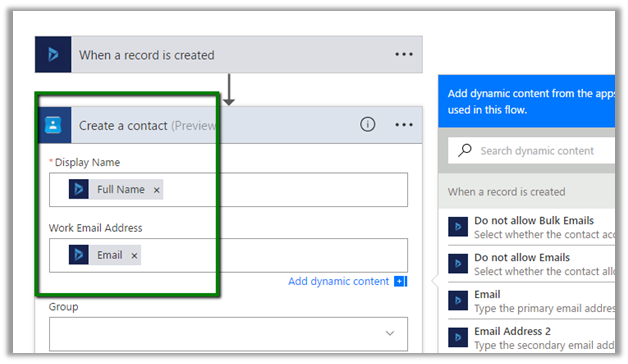
Configure Full Name and Primary Email (Dynamic content) as the values for the contact record to be created in Gmail.
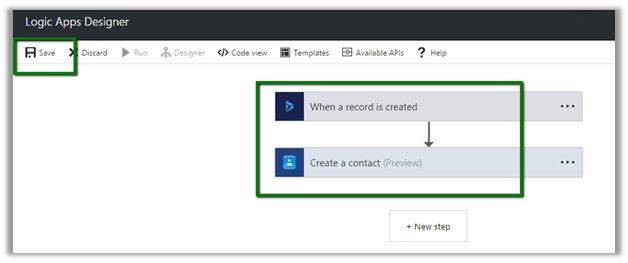
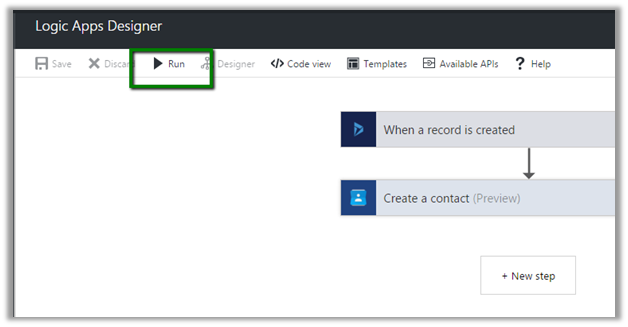
Save and Run the app.

Create the new contact record in CRM that triggers the logic app.
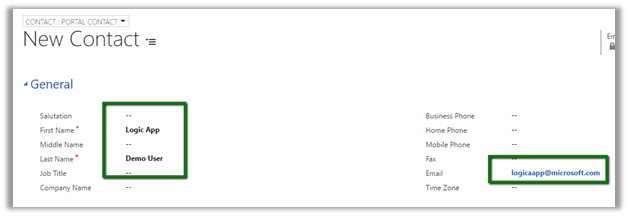
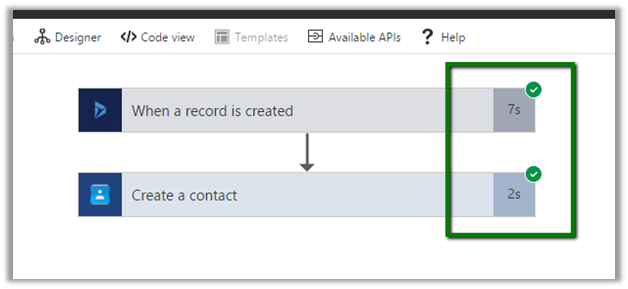
On Successful run à
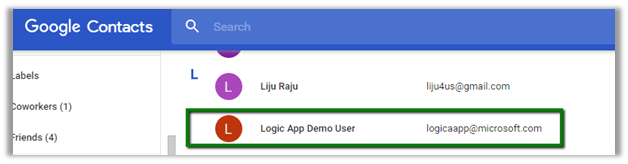
We can see the contact record created in Gmail.
Find all the details here
https://docs.microsoft.com/en-us/azure/connectors/connectors-create-api-crmonline
Hope it helps..

Dynamics 365 comes with Partner Field Service portal which helps Partners manage work order, service request, assets, invoices, opportunities etc. from within the portal.
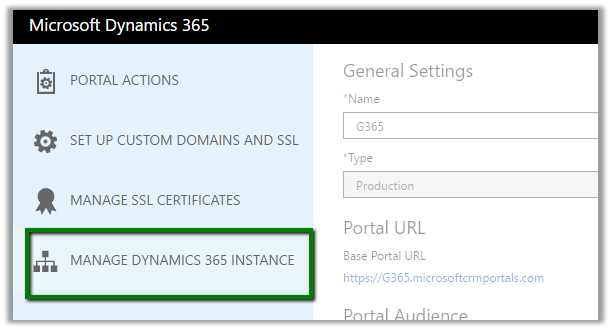
Go to Administrator Center, select Portal and click on Manage.
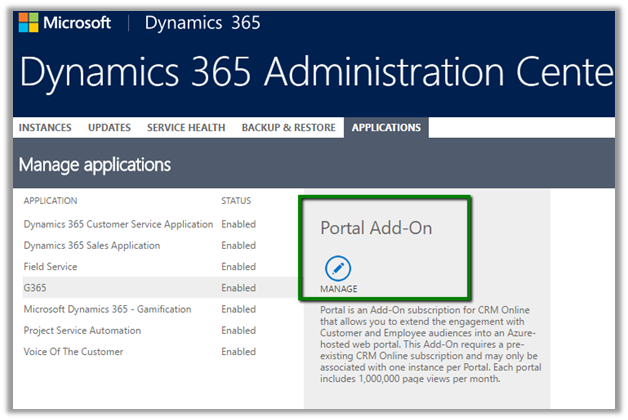
Select Manage Dynamics 365 Instance
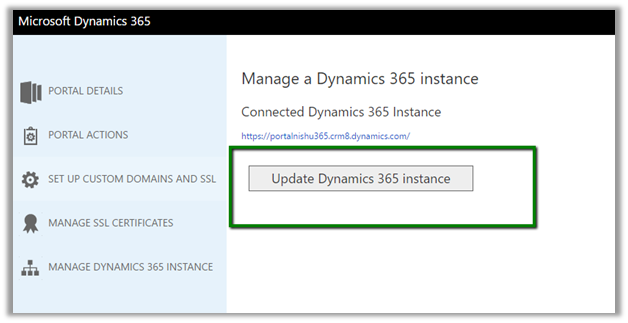
Click on Update Dynamics 365 Instance
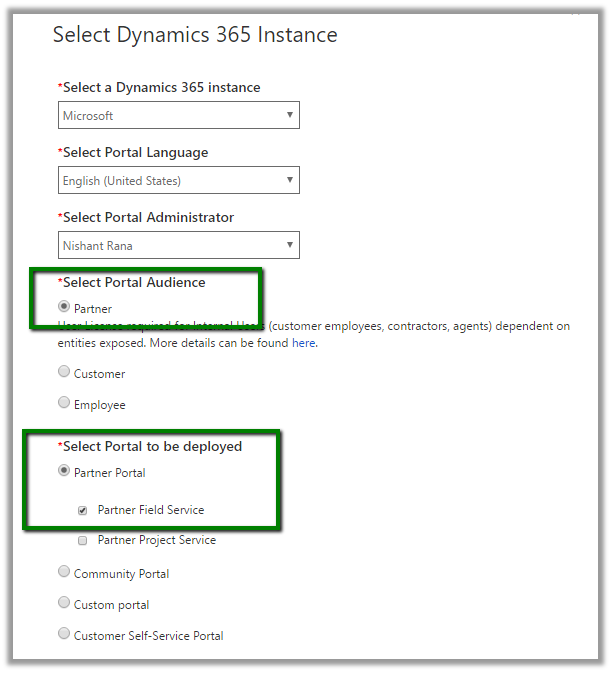
Select Partner as Audience and Partner Field Service as the portal to be deployed
Once installed this is how Partner Portal looks like
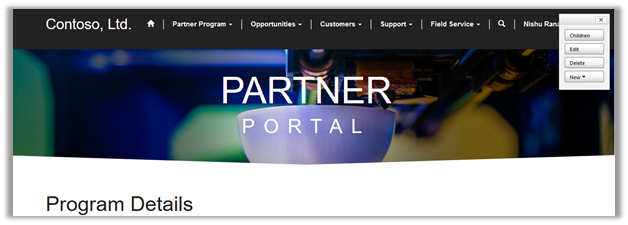
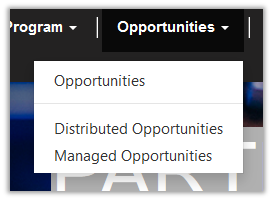
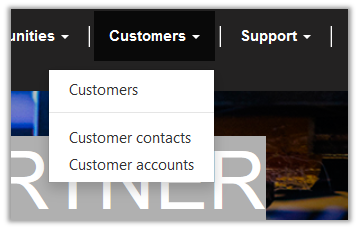
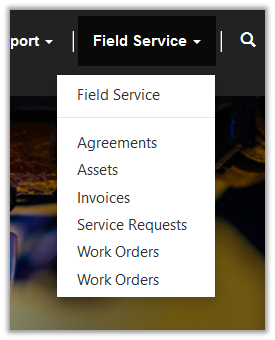
Below are the different menu options that comes OOB.

Partner Program
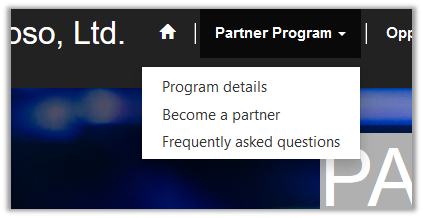
Opportunities
Customers
Field Service
Below are the Entity Forms associated to the Partner Portal Web site created in CRM.
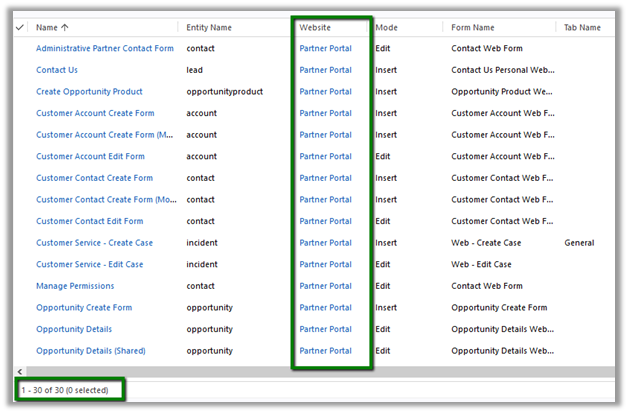
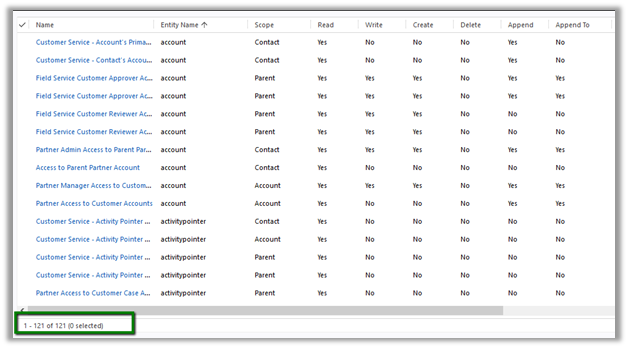
Below are the Entity Lists associated to the Partner Portal Web site created in CRM.

Around 121 Entity Permission records are added by the Partner Portal
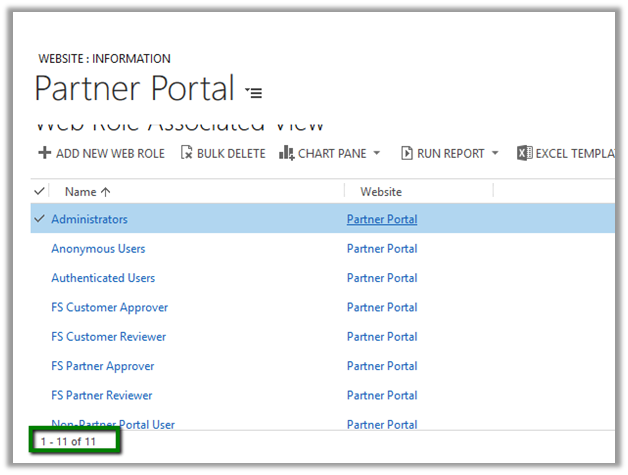
Web Roles specific to Partner Portal.
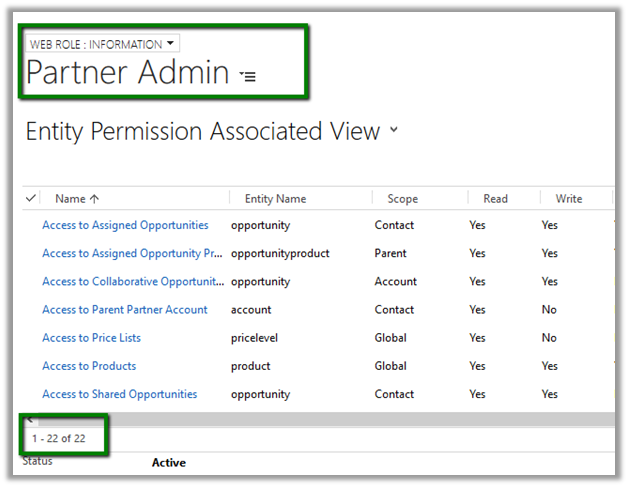
Below are some of the permission for the Partner Admin web role.
Once the portal is setup next step would be to Become a Partner. Click on Begin Here.

Update the profile and click on submit.
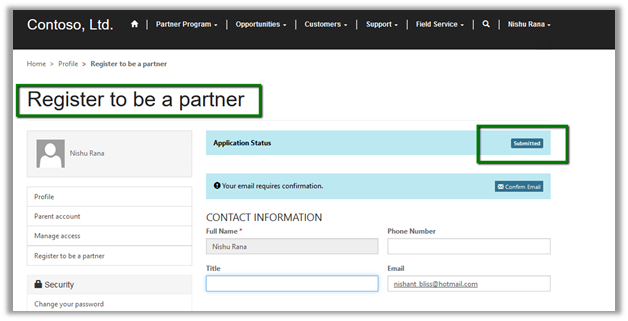
Within CRM, the admin user needs to run the Approve Partner Application workflow on the corresponding portal contact user record.
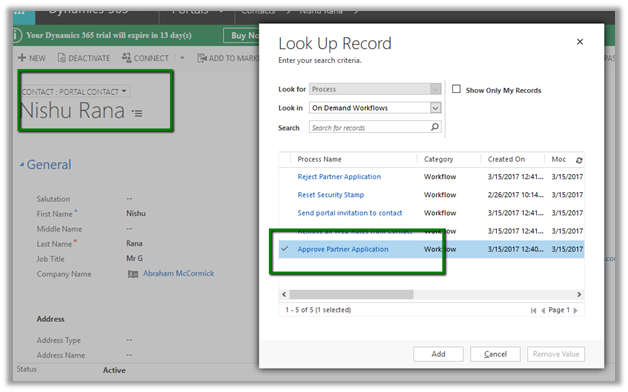
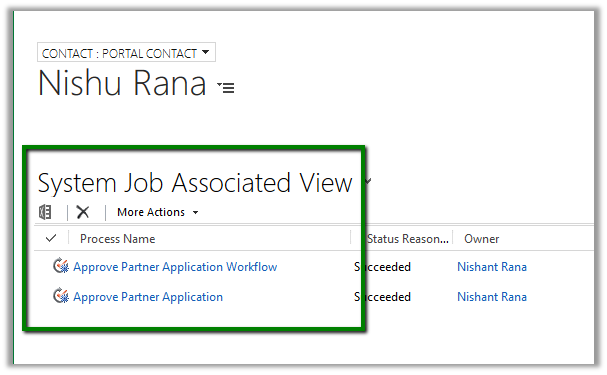
After workflow succeeds we can assign appropriate web roles to the portal contact user.
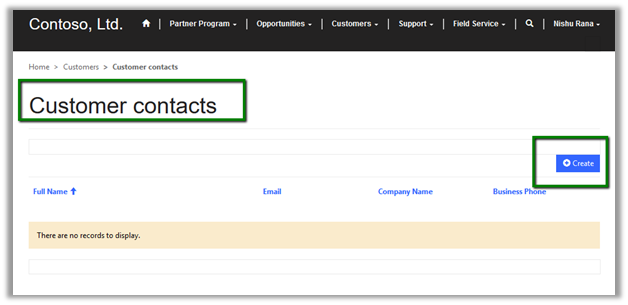
The portal user can create customer contacts record
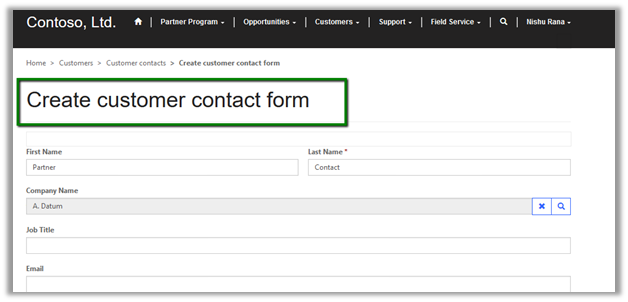
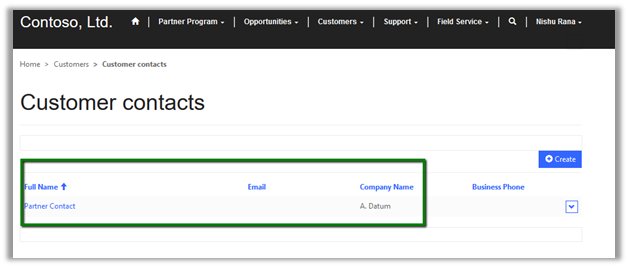
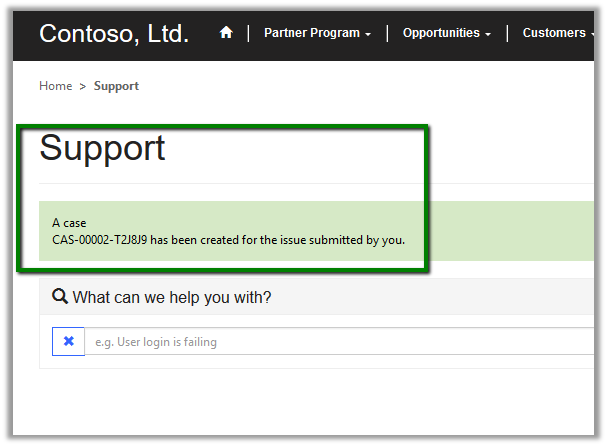
The portal user can raise Service Requests from within the portal.
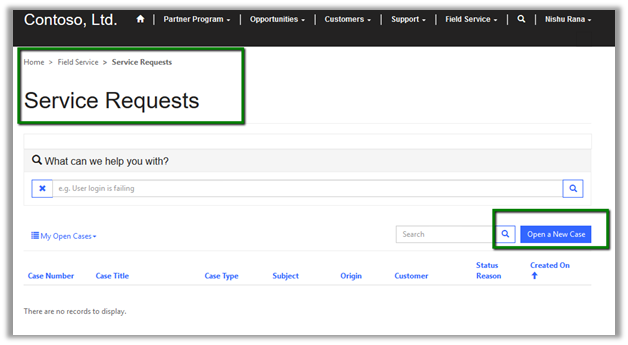
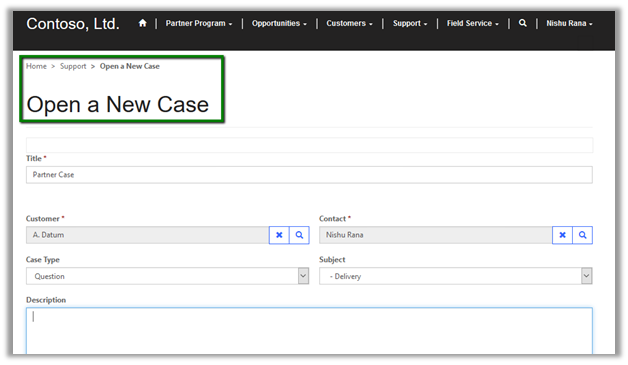
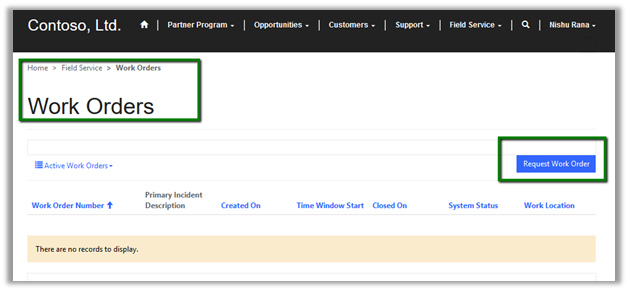
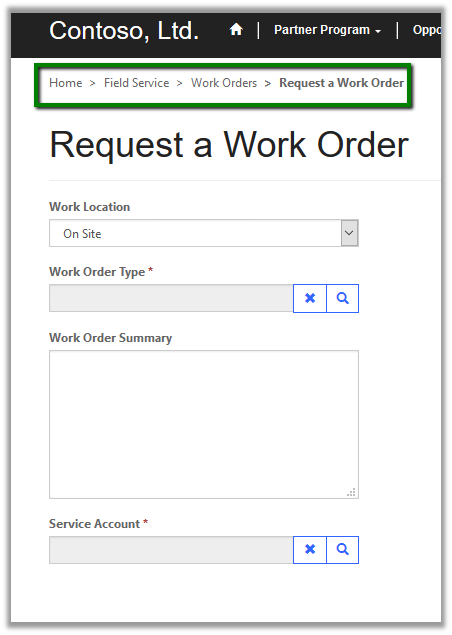
Can manage Work Orders.
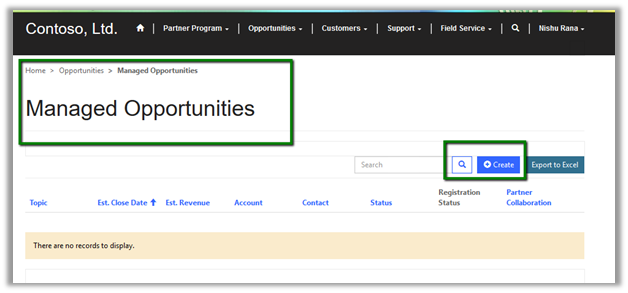
Can manage Opportunities.
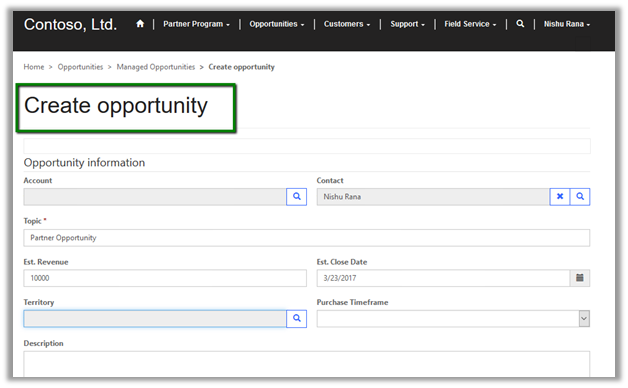
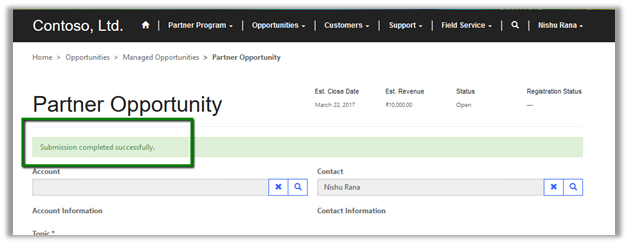
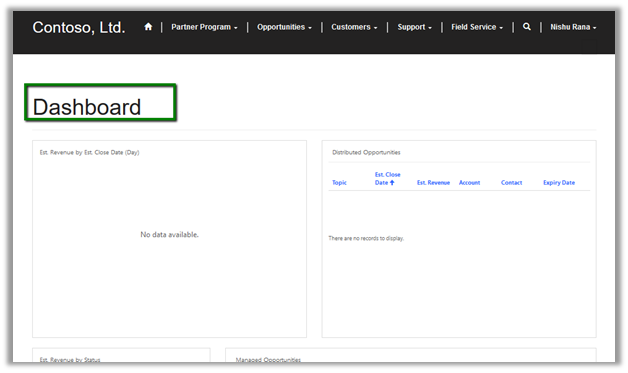
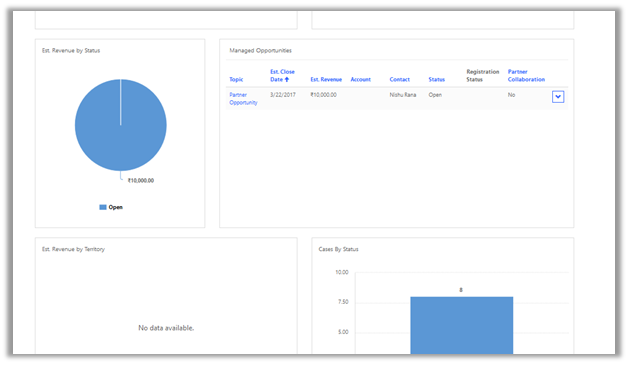
The portal has the Dashboard that shows the details around the opportunity and the cases.
Hope it helps..

For updating the Navigation, login to the portal with the user having Administrator web role.
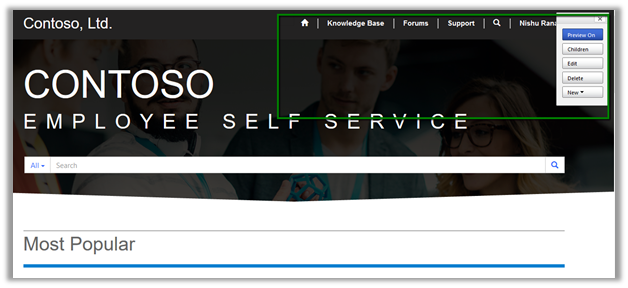
Hover over the Navigation and select Edit
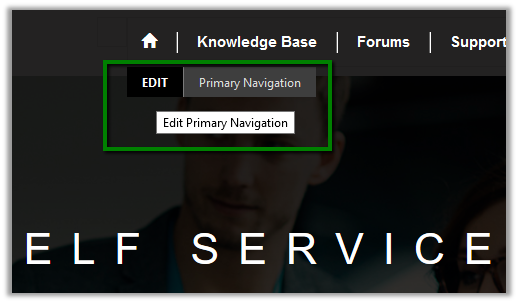
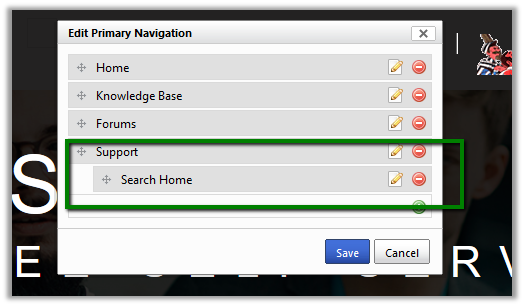
This opens up the dialog box, here we can edit or insert a new navigation link. To add new navigation link click on “+”
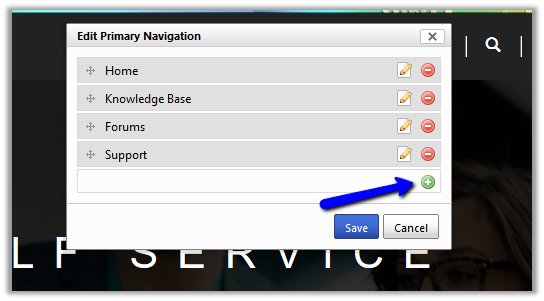
We can either specify any existing page within portal or can point to any external URL and can also show up image + text or image only.
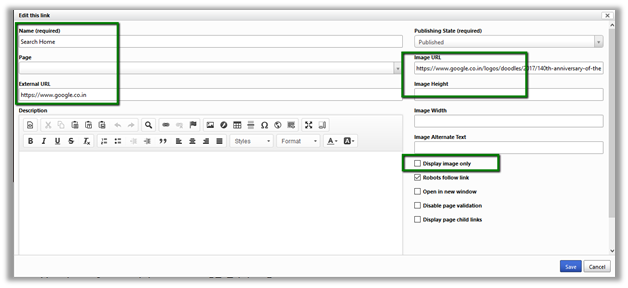
This adds the new navigation link

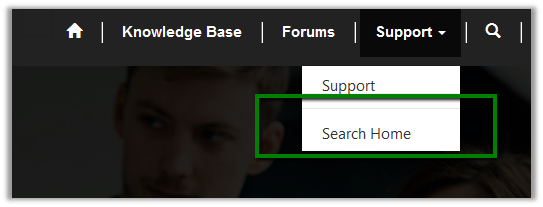
Similarly, we can add new child links or move a link as child link which then appears as drop down. Here we have moved the new Search Home link inside Support by dragging.
The updated navigation looks like below
Hope it helps..

Suppose we have Community Portal configured in our Dynamics 365 Instance.

Now we would like to have Custom Portal instead of Community Portal associated to our instance.
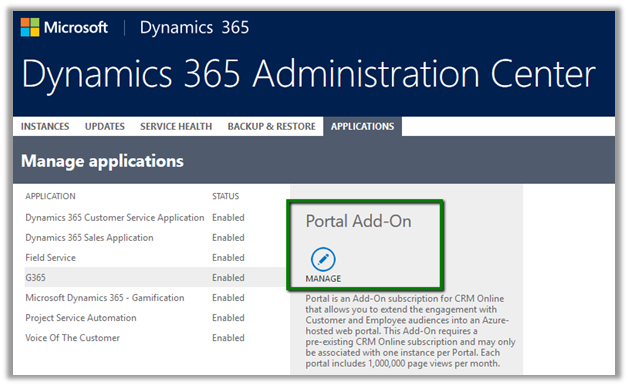
To configure this, we need go to Admin Centre à Select Portal and Click on Manage
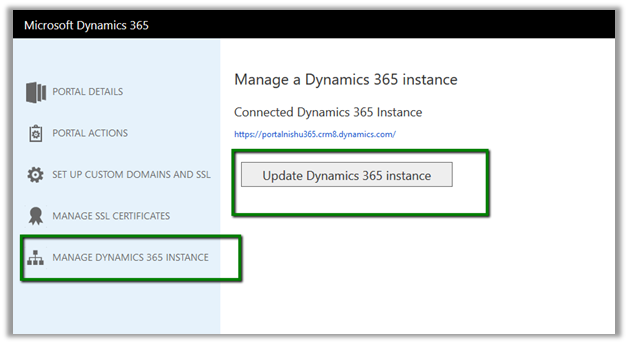
Then select Manage Dynamic 365 CRM Instance and then Update Dynamics 365 Instance
From there we can select the Portal Audience and corresponding Portal to be deployed.

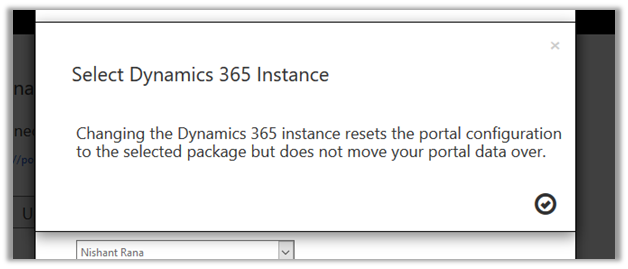

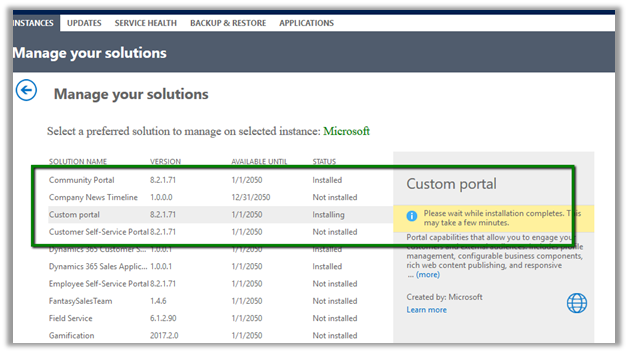
This will install the corresponding portal solution to our CRM Instance.
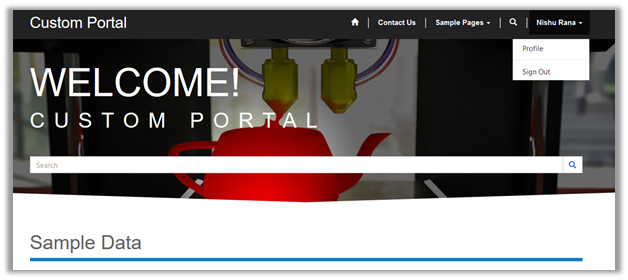
Now our portal URL will show up the Custom Portal instead of Community Portal.
To switch back to community portal, we can select Portal Details and Update Portal Binding to point it to website we want it to bind to.

Suppose we have Employee self-service portal deployed to our instance and we would like to update binding to it.
Below we select Employee self-service as the web site record and click on Update.

Once update is done, opening the Base Portal URL will open up Employee self-service portal instead of Custom Portal now.

Hope it helps..


