Dynamics 365 comes with Partner Field Service portal which helps Partners manage work order, service request, assets, invoices, opportunities etc. from within the portal.
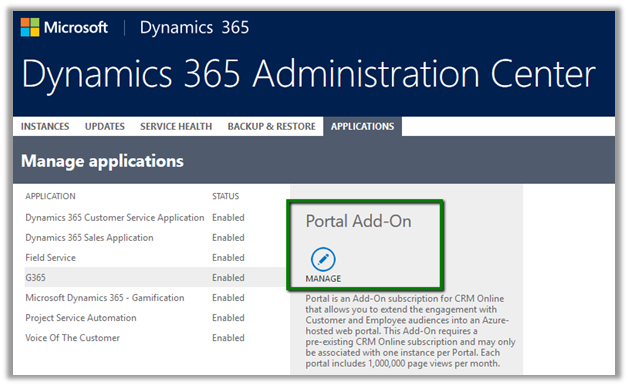
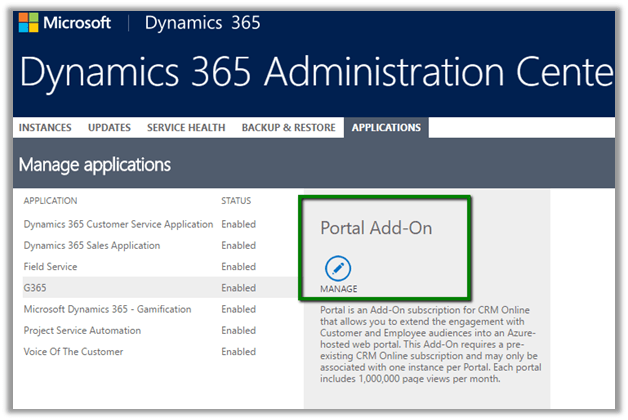
Go to Administrator Center, select Portal and click on Manage.
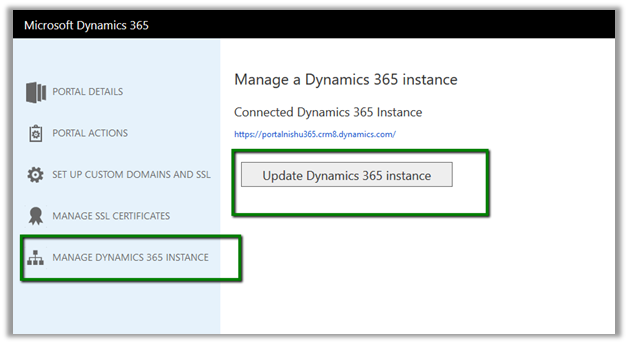
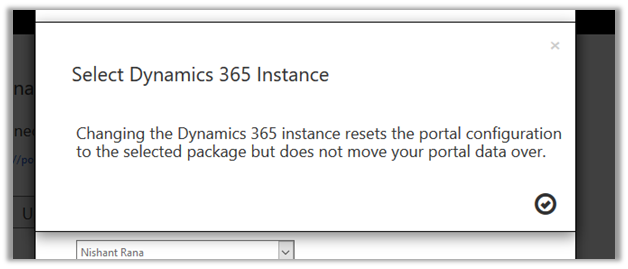
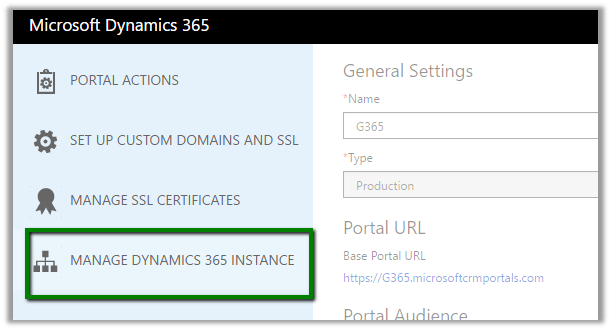
Select Manage Dynamics 365 Instance
Click on Update Dynamics 365 Instance
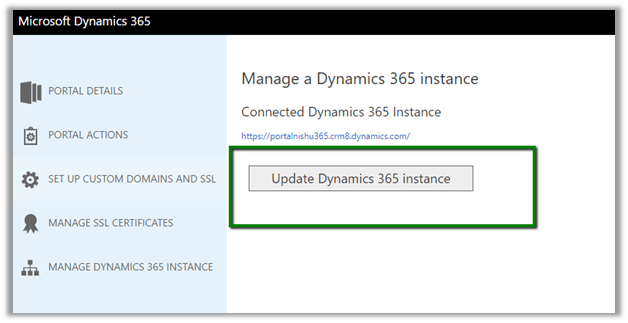
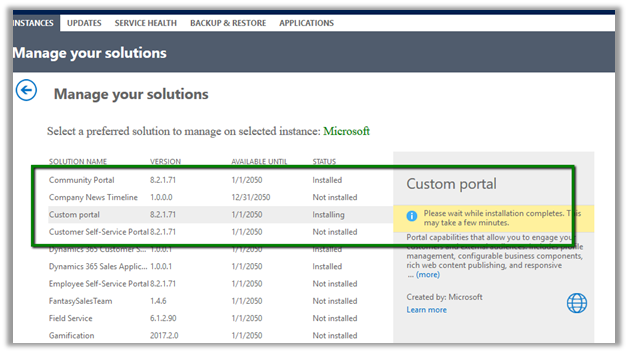
Select Partner as Audience and Partner Field Service as the portal to be deployed

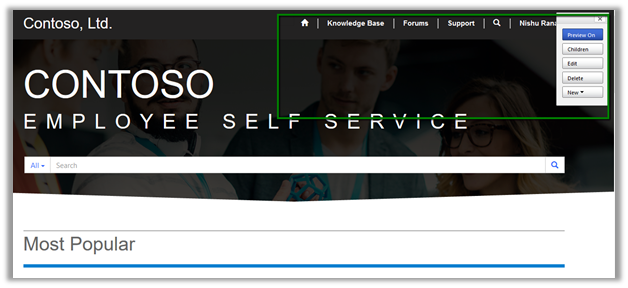
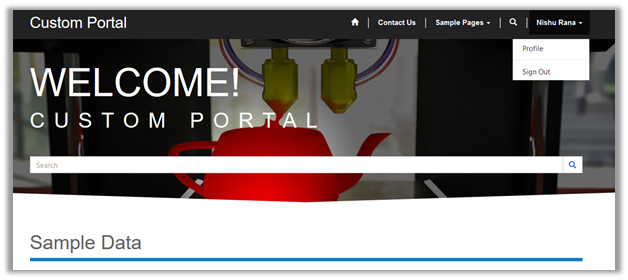
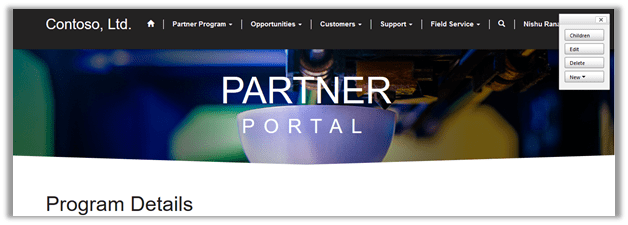
Once installed this is how Partner Portal looks like
Below are the different menu options that comes OOB.

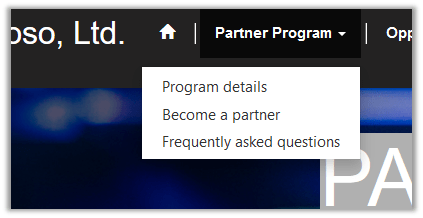
Partner Program
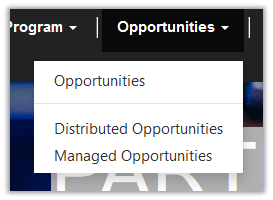
Opportunities
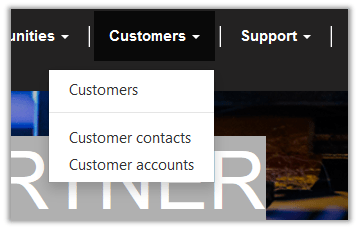
Customers
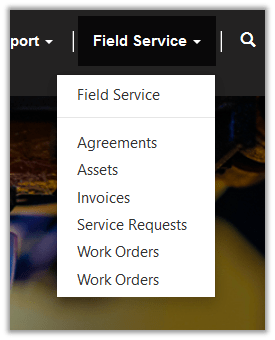
Field Service
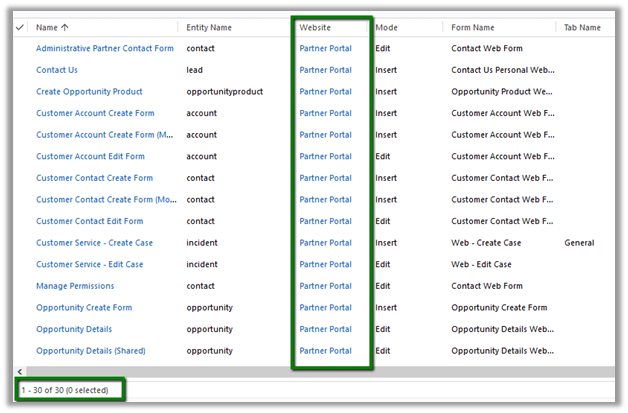
Below are the Entity Forms associated to the Partner Portal Web site created in CRM.
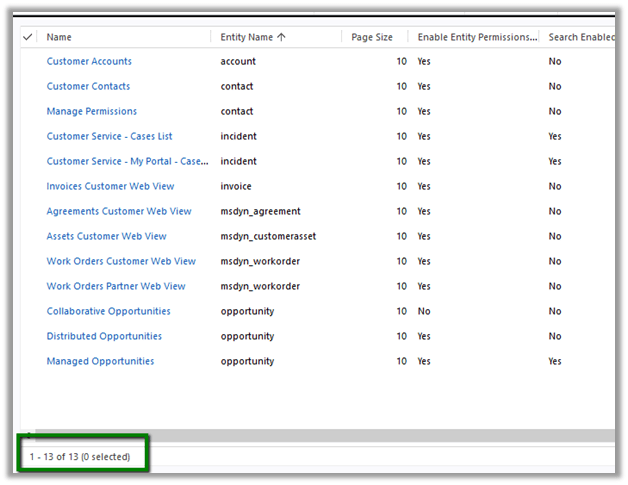
Below are the Entity Lists associated to the Partner Portal Web site created in CRM.
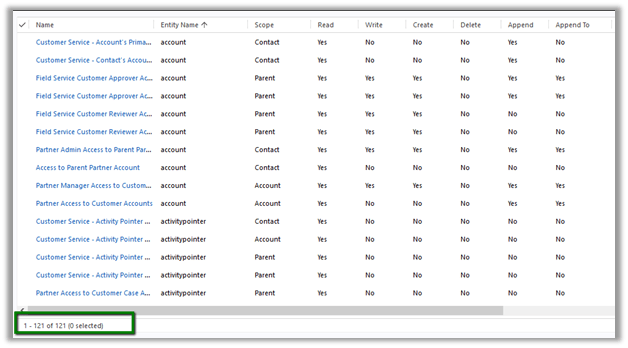
Around 121 Entity Permission records are added by the Partner Portal
Web Roles specific to Partner Portal.

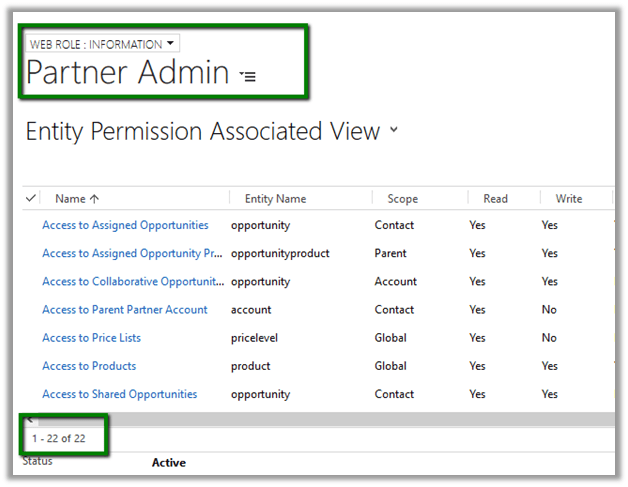
Below are some of the permission for the Partner Admin web role.
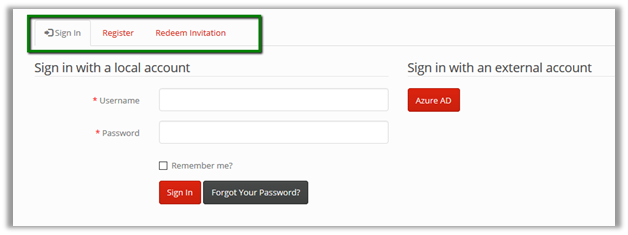
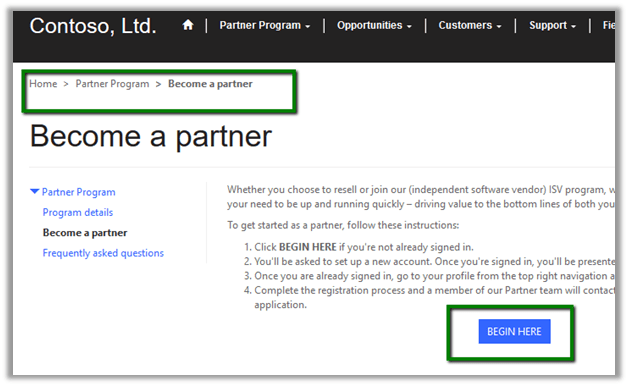
Once the portal is setup next step would be to Become a Partner. Click on Begin Here.
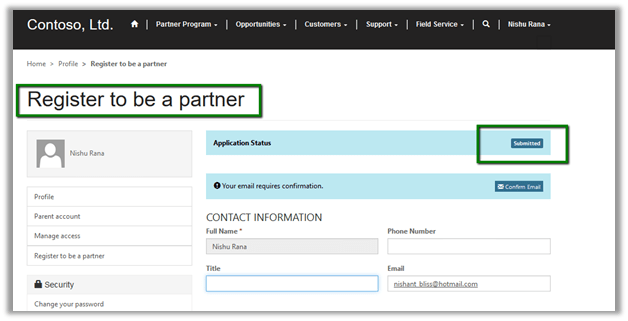
Update the profile and click on submit.
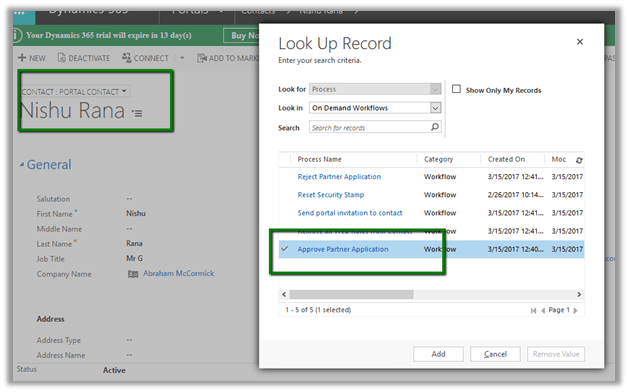
Within CRM, the admin user needs to run the Approve Partner Application workflow on the corresponding portal contact user record.
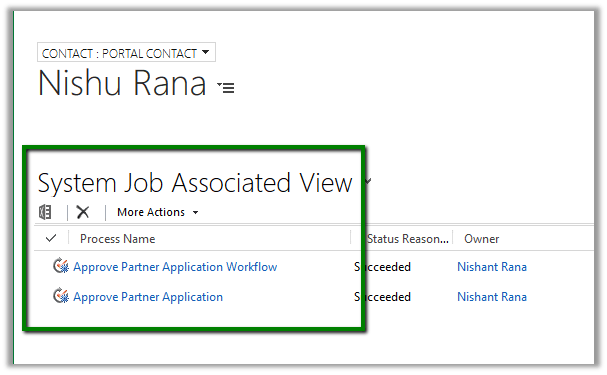
After workflow succeeds we can assign appropriate web roles to the portal contact user.
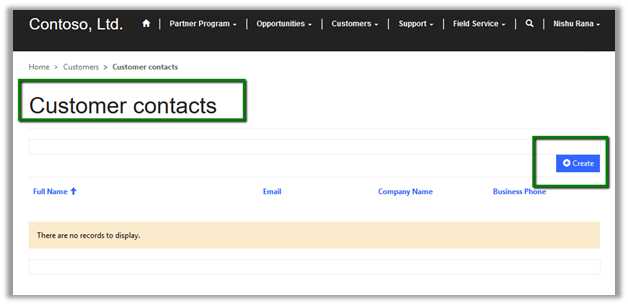
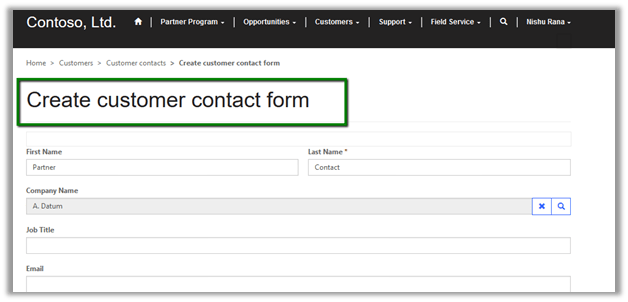
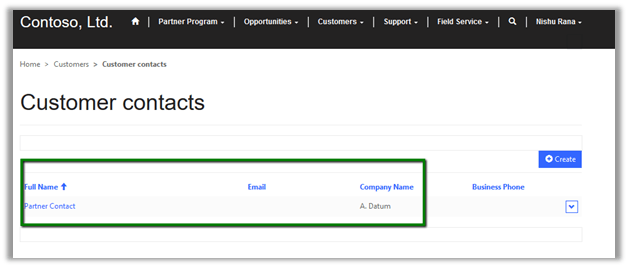
The portal user can create customer contacts record
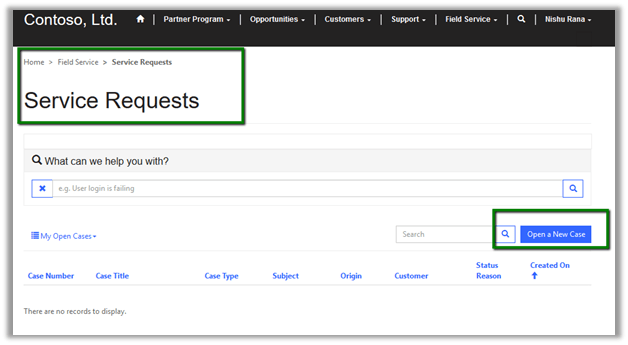
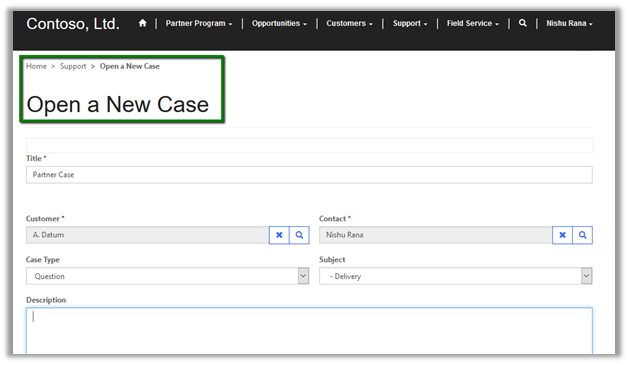
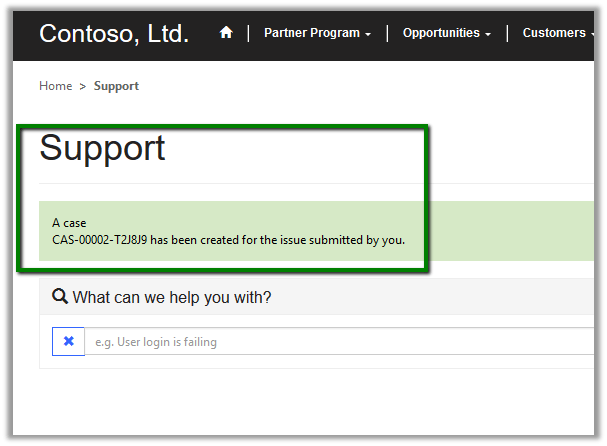
The portal user can raise Service Requests from within the portal.
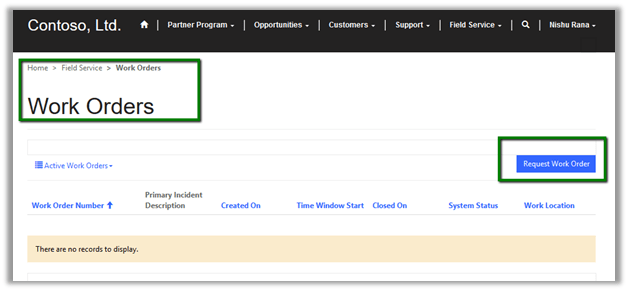
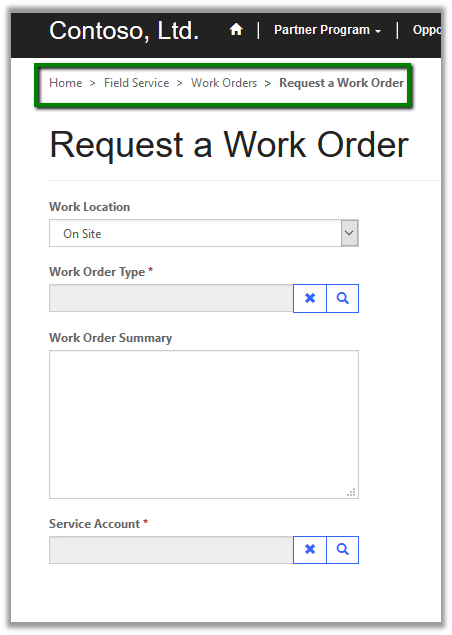
Can manage Work Orders.
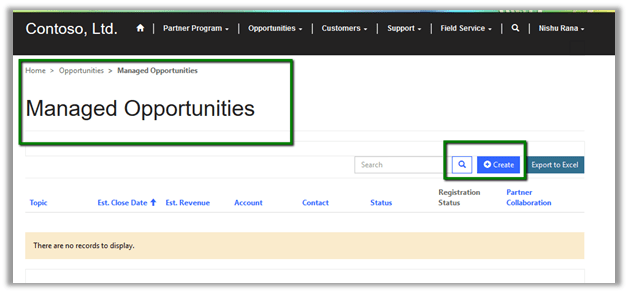
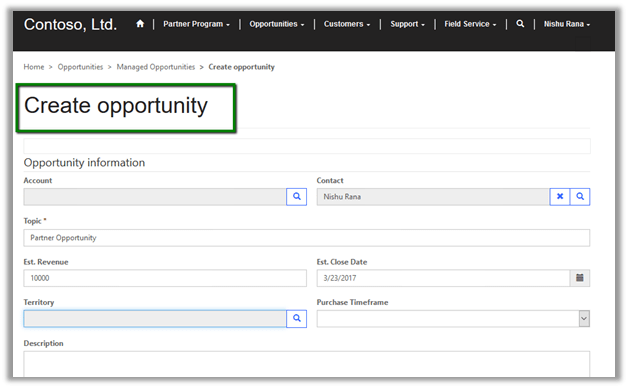
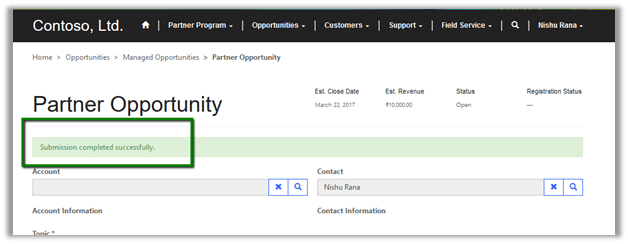
Can manage Opportunities.
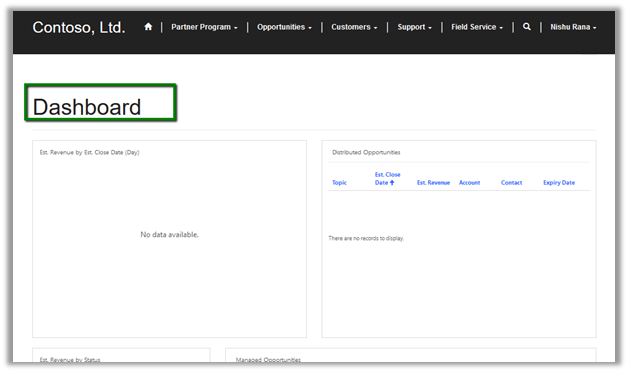
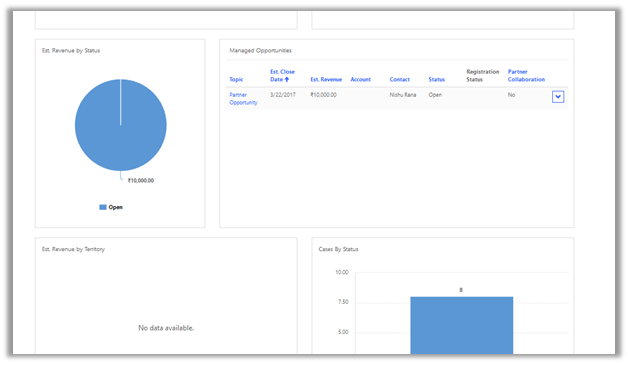
The portal has the Dashboard that shows the details around the opportunity and the cases.
Hope it helps..