How to – Enable parent check option during Merge – Dynamics 365


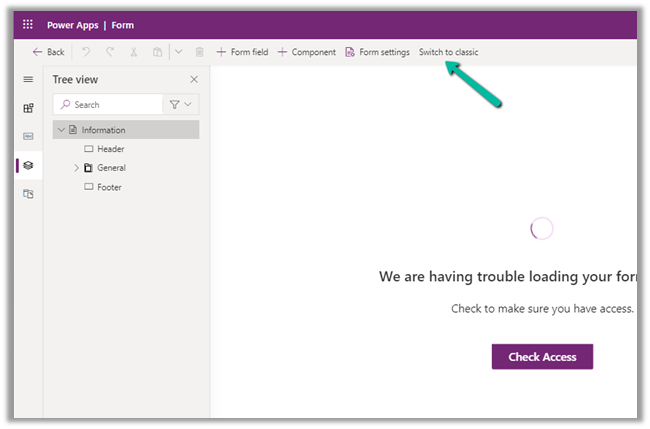
The duplicate detection/merge feature has been optimized in the platform

https://nishantrana.me/2020/10/29/improved-duplicate-detection-and-merge-experience-in-dynamics-365-for-sales-2020-release-wave-2/

and now uses the new interface replacing the legacy web client.

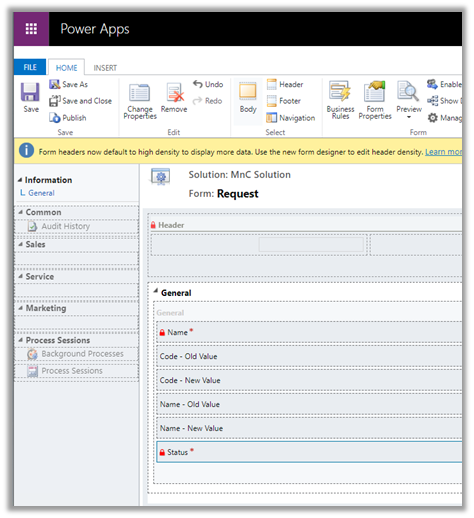
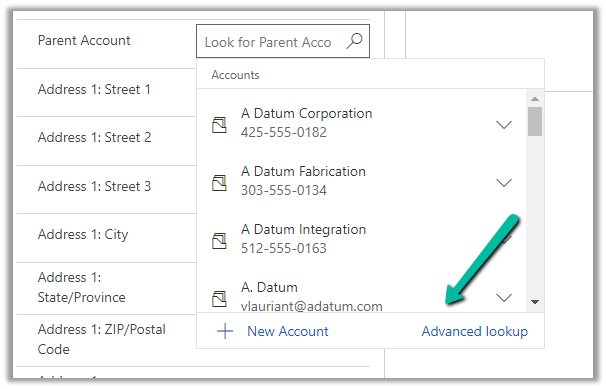
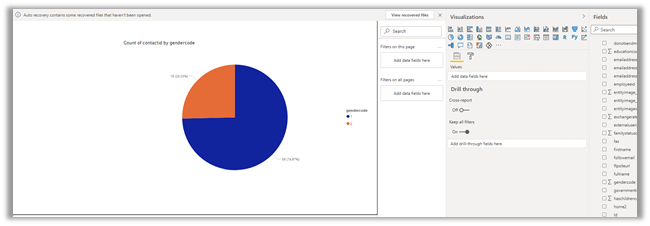
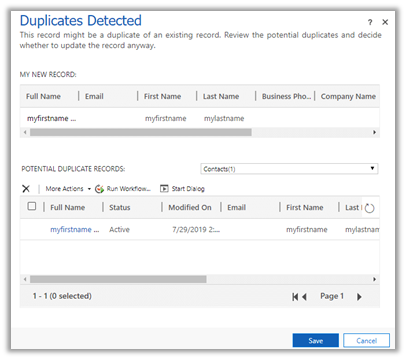
The legacy experience –

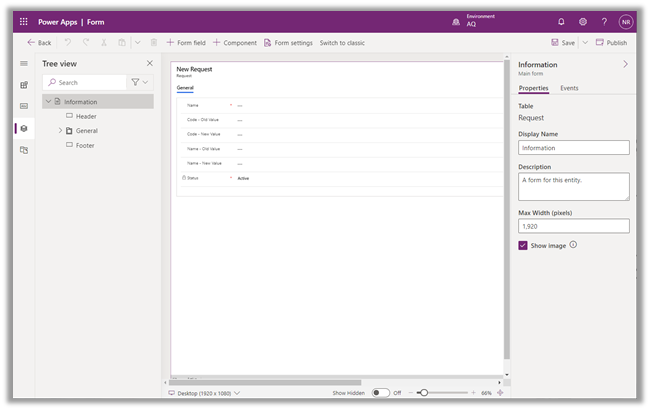
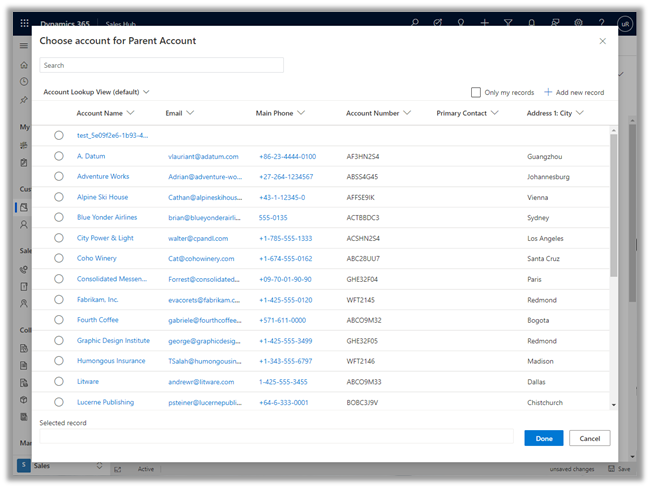
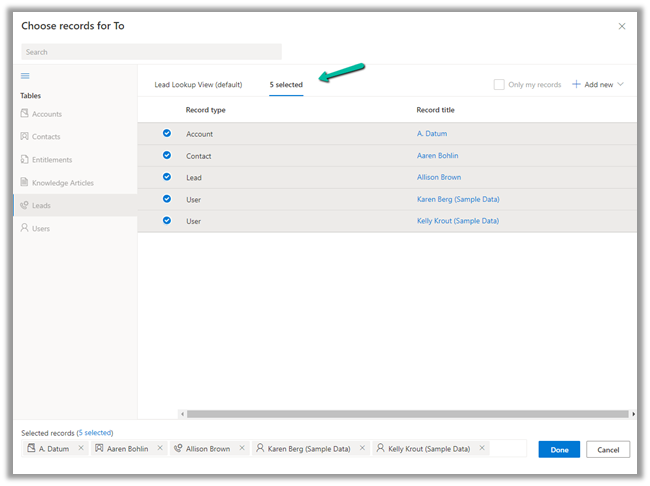
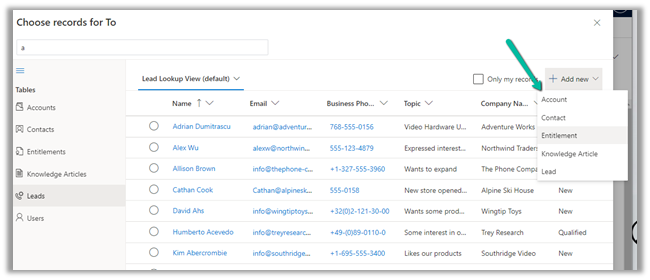
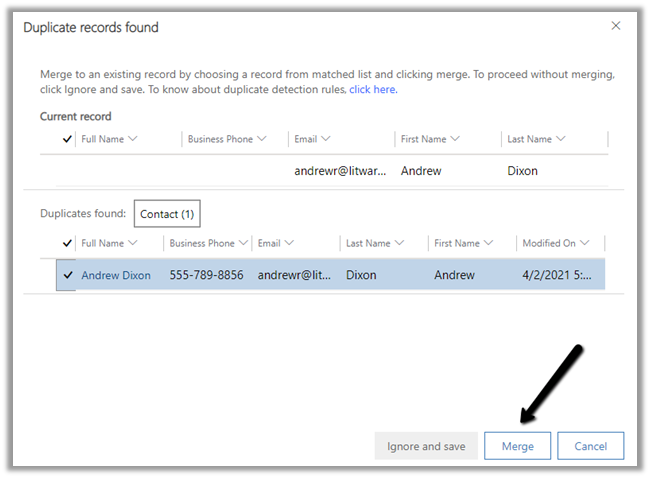
The enhanced experience – now with merge option.

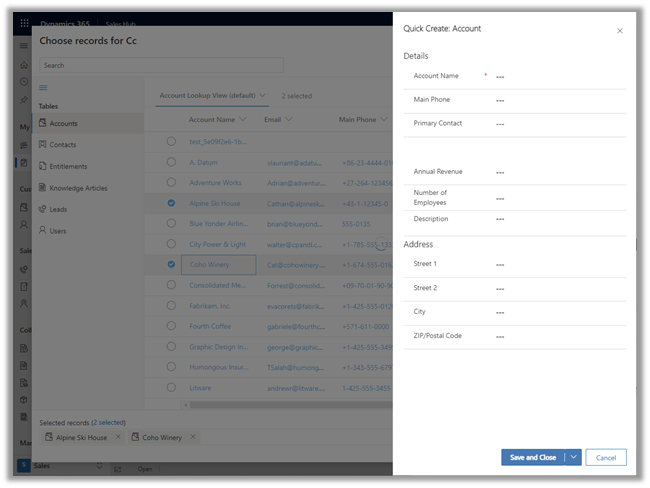
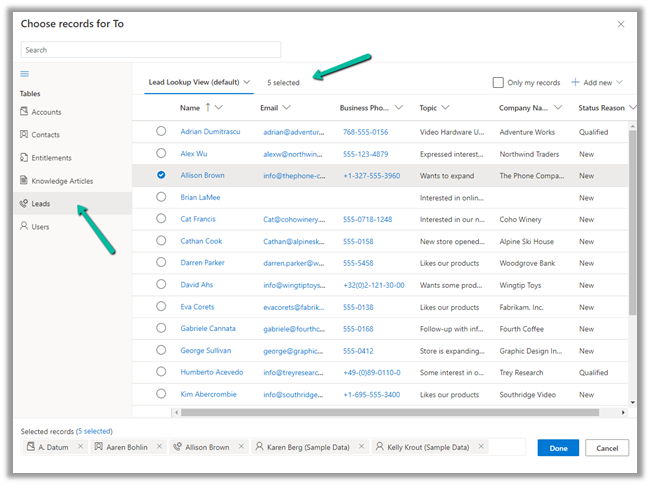
Merge allows to select up to 2 records to merge. Selecting more than 2 records to merge gives the below error.

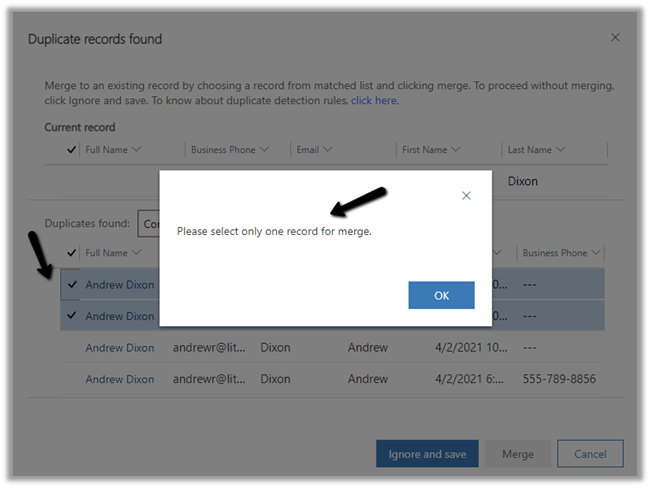
And Merge button will also get disabled.

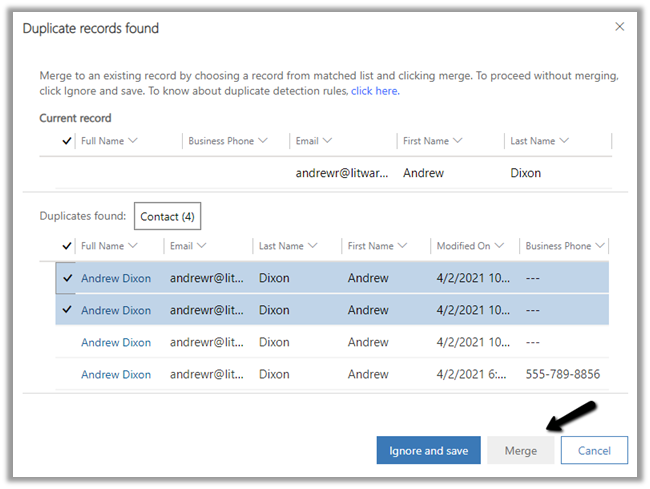
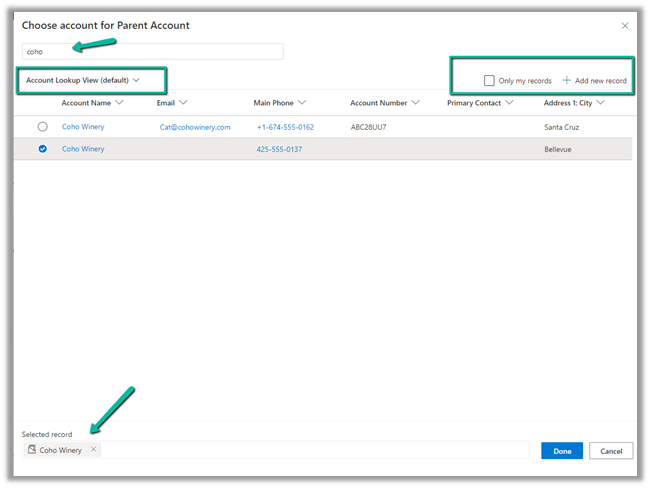
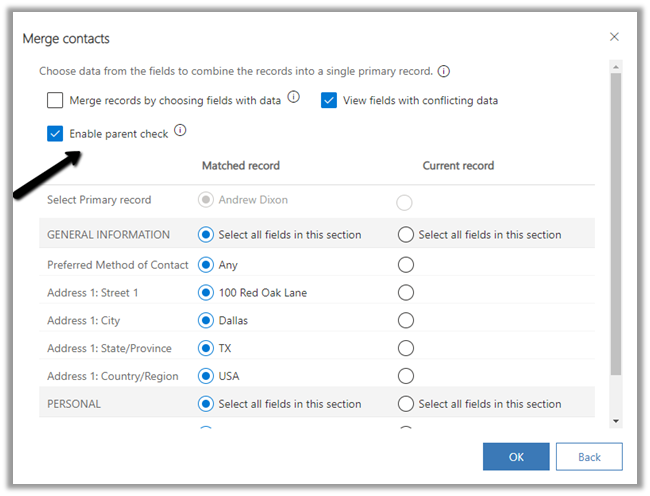
Below are the different options available while performing Merge.

  • Merge records by choosing fields with data.
  • View fields with conflicting data.
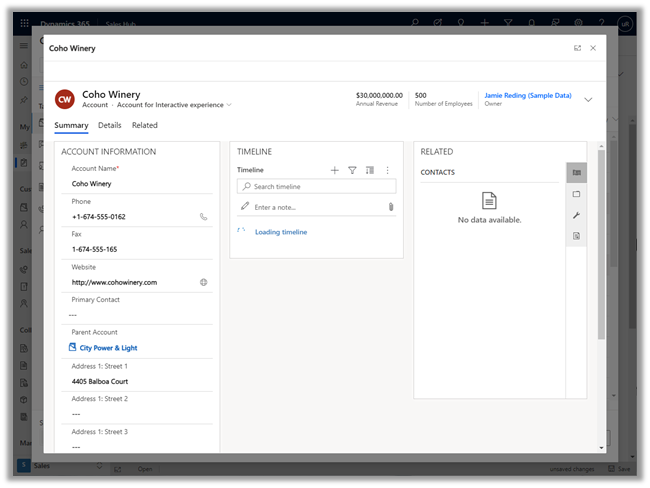
  • Enable Parent check

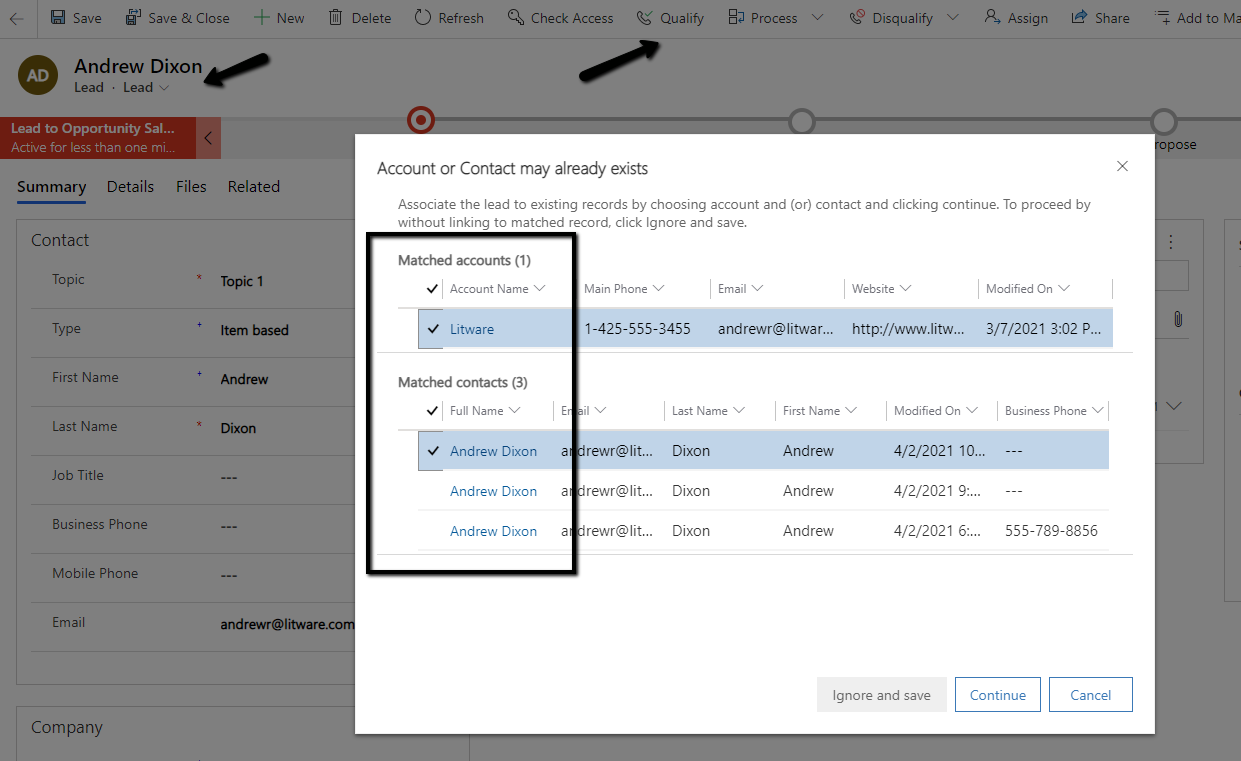
In case of qualify we are able to select 2 matching records for merge

dd2records

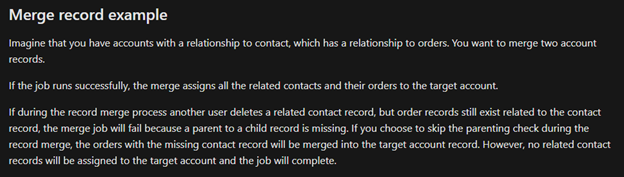
The merge process is always asynchronous. The merge also merges any child records.

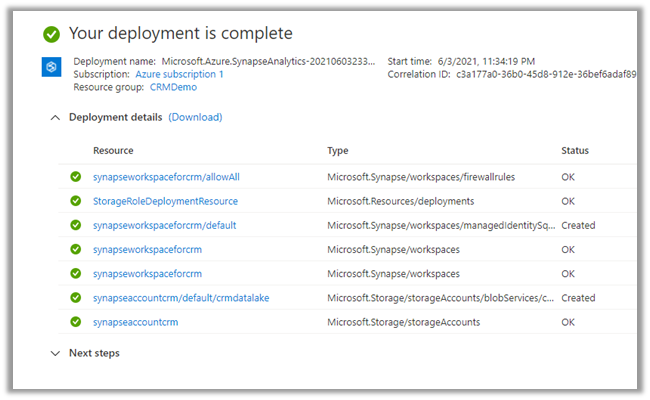
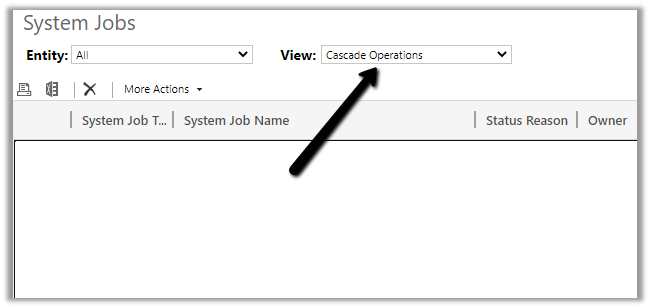
As per Microsoft Docs, to find the progress of the cascading operation triggered as part of the merge, navigate to System Jobs in Audit and Logs settings within the Admin portal.

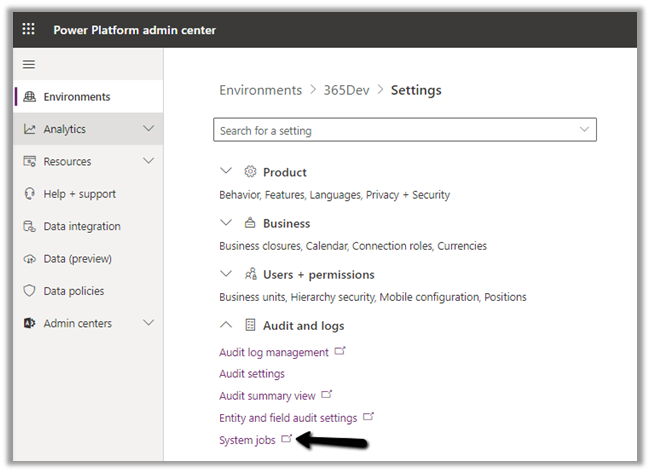
Filter by Cascade Operations

The Enable parent check option, if checked, will result in failure during merge operations if records are deleted while the system job is running. We need to uncheck this option if we want merge to continue even if a record is deleted while the Merge job is running.

There could be other reasons because of which merge operations could fail.

Get all the details here –

https://markcarrington.dev/2020/08/14/msdyn365-internals-async-record-merging/

Hope it helps..

Advertisements

Fixed – We are having trouble loading your form preview. Check to make sure you have access error in Power Apps


While trying to open a form for customization for a custom entity we were getting below error within the maker portal.

The user was an admin user.

The same was the case in both Chrome and Edge browsers.

The only way we could proceed was by switching to classic experience.

Switching to Classic worked

After updating the form in classic and publishing the changes, the form started working properly in the maker portal also.

We were able to customize the form in both Chrome and Edge.

Hope it helps..

Fixed – AuthorizationFailed. The client with object id does not have authorization to perform action ‘’Microsoft.Authorization/roleAssignments/write’ over scope ‘storageaccount’ – Azure Data Lake


While configuring the Azure Synapse Link/ Export to Data Lake service, we were getting below error for one of the users.

{“code”:”AuthorizationFailed”,”message”:”The client ‘nishantr@pmaurua105.onmicrosoft.com’ with object id ‘d56d5fbb-0d46-4814-afaa-e429e5f252c8’ does not have authorization to perform action ‘Microsoft.Authorization/roleAssignments/write’ over scope ‘/subscriptions/30ed4d5c-4377-4df1-a341-8f801a7943ad/resourceGroups/RG/providers/Microsoft.Storage/storageAccounts/saazuredatalakecrm/providers/Microsoft.Authorization/roleAssignments/2eb81813-3b38-4b2e-bc14-f649263b5fcf’ or the scope is invalid. If access was recently granted, please refresh your credentials.”}

The current Role assignments of the user were as below.

To resolve it we need to give the Owner role to the user configuring the Export to Data lake service on the Storage account. (apart from System Admin role within Dynamics 365)

https://docs.microsoft.com/en-us/powerapps/maker/data-platform/export-to-data-lake#prerequisites

After assigning the Owner Role (and removing the other roles), it worked successfully.

Check other posts on Azure Data Lake/ Azure Synapse Link

Posts on Azure Data Lake

Hope it helps..

Advertisements

Create Power BI Report to analyze Dataverse / Dynamics 365 data in Azure Data Lake


To begin with, here we have already configured the Azure Synapse Link /Export to Data Lake service and have configured Account, Contact and User table for the sync.

Check posts on Azure Synapse Link/  Export to Data Lake service:

https://nishantrana.me/2020/12/10/posts-on-azure-data-lake/

Let us now create the Power BI report on the exported data –>

Sign in to Power BI Desktop.

Click in Get Data and select Azure >> Azure Data Lake Gen 2 connector and click on connect.

Navigate to the storage account and the container within it and click on Container properties.

Copy the URL

Replace the blob part https://saazuredatalakecrm.blob.core.windows.net/dataverse-pmaurya105-unqdc8ed1c1df824188bbe2225de96f0

with the dfs

https://saazuredatalakecrm.dfs.core.windows.net/dataverse-pmaurya105-unqdc8ed1c1df824188bbe2225de96f0

Enter the URL and select CDM Folder View


Sign in with the Azure Active Directory account or with an Account key.

In case if you get the “Access to the resource is forbidden” error.

https://nishantrana.me/2020/09/07/error-access-to-the-resource-is-forbidden-while-trying-to-connect-to-azure-data-lake-storage-gen2-using-power-bi-desktop/

Here we have selected the Contact, Account, and System User table.

Click on Load.


Here we’d create a basic report that shows Contact’s full name, email, along with Account Name (left join with Account) and Owning User Full Name (left join with System user)

Let us choose the appropriate columns from the contact table.

fullname, emailaddress1, owninguser, ownerid_entitytype, parentcustomerid, parentcutsomerid_entitytype, parentcustomeridname


Now to get the full name of the owning user and the Account’s name, let us left join the contact table with the system user and account table.

Select Merge Queries as New in the Power Query Editor.


Merge Contact with Account


Merge with System User


Expand the account column and select the name field for the merged query.


Similarly, select fullname for the systemuser.


Close and apply the updates.


Below we have our report ready.


Save and publish the report.

More posts on Power BI – https://nishantrana.me/2018/11/24/power-bi-and-microsoft-dynamics-365/

Hope it helps..

Advertisements

How to – Use Advanced lookup in Model-driven Power Apps / Dynamics 365


To enabled Advanced Lookup, log into to Power Platform Admin Center, navigate to

Environment >> [Select Environment] >> Settings >> Behavior

Enable the Lookup behavior and Save.

This adds the Advanced Lookup option in the Lookup dialog.


Clicking on it opens the Advanced Lookup Grid 


We can perform SEARCH within a selected View, CHANGE a view, can FILTER it the results further to show only records owned, ADD a new record, SORT the grid.


The best part is we can open/edit an existing record as well as add new ones without losing the existing context.

Opening an existing record from the result opens the record in the new pop-up window as shown below.

Similarly, the Add new option opens the Quick Create form.

In case of special data type like Party List or Regarding, we can select multiple records of different entities we are presented with.

Similar the option to Add new records list all the tables/entities applicable to that lookup.

Thus the new advanced lookup makes working with Lookup much simpler and effective and we should start adapting / using it.

Blog posts on 2021 Release Wave 1 – Dynamics 365

Hope it helps..

Advertisements

How to setup – Azure Synapse Link – Microsoft Dataverse


Azure Synapse Link (earlier known as Export to Data Lake Service) provides seamless integration of DataVerse with Azure Synapse Analytics, thus making it easy for users to do ad-hoc analysis using the familiar T-SQL with Synapse Studio, build Power BI Reports using Azure Synapse Analytics Connector or use Azure Spark in Azure Synapse for analytics.

As a first step, we need to create the Azure Synapse Workspace.

Login to Azure Portal (https://portal.azure.com/ ) with appropriate roles and create a Synapse workspace.

https://docs.microsoft.com/en-us/azure/synapse-analytics/get-started-create-workspace

Wait for the deployment to be complete. Below are the resources created as part of the deployment.

Login to the maker portal (https://make.powerapps.com/ ) and select the appropriate environment

Click on Azure Synapse Link and check the Connect to your Azure Synapse Analytics workspace (preview) and specify the storage account created in the previous step

Here we have selected the Contact and System User table for export.

On clicking Save, we got this error couple of times, even though the account being used was Owner across the Azure resources. Trying save 3-4 times more, allowed the link to be created.

Click on Go to Azure Synapse Analytics workspace, opens the Azure Synapse Studio

Within Synapse Studio we can see our Dataverse Database and run query.

Similarly, we create a Power BI report with Azure Synapse Analytics (SQL DW) connector.

Copy the Serverless SQL endpoint of the Synapse workspace.

Select the Direct Query option.

https://azure.microsoft.com/en-gb/blog/power-your-business-applications-data-with-analytical-and-predictive-insights/

Hope it helps..

Advertisements