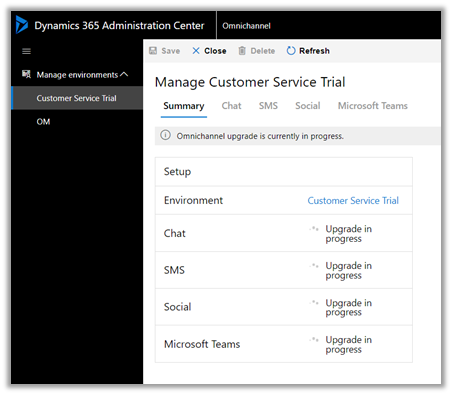
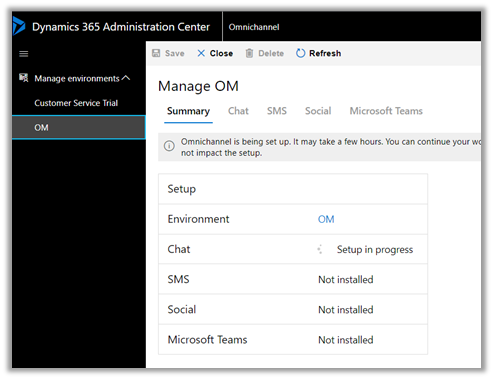
We can see the Account Insights / Contact Insights tab added along with LinkedIn Lead Info on the default lead form (as well as contact/account) after we install Dynamics 365 Marketing.
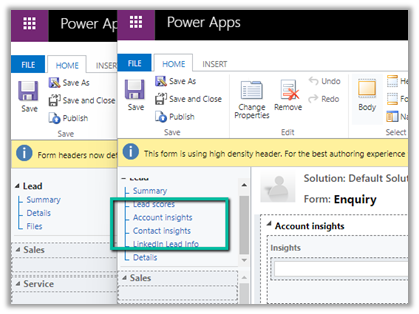
These tabs will be added if you try creating a new form (Main).

But if we have other existing forms (Main), these tabs won’t be added and won’t be available for us to add.
In that case, we need to edit the Form XML to add these sections.
Here we will be adding the Contact Insights tab to one of the existing forms to the Lead.
Using the Form XML Manager (XrmToolBox plugin – developed by my friend Rasheed), get the Form XML of the form where we have the contact insights tab added.

Copy the below details –
Tab – Contact Insights

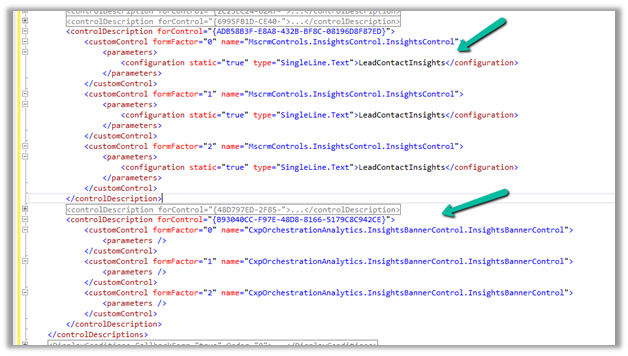
And the below controlDescription
Going back to Form XML Manager, select the form where we want to add the contact insight tab, get its Form XML and add the above details and publish.

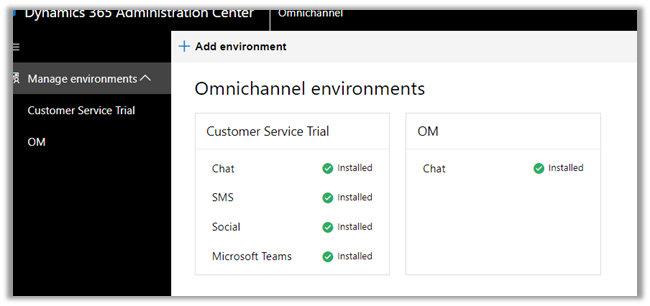
We can see the Contact Insights tab added

Similarly, we can Account Insights, and the LinkedIn Lead Info tab as well.
Hope it helps..
	<tab name="contactInsights" id="{AC28F8C9-4498-47C7-8D9B-2FE028CFBDAC}" IsUserDefined="0" locklevel="0" showlabel="true" expanded="true" labelid="{6905336d-985b-4137-a106-31b1dd4e1560}">
			<labels>
				<label description="Contact insights" languagecode="1033" />
			</labels>
			<columns>
				<column width="100%">
					<sections>
						<section name="insights_section" showlabel="false" showbar="false" locklevel="0" id="{2328D81F-CA70-4A20-8B62-DA36756DA7D8}" IsUserDefined="0" layout="varwidth" columns="1" labelwidth="115" celllabelalignment="Left" celllabelposition="Left" labelid="{29474d06-89ea-41ad-a999-9d96dd95c938}">
							<labels>
								<label description="Insights" languagecode="1033" />
							</labels>
							<rows>
								<row>
									<cell rowspan="1" id="{37367a00-f45e-4ae4-a4a4-5ba1023fdc11}" colspan="1" labelid="{e971ab6b-ea22-4543-bbd5-06e50f11f9f1}">
										<labels>
											<label description="" languagecode="1033" />
										</labels>
										<control id="msdynmkt-lead-insights-banner-control" classid="{F9A8A302-114E-466A-B582-6771B2AE0D92}" disabled="false" uniqueid="{B93040CC-F97E-48D8-8166-5179C8C942CE}" isunbound="true">
											<parameters />
										</control>
									</cell>
								</row>
								<row>
									<cell id="{58B703D6-BBA5-4078-9499-1D5A1FB35932}" showlabel="false" locklevel="0" labelid="{db0b8895-c098-45e5-b95f-f85df882f96d}">
										<labels>
											<label description="Insights" languagecode="1033" />
										</labels>
										<control id="LeadContactInsightsCtrl" classid="{F9A8A302-114E-466A-B582-6771B2AE0D92}" datafieldname="msdyncrm_insights_placeholder" disabled="false" uniqueid="{ADB58B3F-E8A8-432B-BF8C-08196D8F87ED}" />
									</cell>
								</row>
							</rows>
						</section>
					</sections>
				</column>
			</columns>
		</tab>
	<controlDescription forControl="{ADB58B3F-E8A8-432B-BF8C-08196D8F87ED}">
			<customControl formFactor="0" name="MscrmControls.InsightsControl.InsightsControl">
				<parameters>
					<configuration static="true" type="SingleLine.Text">LeadContactInsights</configuration>
				</parameters>
			</customControl>
			<customControl formFactor="1" name="MscrmControls.InsightsControl.InsightsControl">
				<parameters>
					<configuration static="true" type="SingleLine.Text">LeadContactInsights</configuration>
				</parameters>
			</customControl>
			<customControl formFactor="2" name="MscrmControls.InsightsControl.InsightsControl">
				<parameters>
					<configuration static="true" type="SingleLine.Text">LeadContactInsights</configuration>
				</parameters>
			</customControl>
		</controlDescription>
		<controlDescription forControl="{48D797ED-2F85-4D89-A329-69C2A1A0E1DD}">
			<customControl formFactor="0" name="MscrmControls.InsightsControl.InsightsControl">
				<parameters>
					<configuration static="true" type="SingleLine.Text">LeadAccountInsights</configuration>
				</parameters>
			</customControl>
			<customControl formFactor="1" name="MscrmControls.InsightsControl.InsightsControl">
				<parameters>
					<configuration static="true" type="SingleLine.Text">LeadAccountInsights</configuration>
				</parameters>
			</customControl>
			<customControl formFactor="2" name="MscrmControls.InsightsControl.InsightsControl">
				<parameters>
					<configuration static="true" type="SingleLine.Text">LeadAccountInsights</configuration>
				</parameters>
			</customControl>
		</controlDescription>
		<controlDescription forControl="{B93040CC-F97E-48D8-8166-5179C8C942CE}">
			<customControl formFactor="0" name="CxpOrchestrationAnalytics.InsightsBannerControl.InsightsBannerControl">
				<parameters />
			</customControl>
			<customControl formFactor="1" name="CxpOrchestrationAnalytics.InsightsBannerControl.InsightsBannerControl">
				<parameters />
			</customControl>
			<customControl formFactor="2" name="CxpOrchestrationAnalytics.InsightsBannerControl.InsightsBannerControl">
				<parameters />
			</customControl>
		</controlDescription>
	</controlDescriptions>


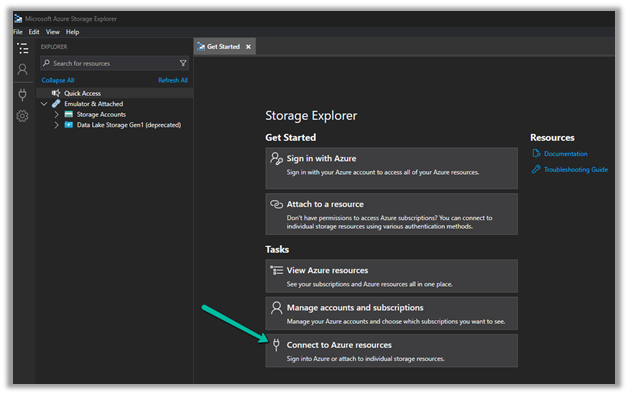

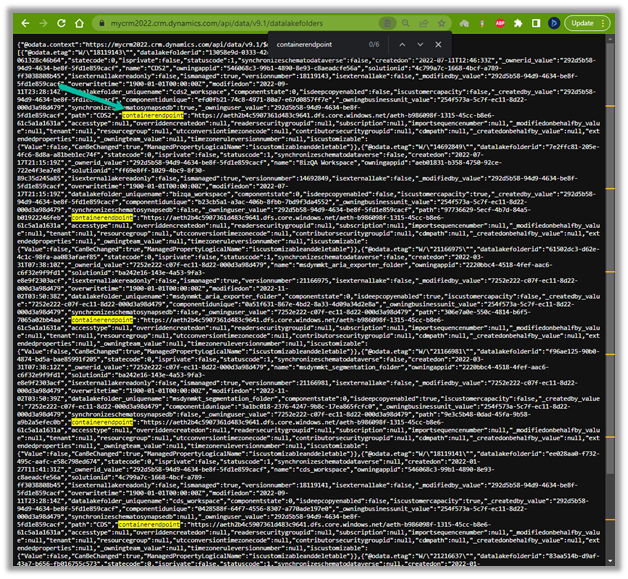
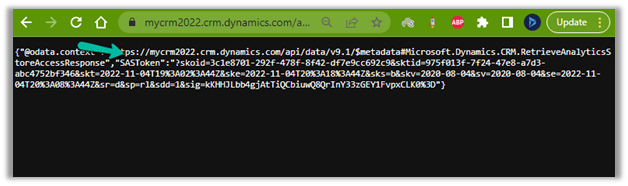
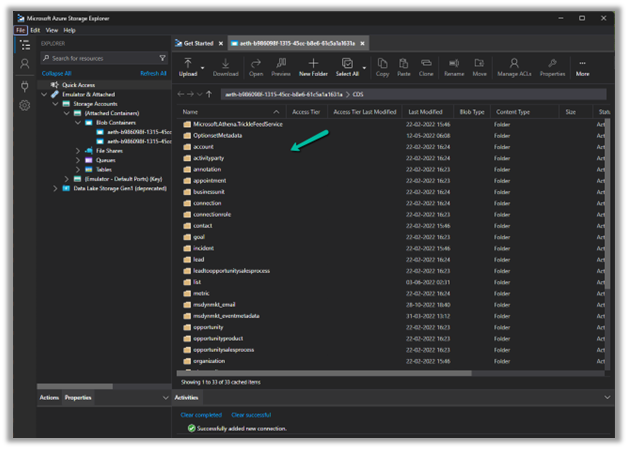
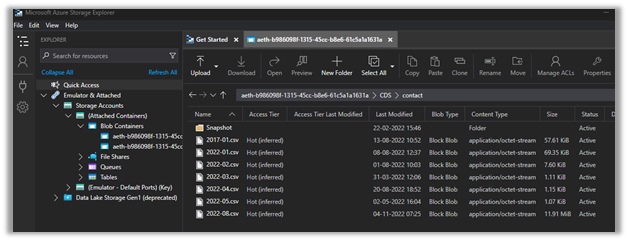
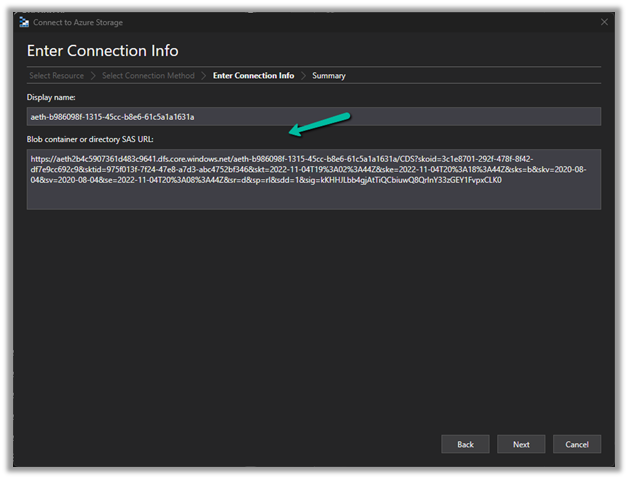 Now we have access to the storage