Azure Synapse Link (earlier known as Export to Data Lake Service) provides seamless integration of DataVerse with Azure Synapse Analytics, thus making it easy for users to do ad-hoc analysis using the familiar T-SQL with Synapse Studio, build Power BI Reports using Azure Synapse Analytics Connector or use Azure Spark in Azure Synapse for analytics.
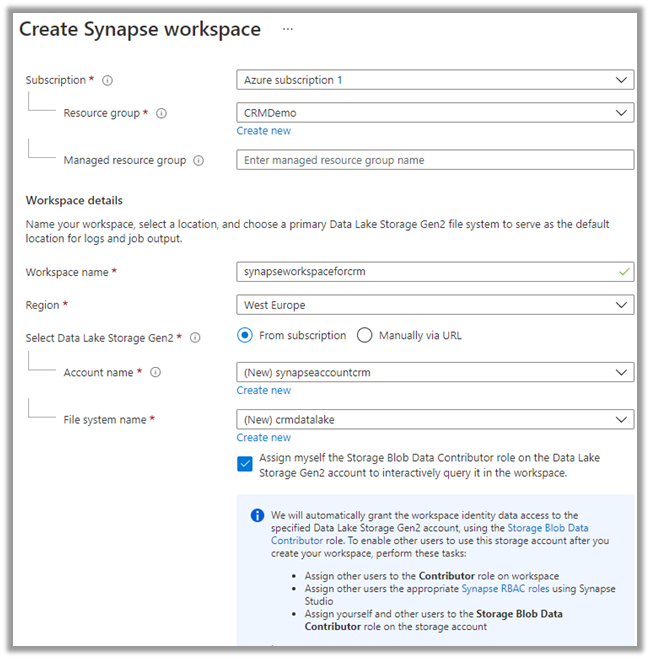
As a first step, we need to create the Azure Synapse Workspace.
Login to Azure Portal (https://portal.azure.com/ ) with appropriate roles and create a Synapse workspace.
https://docs.microsoft.com/en-us/azure/synapse-analytics/get-started-create-workspace
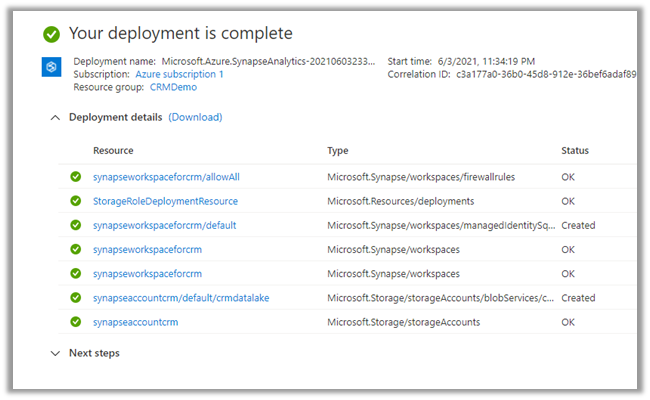
Wait for the deployment to be complete. Below are the resources created as part of the deployment.
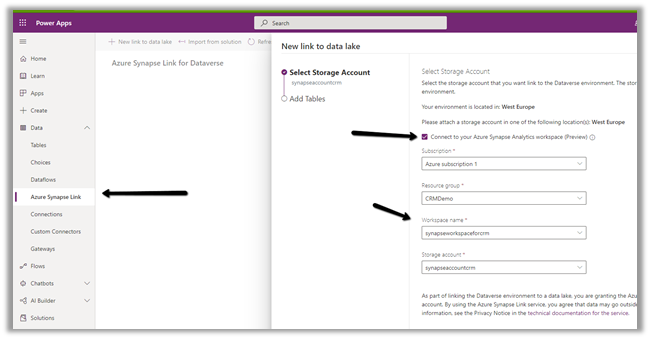
Login to the maker portal (https://make.powerapps.com/ ) and select the appropriate environment
Click on Azure Synapse Link and check the Connect to your Azure Synapse Analytics workspace (preview) and specify the storage account created in the previous step
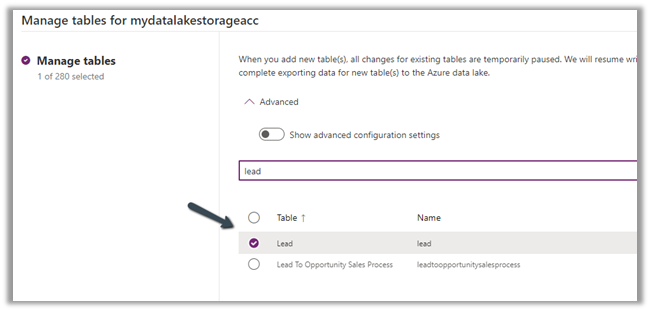
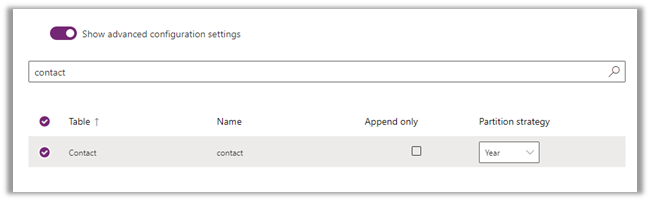
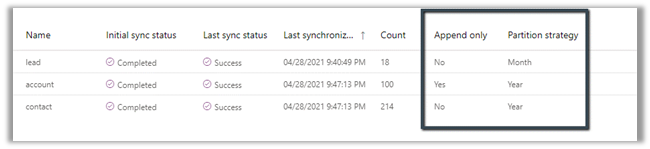
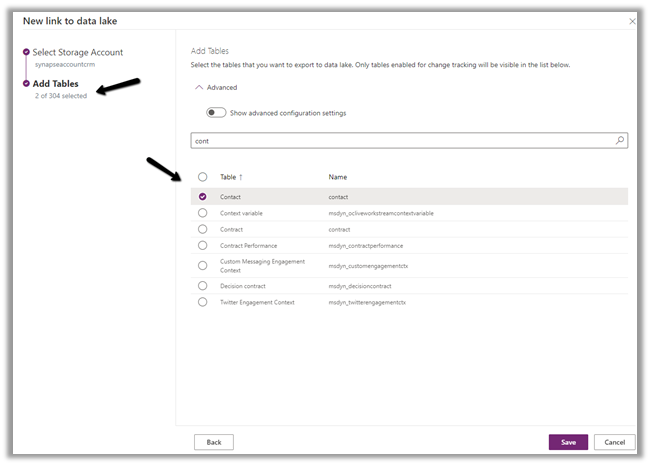
Here we have selected the Contact and System User table for export.
On clicking Save, we got this error couple of times, even though the account being used was Owner across the Azure resources. Trying save 3-4 times more, allowed the link to be created.

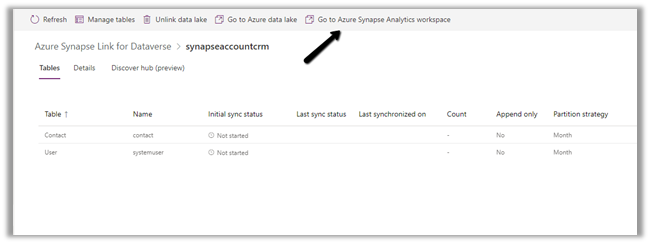
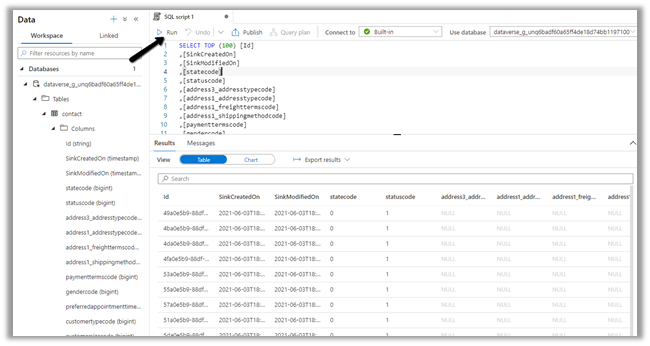
Click on Go to Azure Synapse Analytics workspace, opens the Azure Synapse Studio
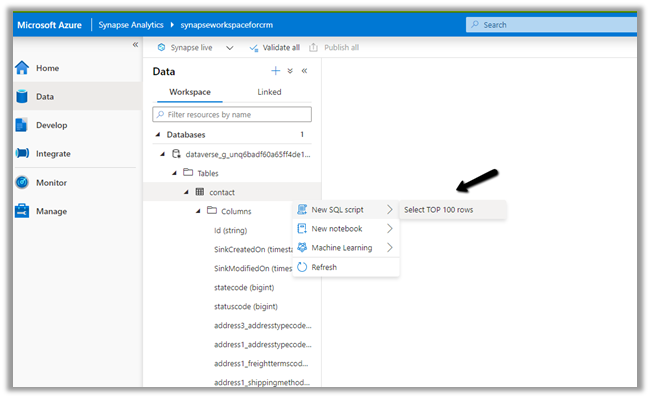
Within Synapse Studio we can see our Dataverse Database and run query.

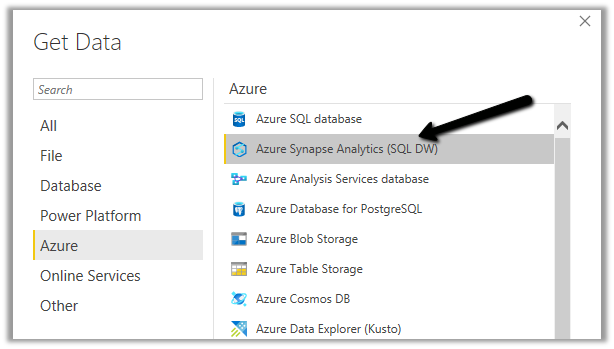
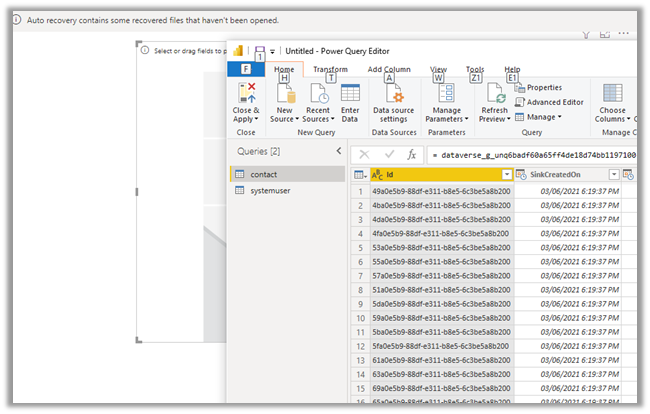
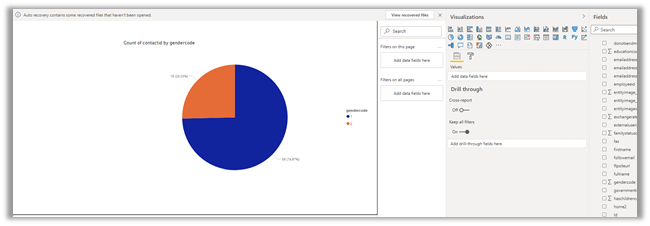
Similarly, we create a Power BI report with Azure Synapse Analytics (SQL DW) connector.
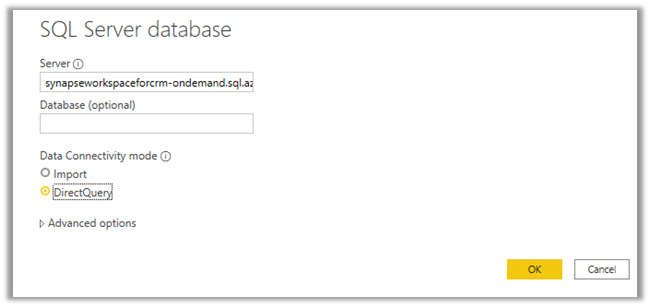
Copy the Serverless SQL endpoint of the Synapse workspace.

Select the Direct Query option.
Hope it helps..