Recently we saw File usage for one of the environments reaching around 68 GB.
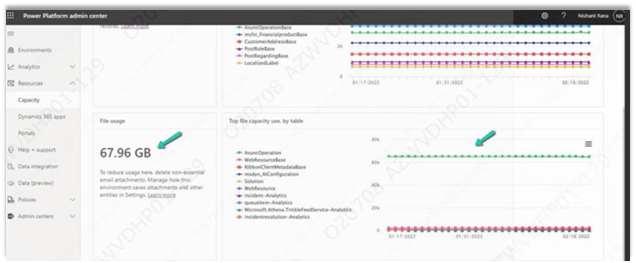
We managed to bring it down to around 10 GB or so by (Microsoft Support quickly helped us by sharing the required details here)
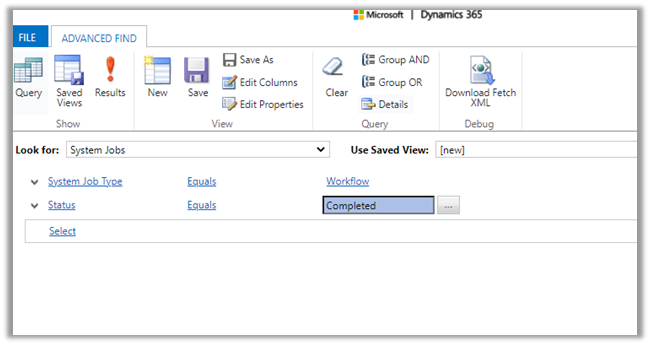
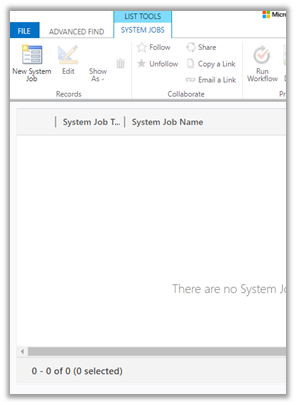
- Deleting the System Job of Type Workflow with Status as Successful.
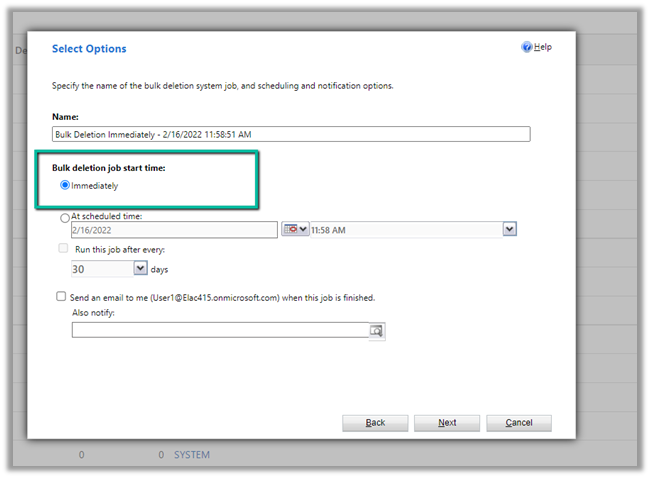
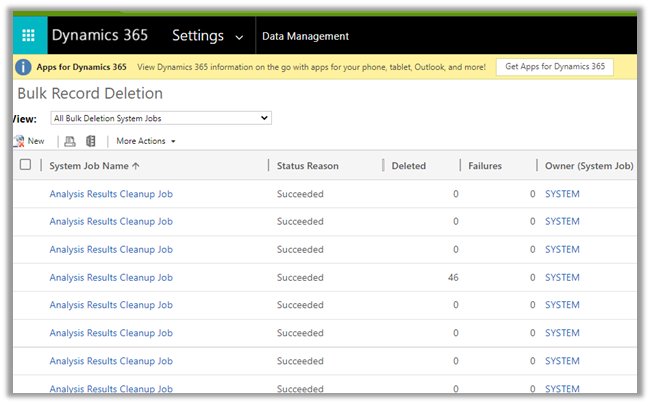
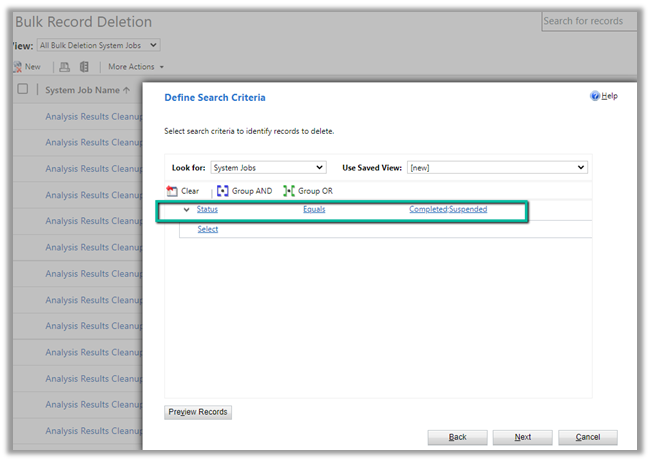
- We ran Bulk Deletion Job to delete successful and suspended System Jobs.
Settings >> Data Management >> Bulk Record Deletion
- We can also delete attachments or emails or notes having attachments either through Advanced Find or Bulk Deletion job if not using them.
- Uninstalled the Analytics Solution for Sales to delete the analytics data.
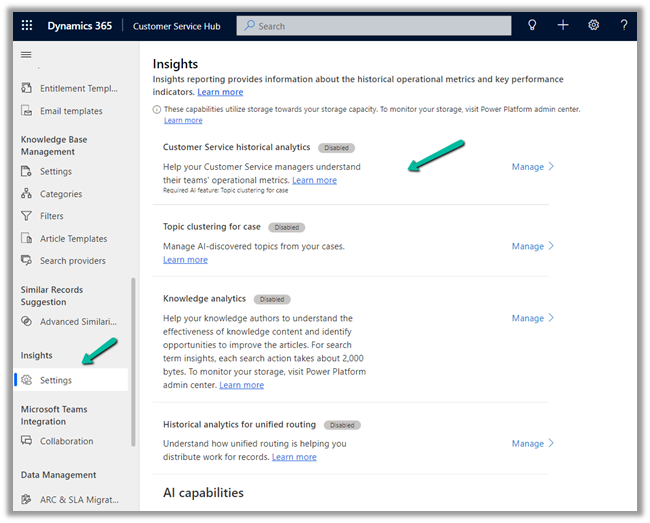
- Disabled the Analytics / Insights for Customer Service Hub.
Customer Service Hub >> Service Management >> Insights (Settings)
Nicely explained here –
Also, check
https://docs.microsoft.com/en-us/power-platform/admin/free-storage-space
Hope it helps..
Advertisements