With the new release, the CDS/CRM connection manager adds a new Interactive Login option in the CDS/CRM Connection Manager for Authentication Type as OAuth.
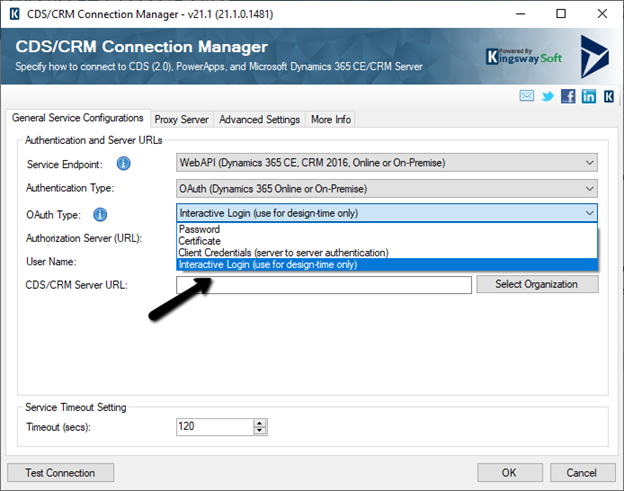
Interactive login allows the user to log in using his account details (to establish the connection with CRM) without the need for registering the application in the Azure Active Directory.
This is supposed to be used only during design time.
Enter User Name and the CDS/CRM URL and click on Test Connection.

The login screen pops up, where we can enter the credentials and sign in.

We’d receive the Test connection succeeded message.

Now we are ready to use the CRM Connection.
Now when we will run the package from within the Visual Studio (SSDT), it will again ask for entering the credentials.
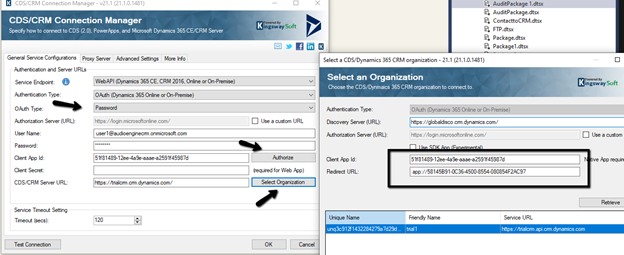
The other option is to use the OAuth Type Password along with default Client App ID and Redirect URL

Hope it helps..