Let us configure Dynamics 365 and Azure Service Bus integration.
Here we would implement a basic scenario, every time a lead is created in CRM we’d pass this execution context information to the queue. The app then reads and shows the information.
As a first step, we need to register a service end point through plugin registration tool.

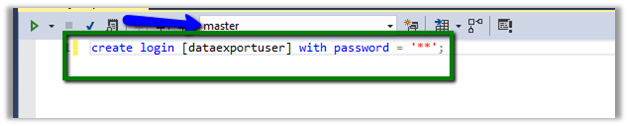
Here we need to provide the connection string 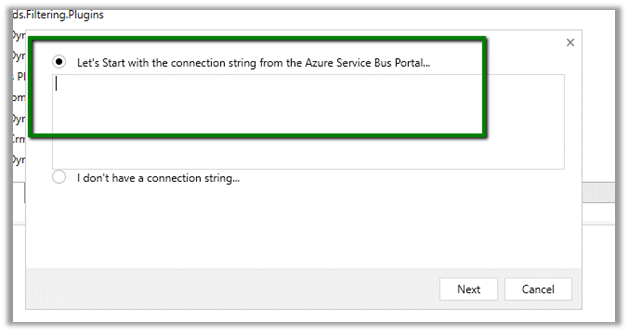
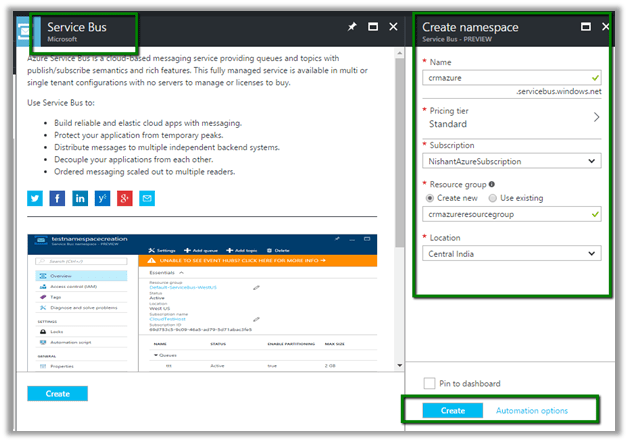
So, let us create SAS configured Azure service bus namespace and a queue in it.
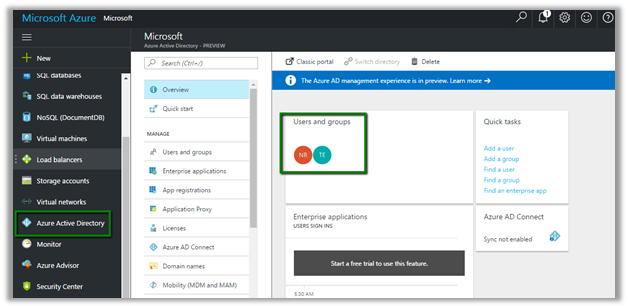
Go to portal
Search for Service Bus, provide the required details and click on Create.
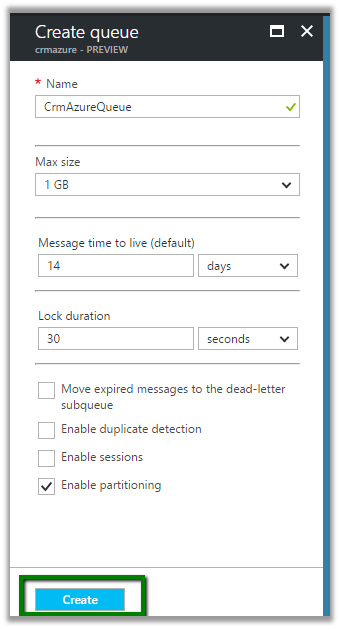
Next, we’d create a queue. Inside Service Bus go to Queues and click on plus button create a Queue

Next inside the queue we need to go to Shared Access Policy settings and click on Add button to add a new SAS Key
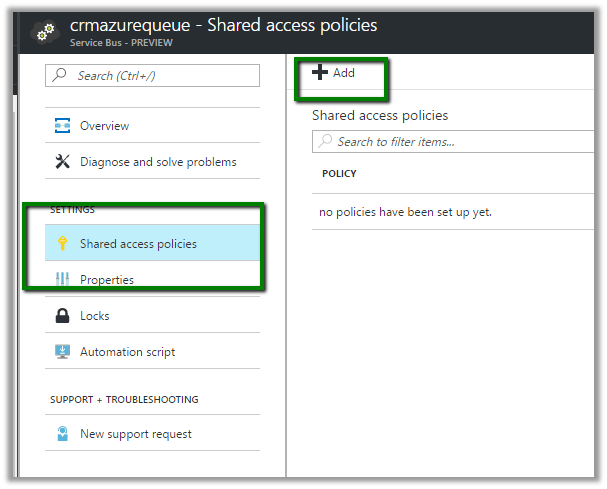
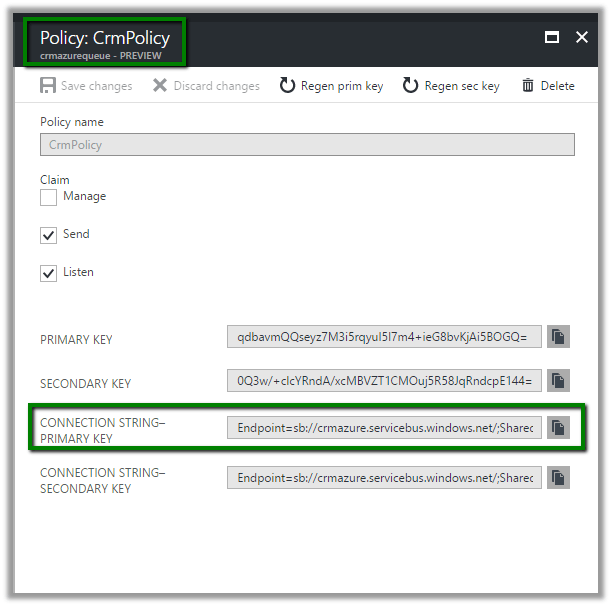
Next click on connection strings, followed by Add button to add a new SAS Key.
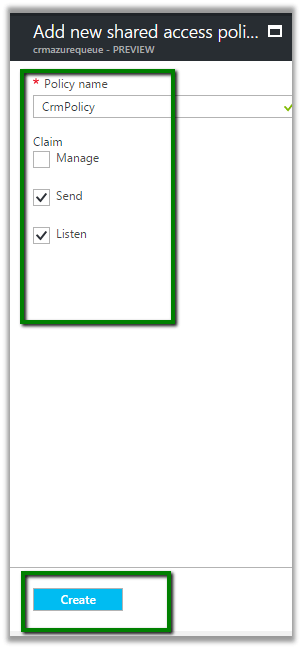
This creates the key. Now copy the connection string.
Paste the connection string in the Plugin Registration tool
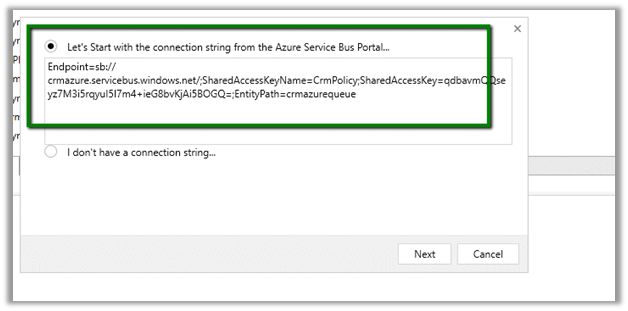
It will auto populate all the details. Now click on Save.

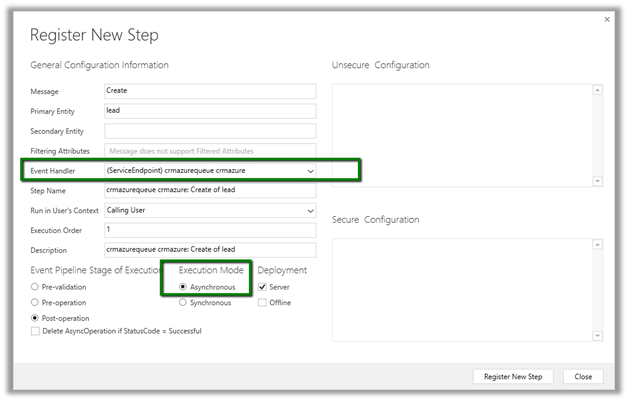
This adds a new service end point

Now register a new step – Entity – Lead and Message – Create.
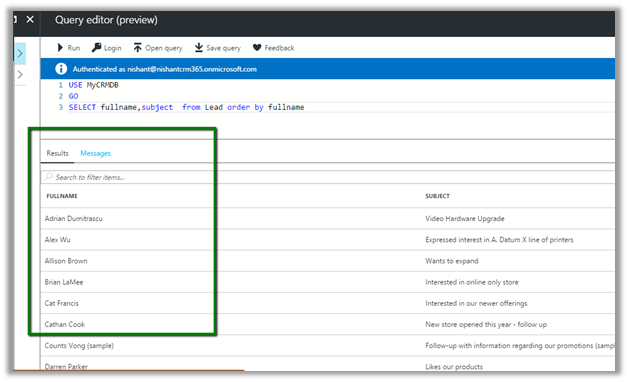
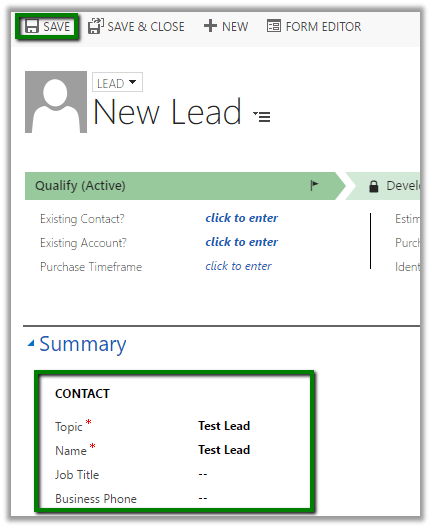
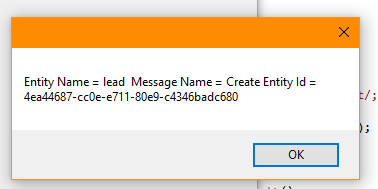
Now to trigger it let us create a lead record in CRM.
A corresponding System Job will have the status.

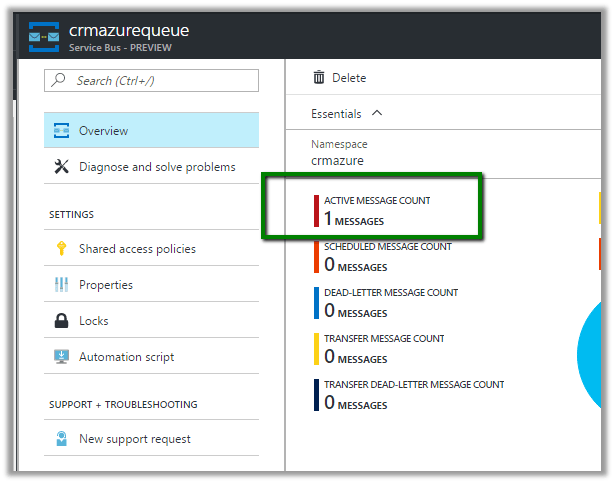
Back in our queue we can see 1 new message added to it.
To read the message, let us create a simple windows application.
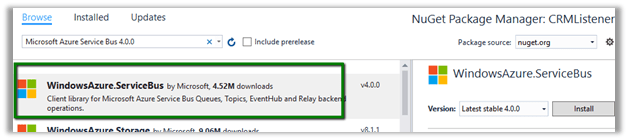
Install the WindowsAzure.ServiceBus package.
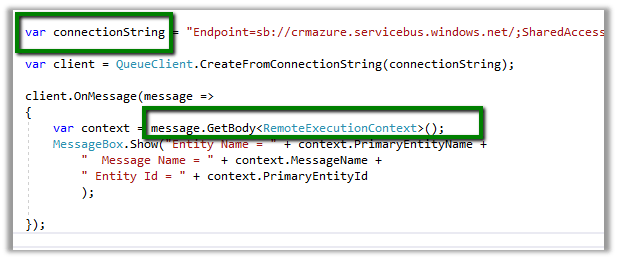
The source code for the queue. Here the connection string will be the same which we had specified in the plugin registration tool. The message body is of type RemoteExecutionContext.
The output.
Hope it helps..