Configure WhatsApp channel – Omnichannel (Dynamics 365)


To configure the WhatsApp channel, we need to set up the account in the Customer Service Admin Center.

Navigate to Customer Support >> Channels >> Messaging Accounts (Manage)

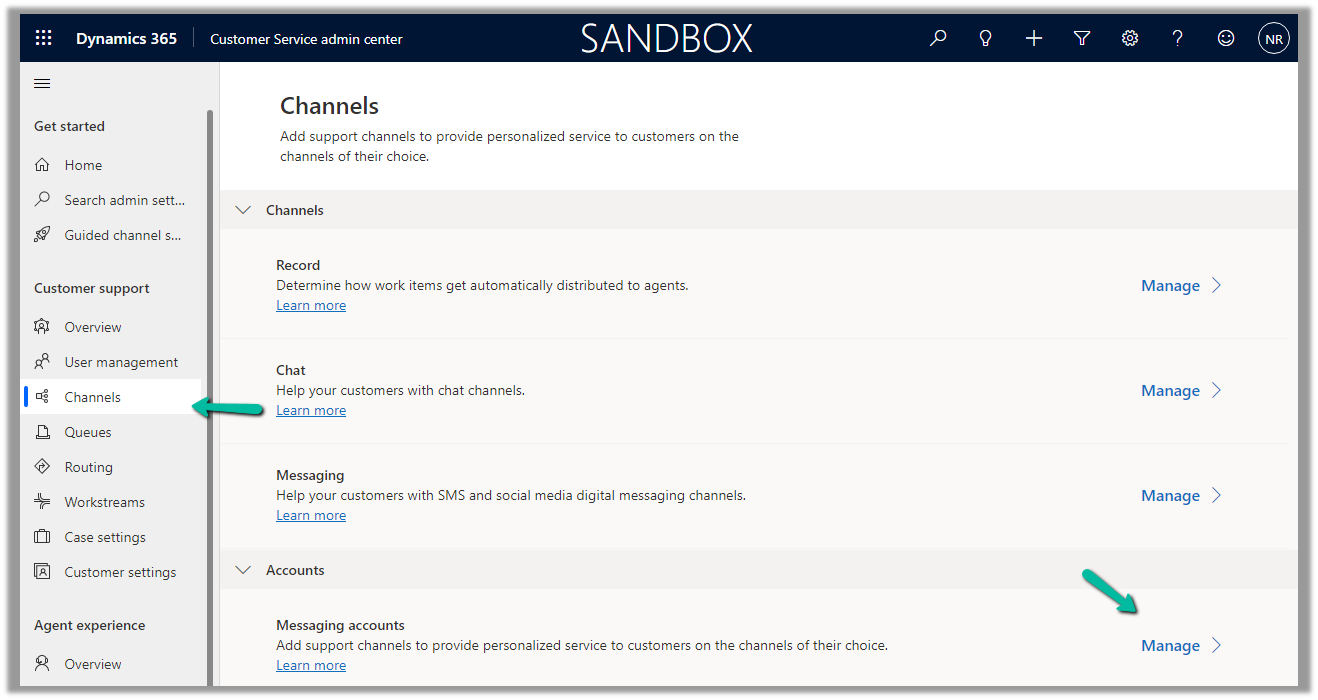
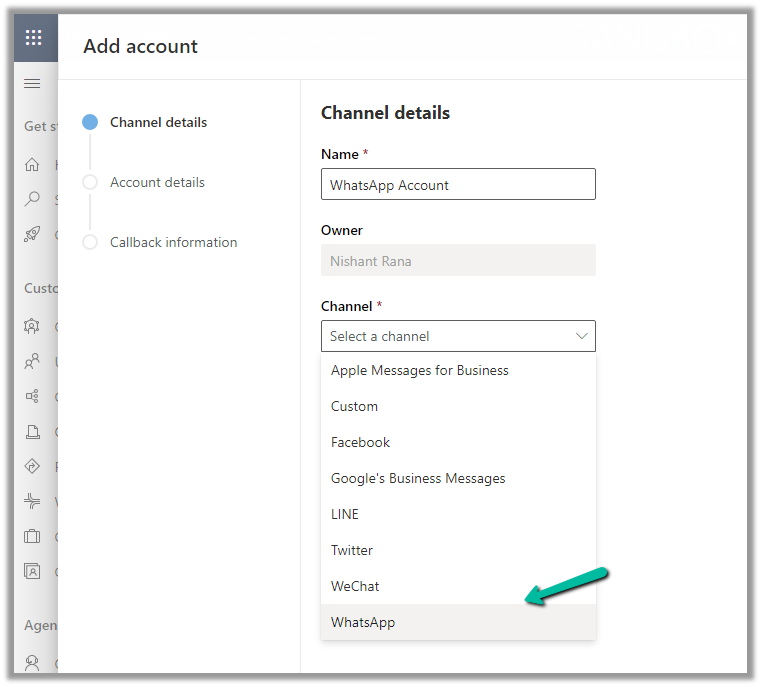
Select the New Account option there

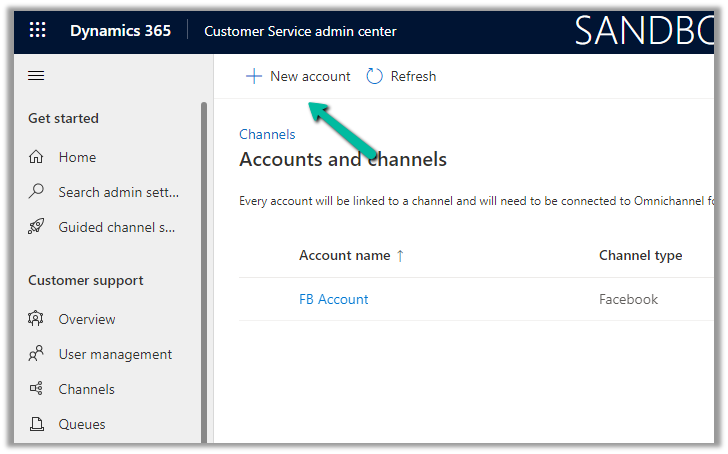
Select WhatsApp as the channel

Next, we need Account SID and Authentication token.

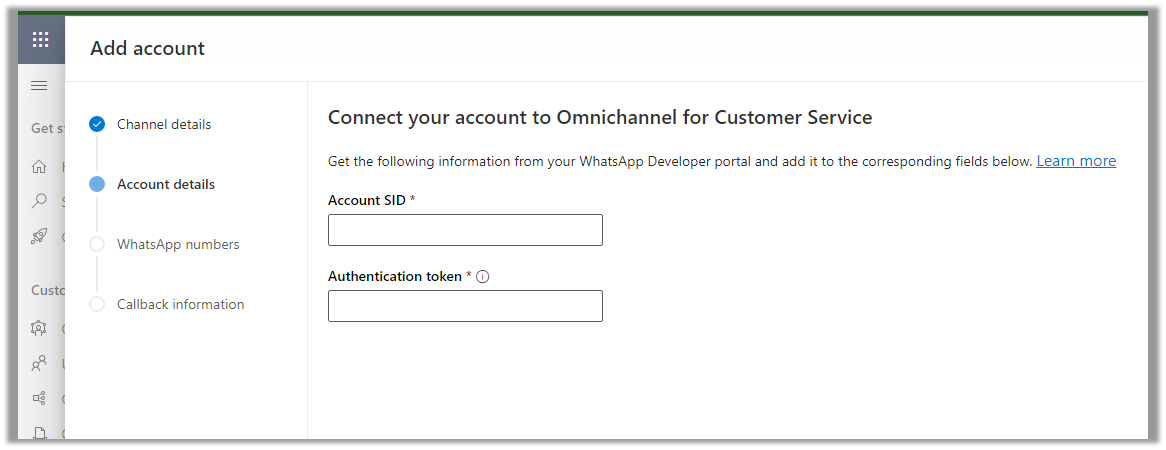
To get this information we need to create a Twilio Account.

https://www.twilio.com/try-twilio

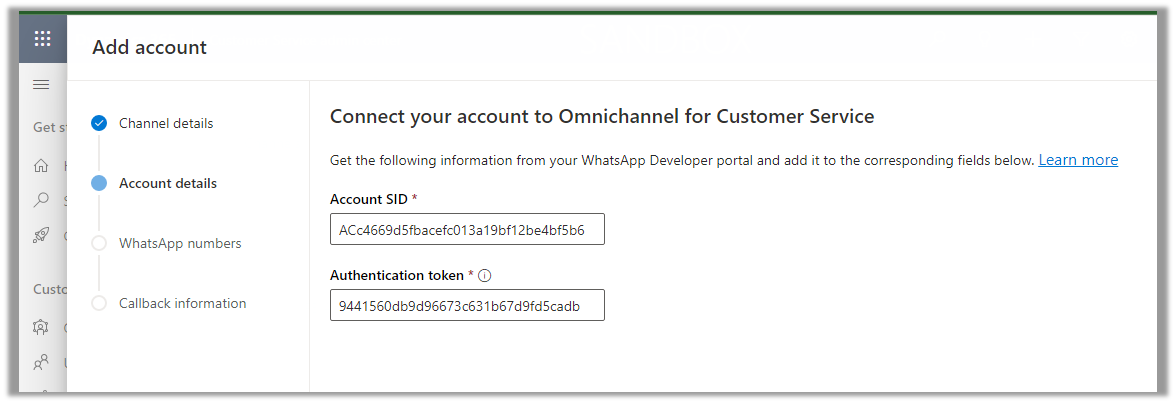
Navigate to the console and copy the Account ID and Authentication token

https://www.twilio.com/console

Enter Account SID and Authentication token click on Next

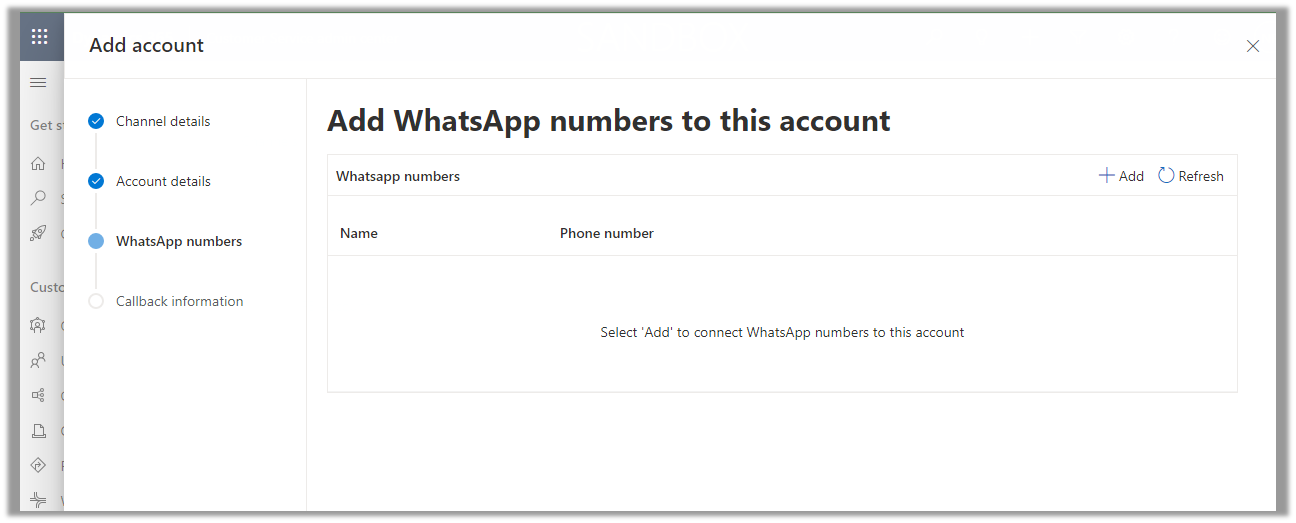
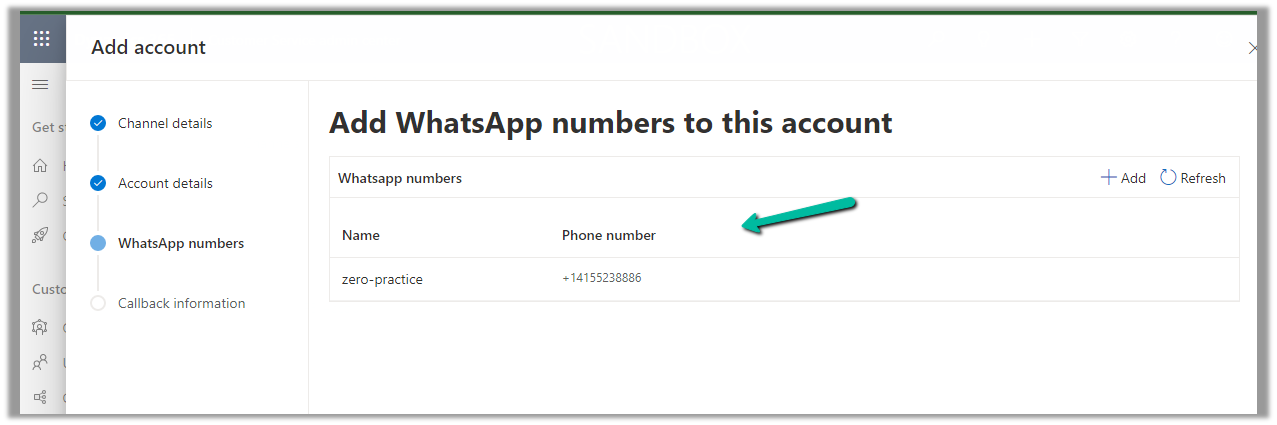
Next, we need to add the WhatsApp Name and Phone number

Navigate to Messaging >> Try it out >> Send a WhatsApp message to activate the WhatsApp Sandbox.

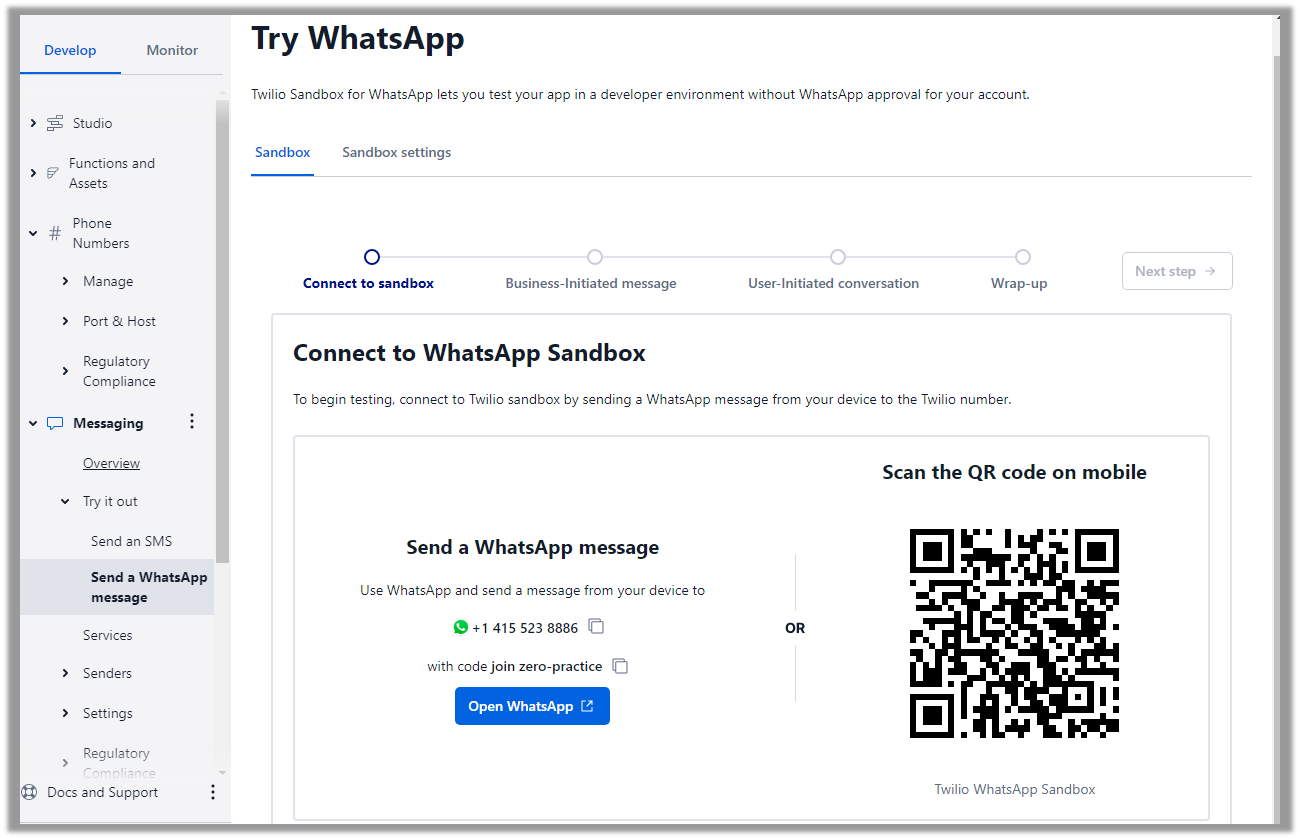
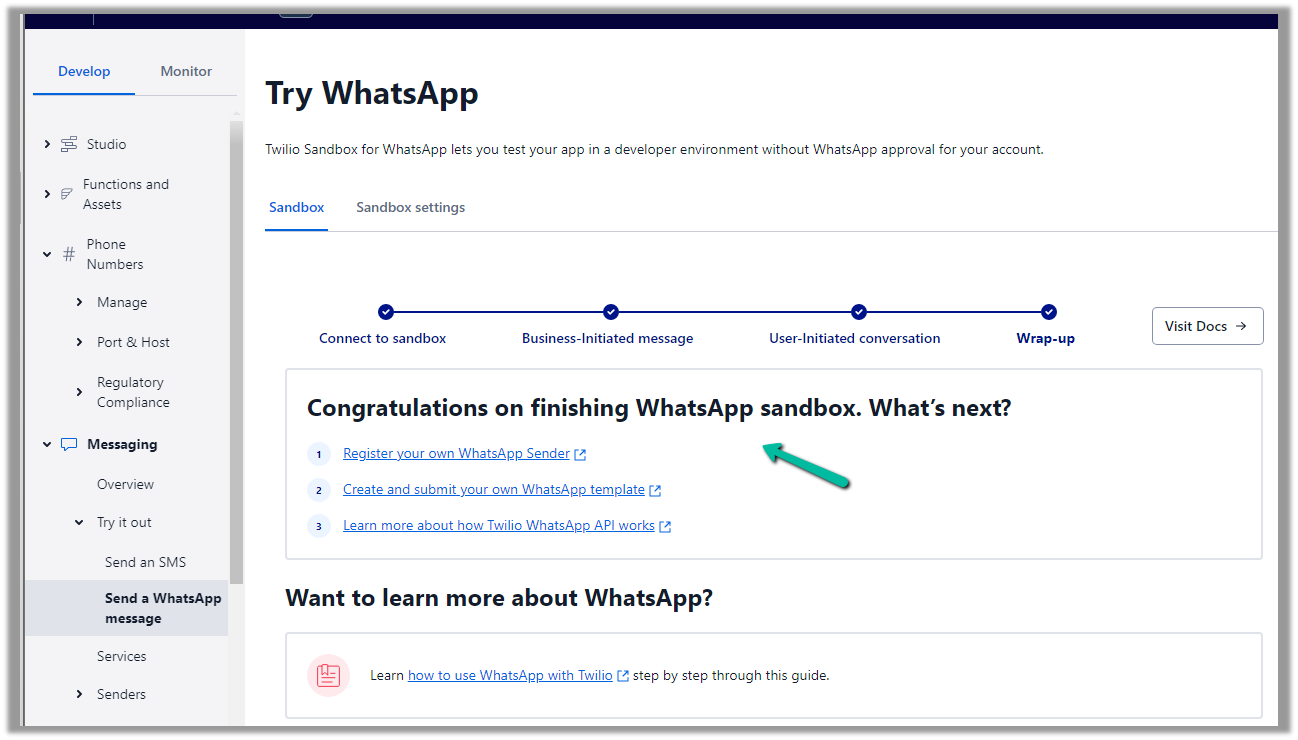
Follow the steps there to configure the Sandbox account. (scan the QR code send the Message, and test the Business and User-Initiated message/conversation).

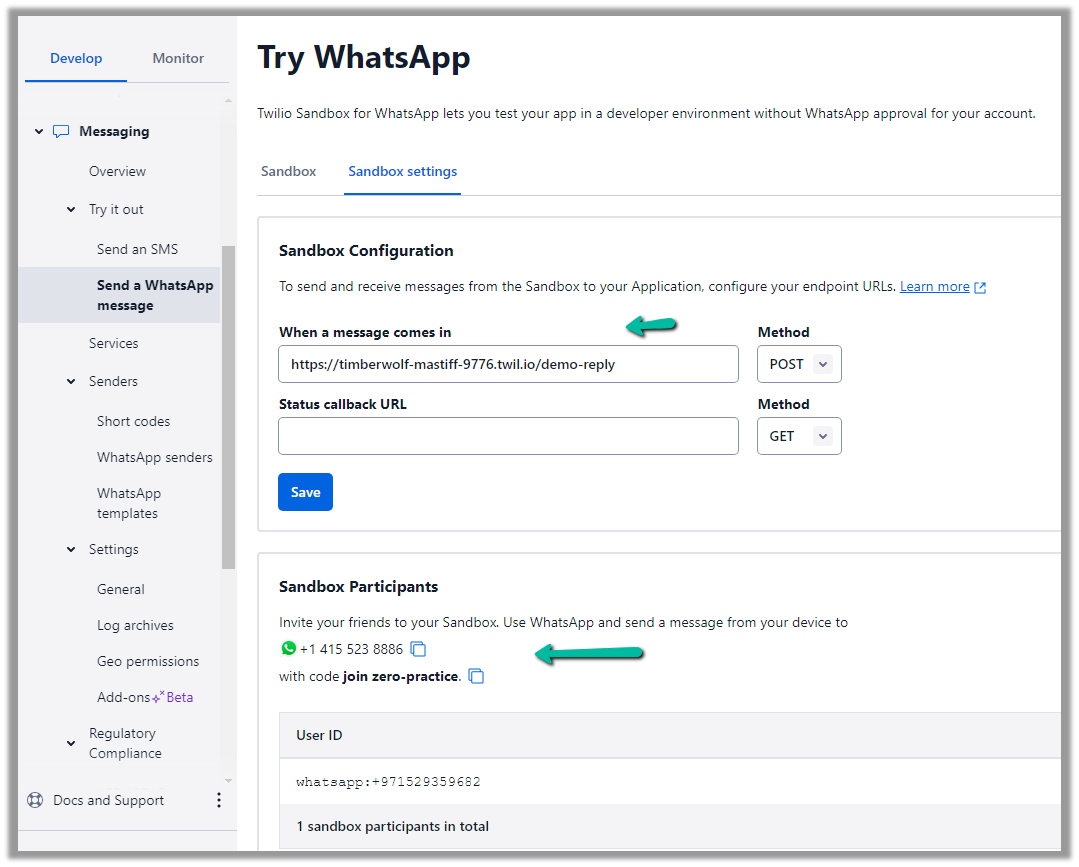
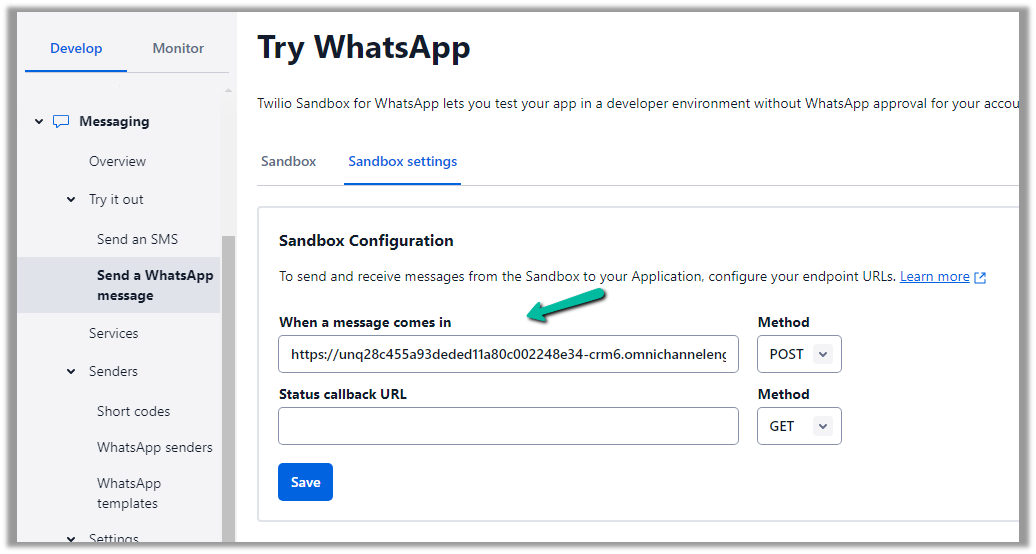
Click on Sandbox setting tab to get more information

Copy the number.

Add the number and click on Next

Copy the URL

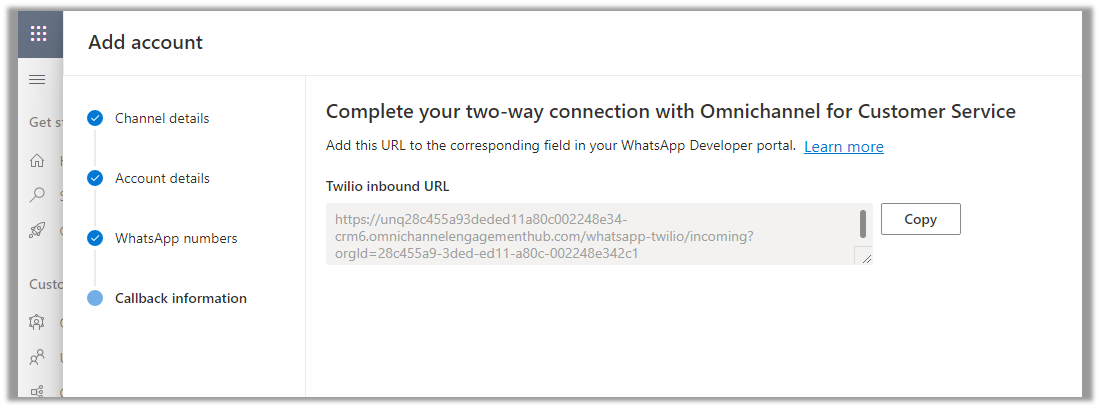
Paste that URL in the When a message comes in and save.

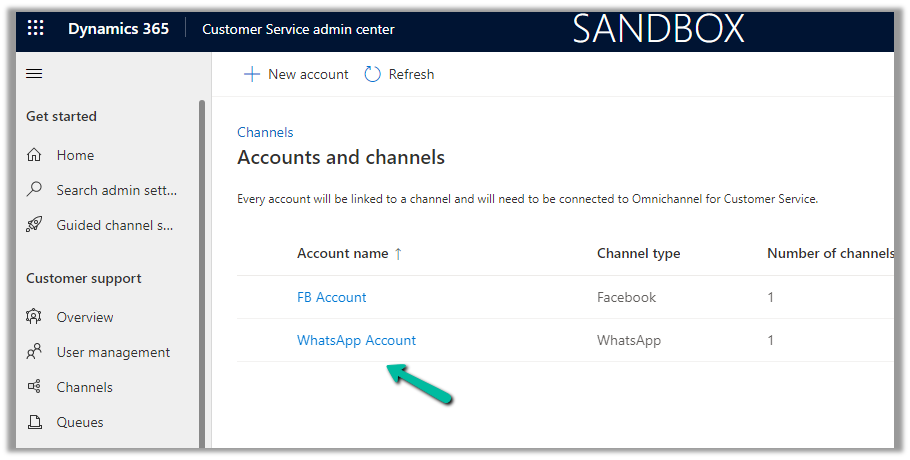
We can see our WhatsApp account created, open the record.

We can see our number being shown as Active

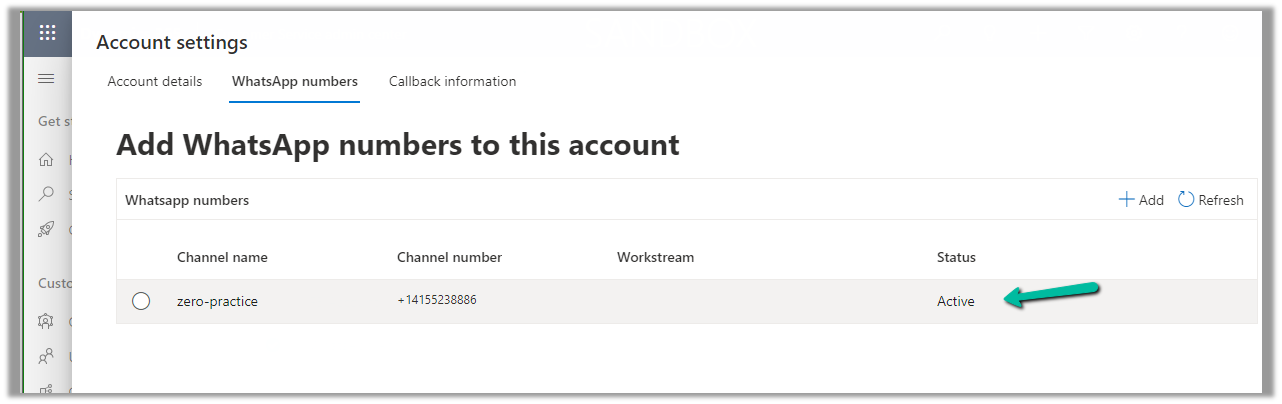
With the account active time to now it is time to set up the channel/workstream / queue.

Navigate to Customer Support >> Channels >> Messaging (Manage)

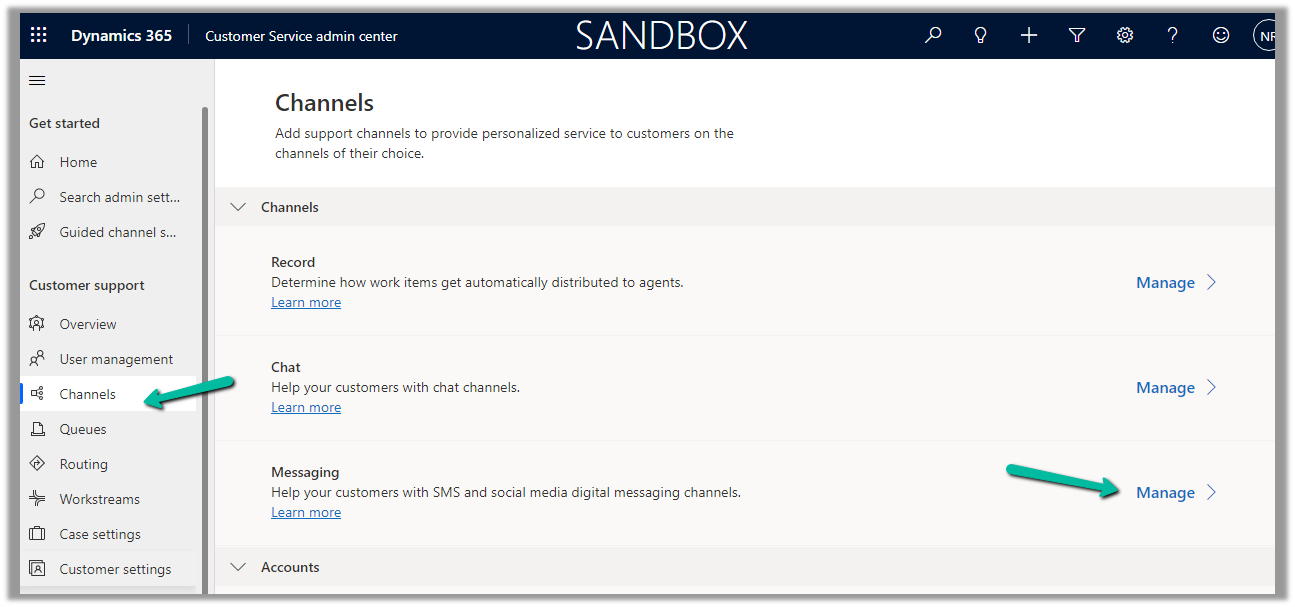
Click on Add Channel and add the details

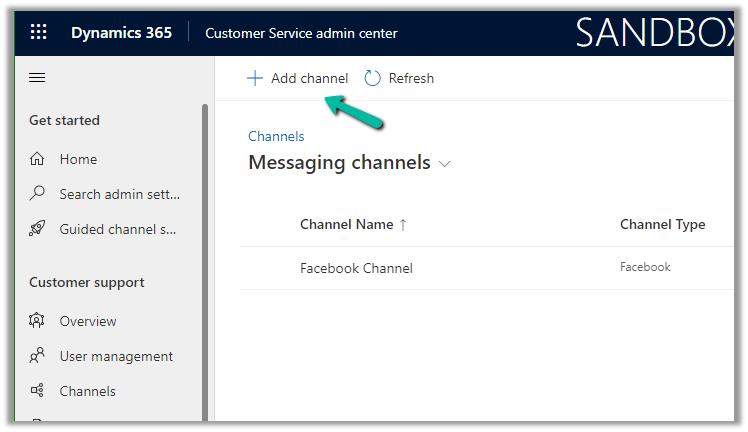
Enter channel details

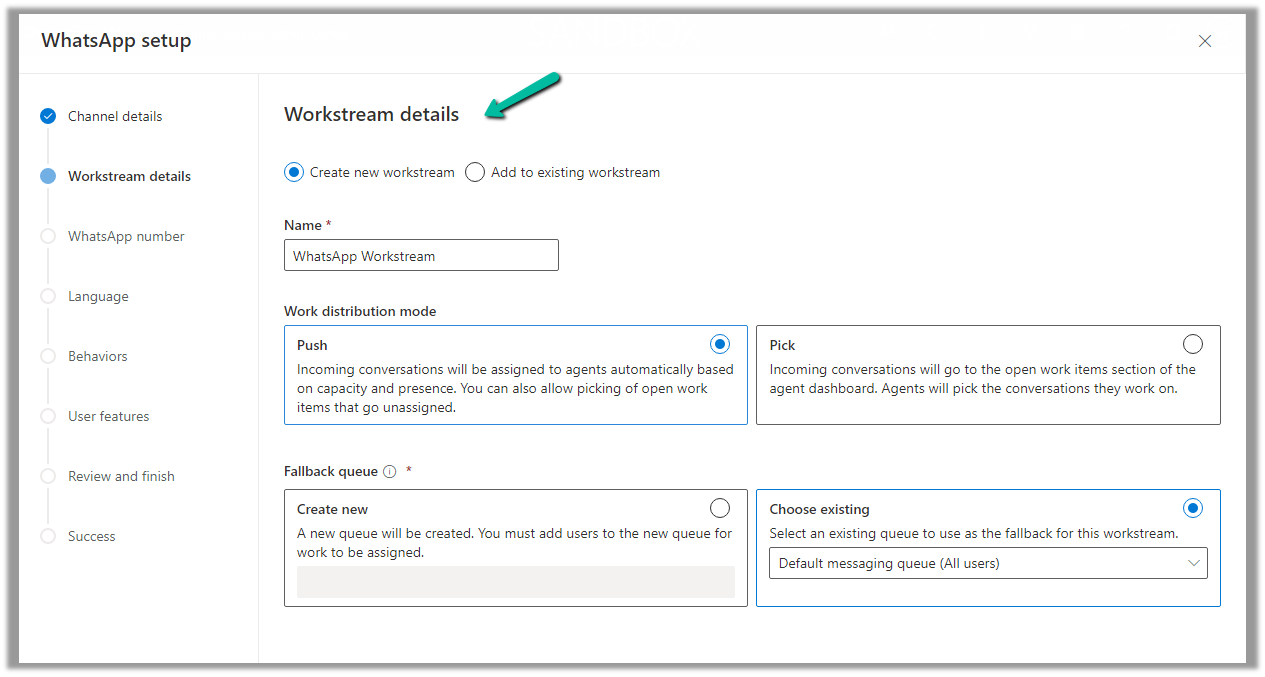
We are creating a new workstream

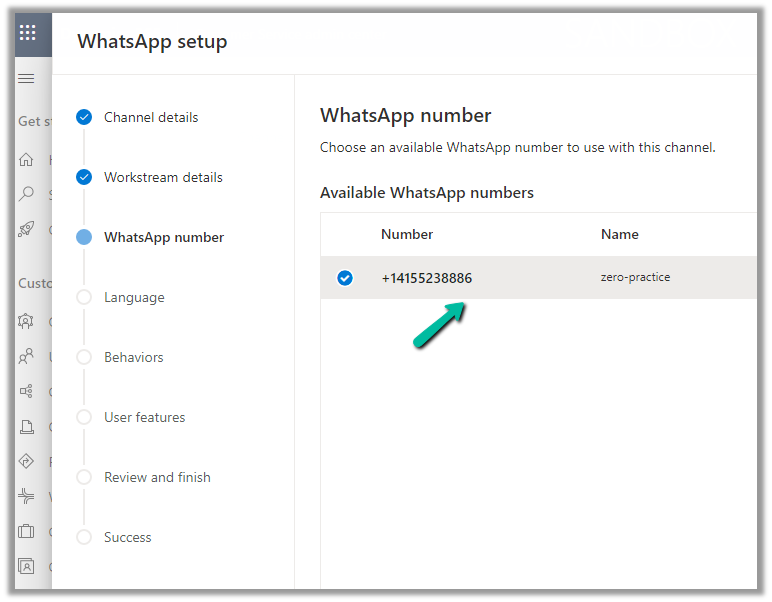
Add the WhatsApp number added

Select the language

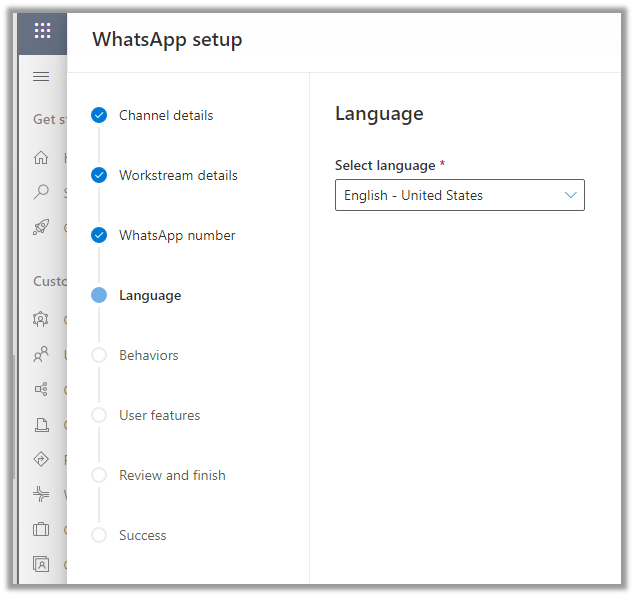
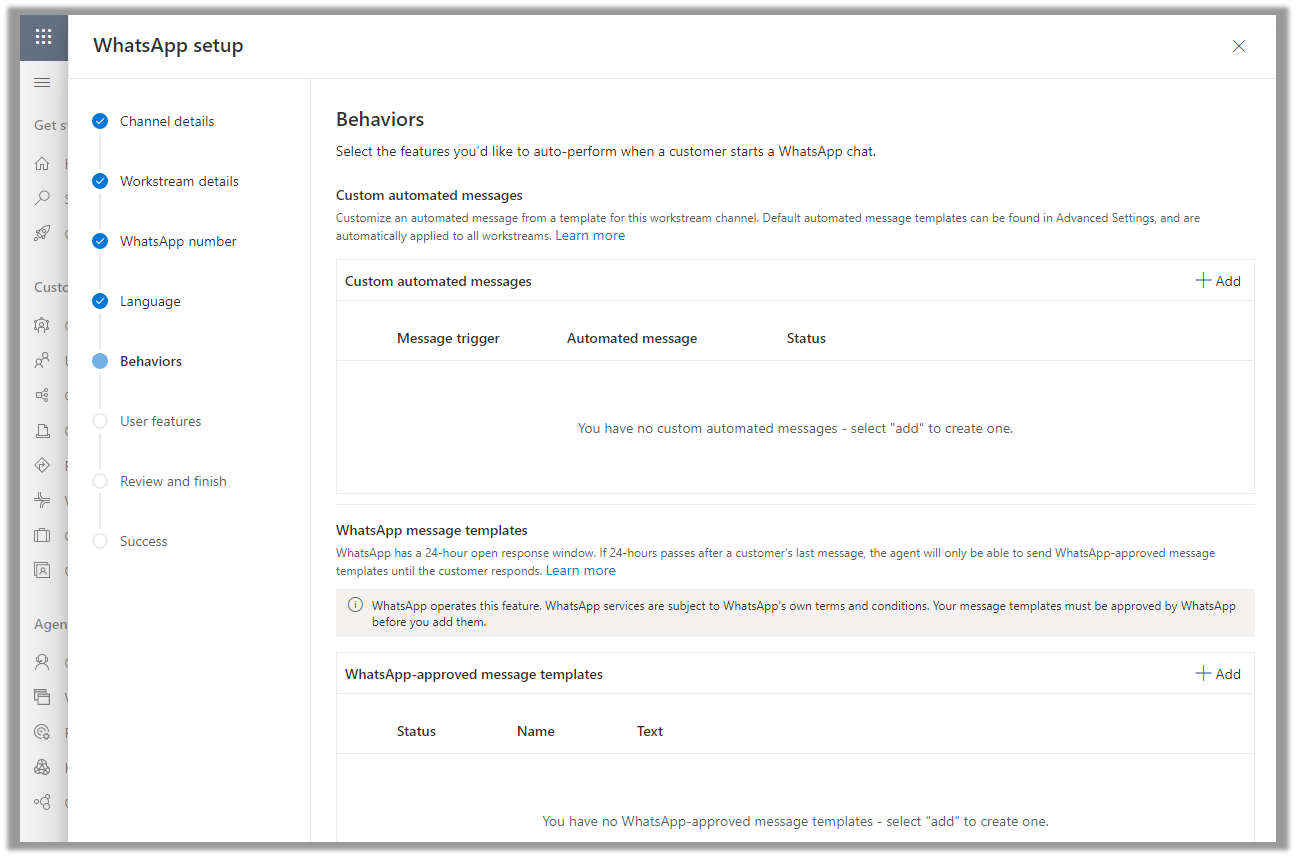
Specify the Behaviour (automated messages and approved templates)

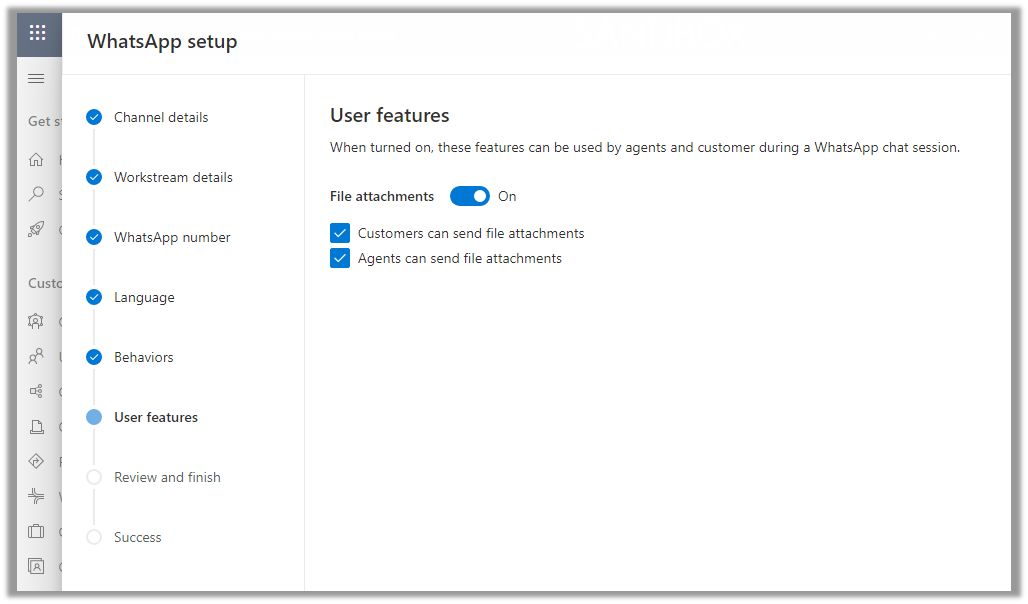
Specify the user features (attachments)

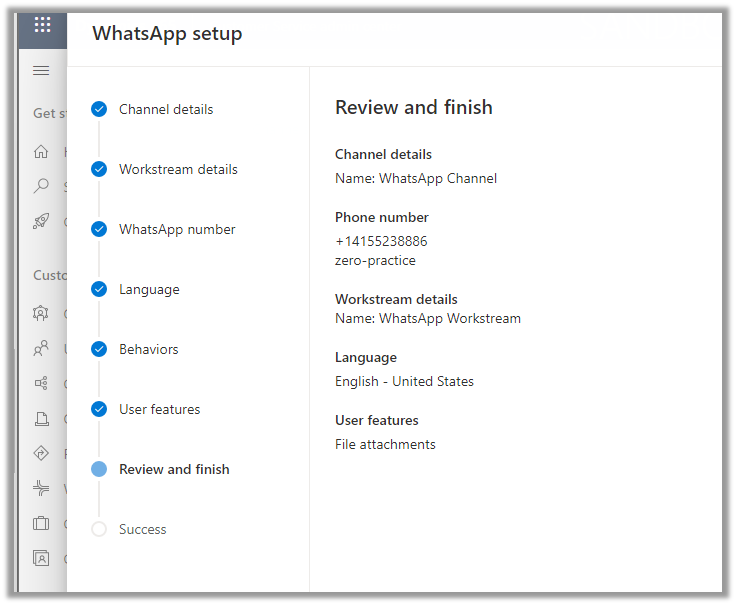
Review and Finish and Create the channel.

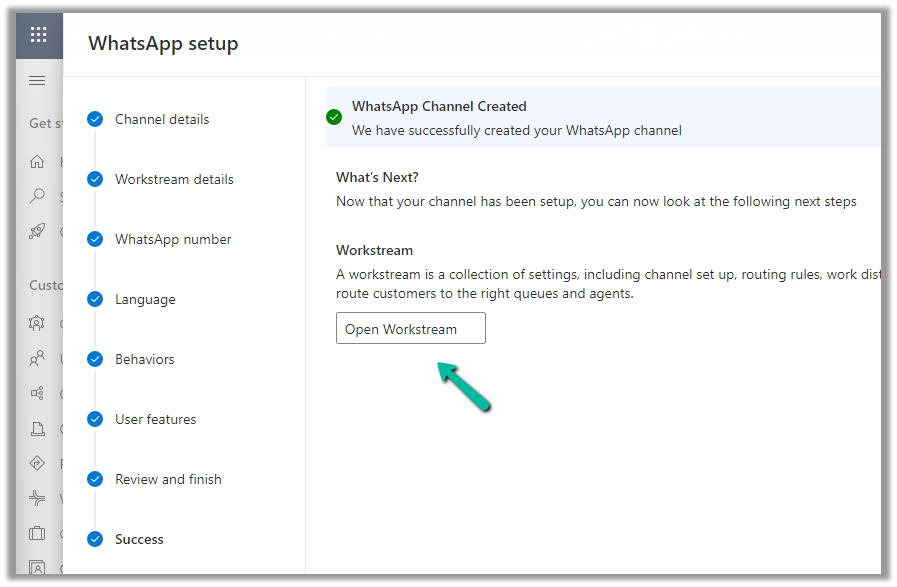
Open the workstream and specify routing rule/fallback queue/work distribution/associate bots etc details

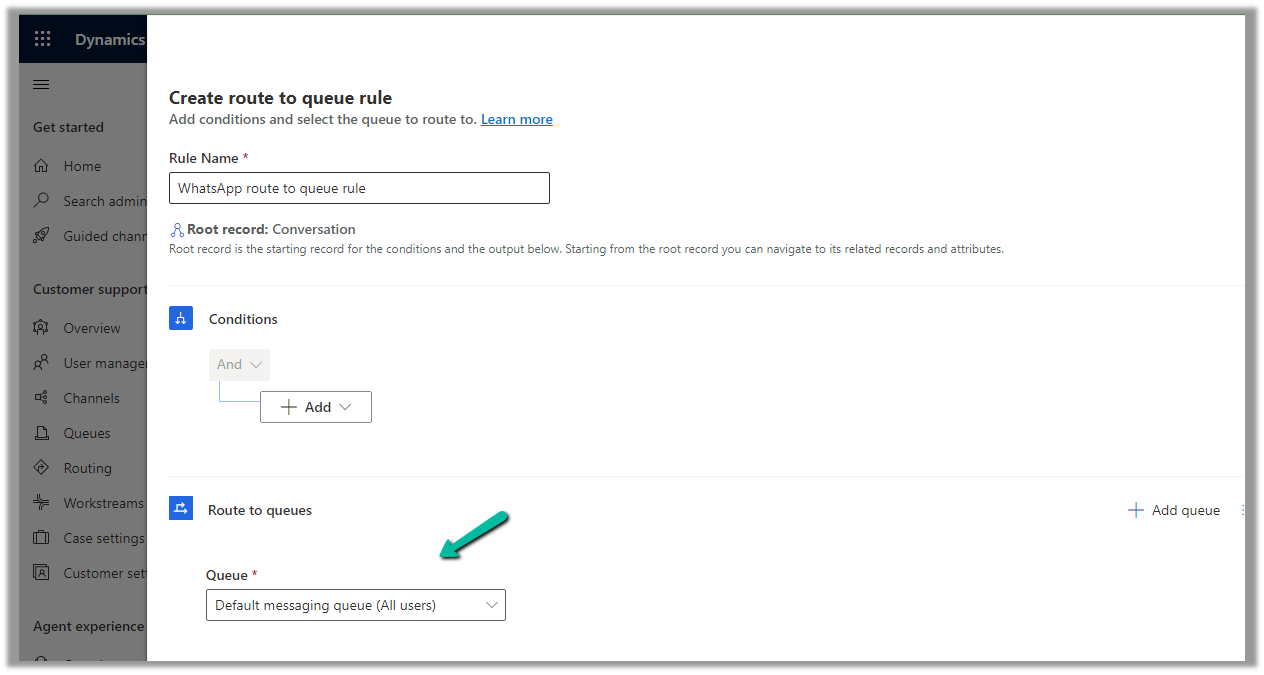
We will create a ruleset to route the message to the queue

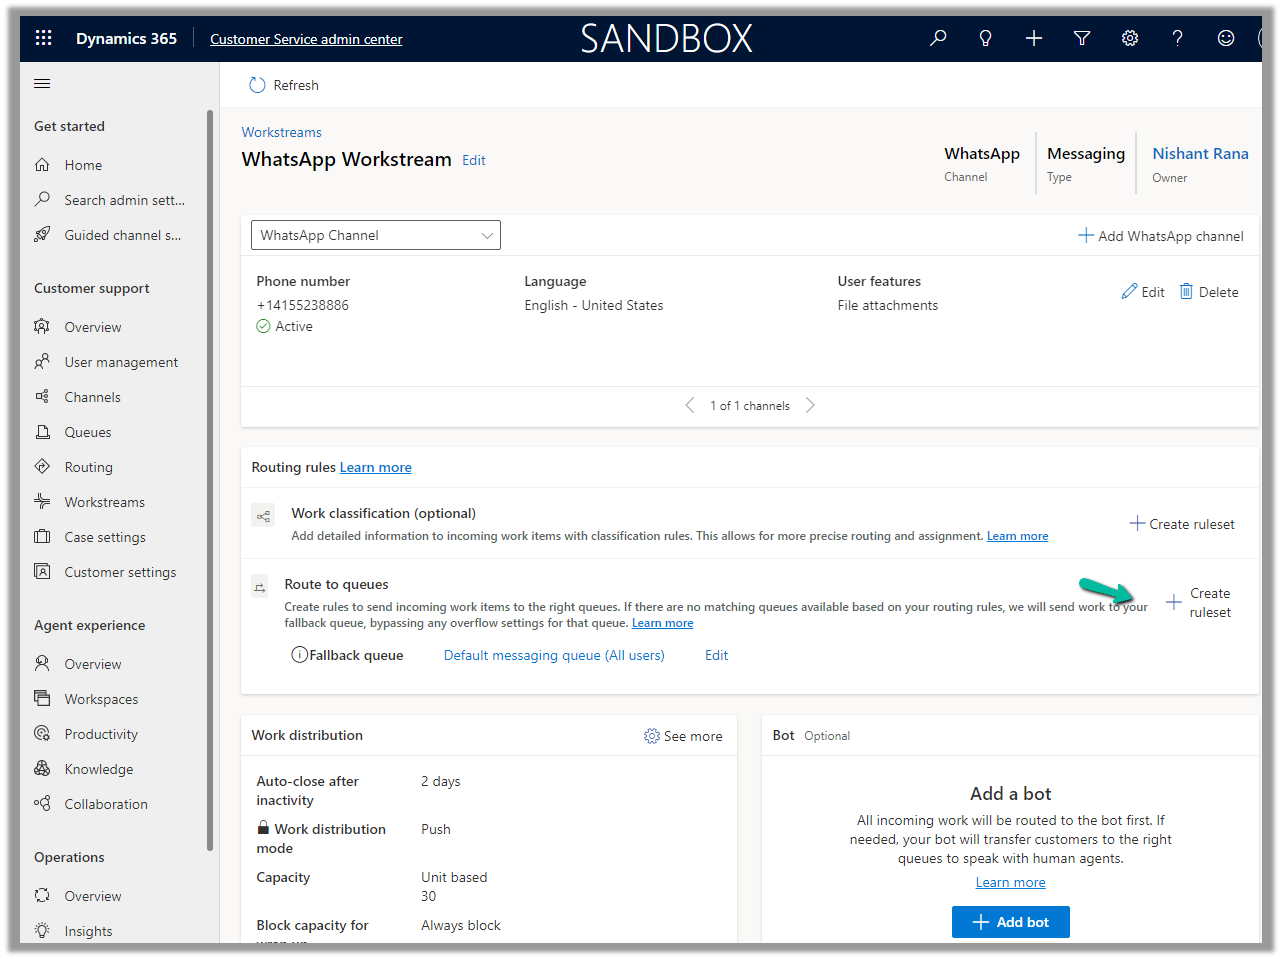
We have the below route-to-queue rule created to route to the default queue which has all the omnichannel agents added to it. (In an actual scenario, we would add the conditions and create a specific Advanced Queue).

We are leaving the rest of the settings/configuration as default.

Now is the time to test.

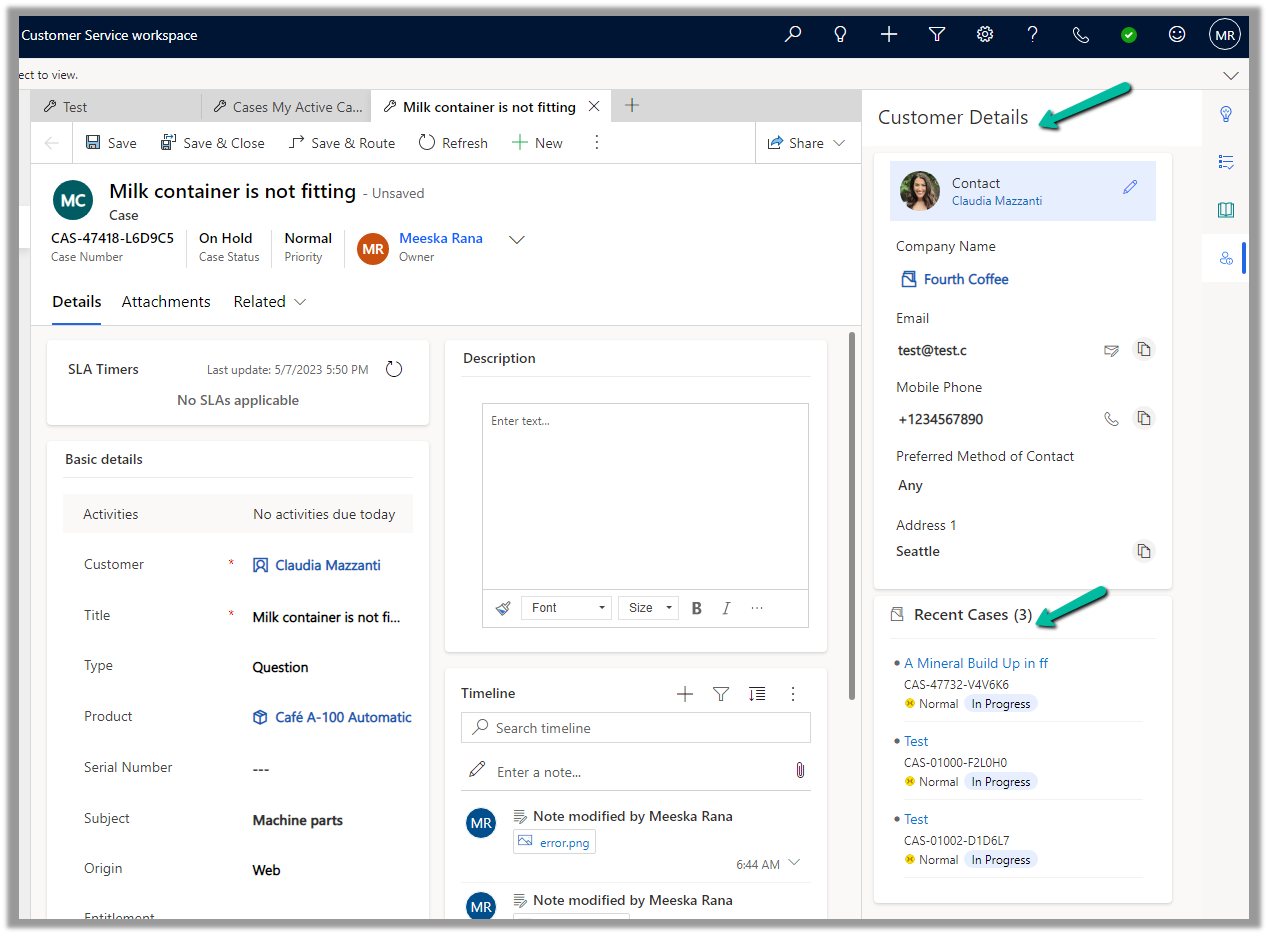
Let us log in to the Customer Service Workspace as an agent and from the registered sandbox participant number added send a message.

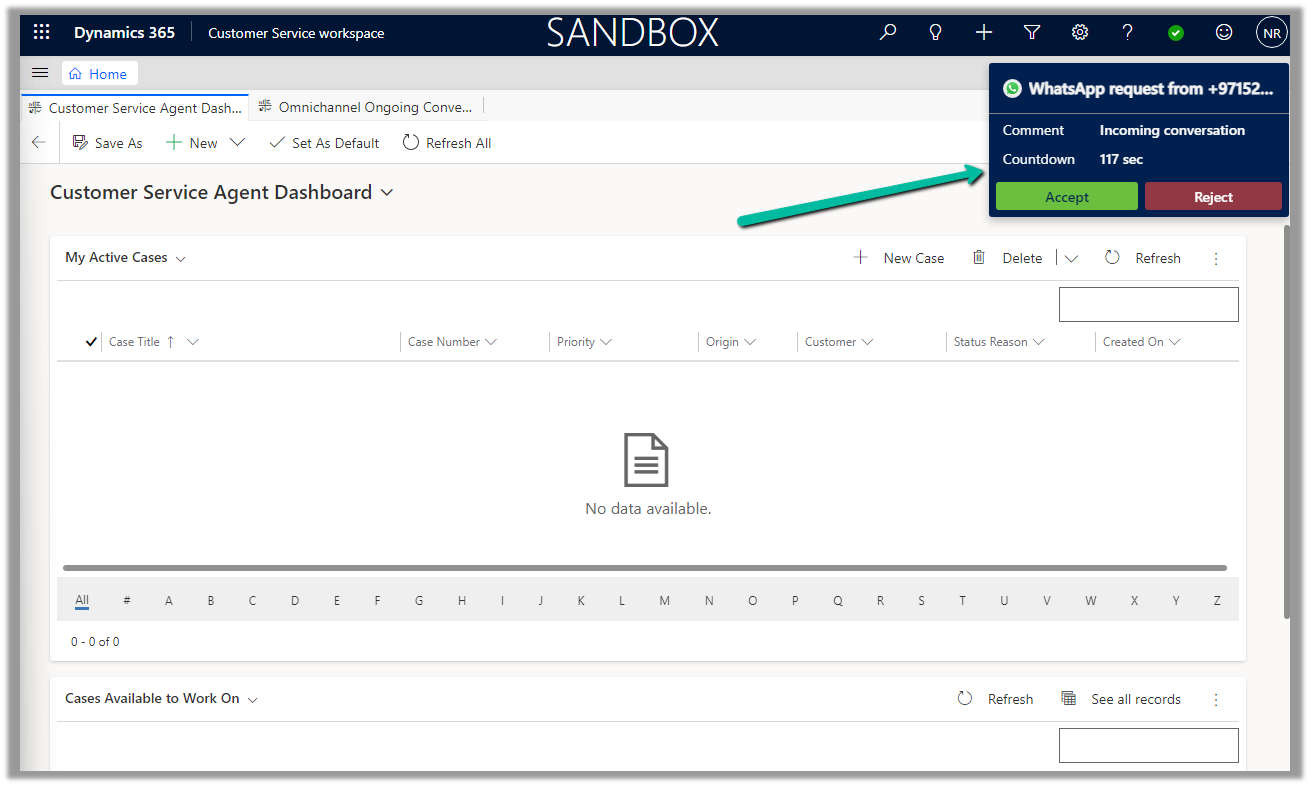
We are done with our configuration.
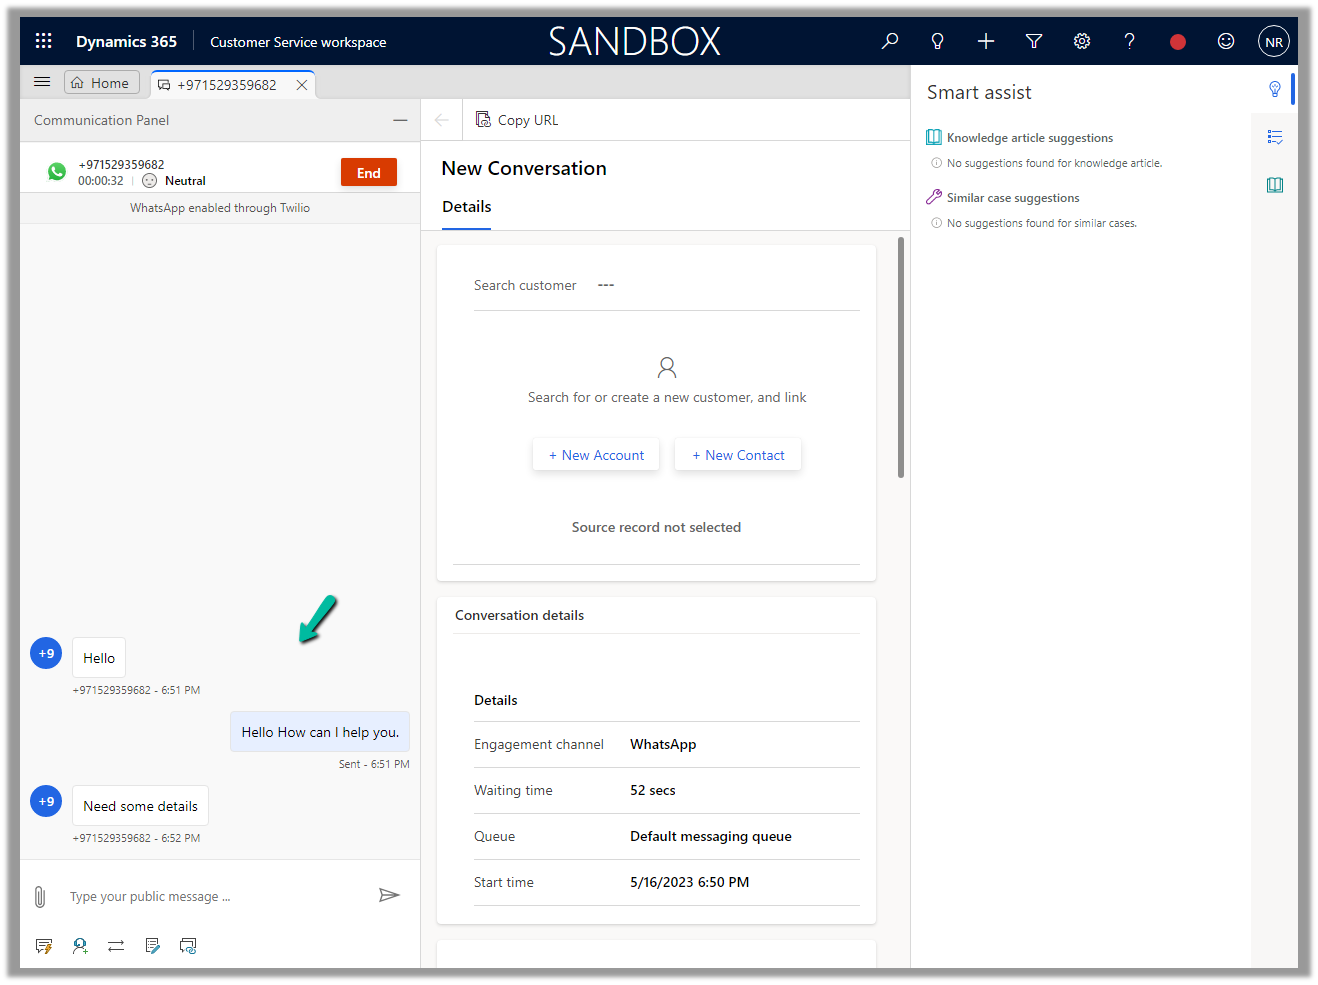
Get all the details

Hope it helps..

Advertisements

Fix – Missing dependencies error while importing solution (Dynamics 365)


Recently while importing the solution in our UAT we got the below error –

It was showing the above entity relationships missing in the solution. We could not find them inside the Power Apps Maker Portal, to add them in the source solution.

Interestingly enough we were able to find them from the classic solution explorer.

Adding them to the source solution and trying the import fixed the issue for us.

Hope it helps..

Advertisements

Using Customer Lookup in Canvas Apps (Dataverse)


For this example, we are taking the Company Name customer lookup column of the contact table.

We start by adding the Customer Name field to the form.

That adds a card to the form, let us add the required controls to get it working

Radio Button, Combo box, and Text Label for the combo box.

Change the Items property of the radio button to show the contact and account option.

Also, change the Layout to Horizontal and Default as Contact.

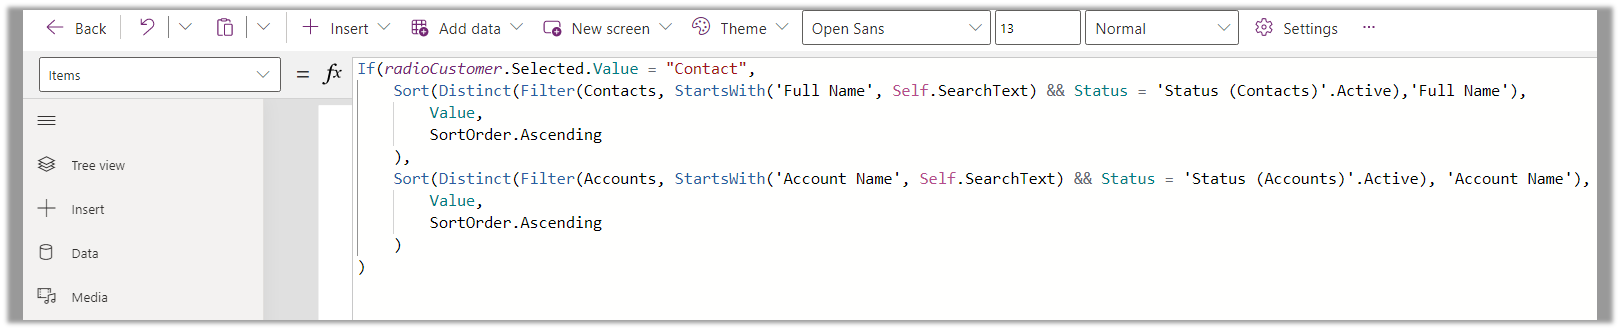
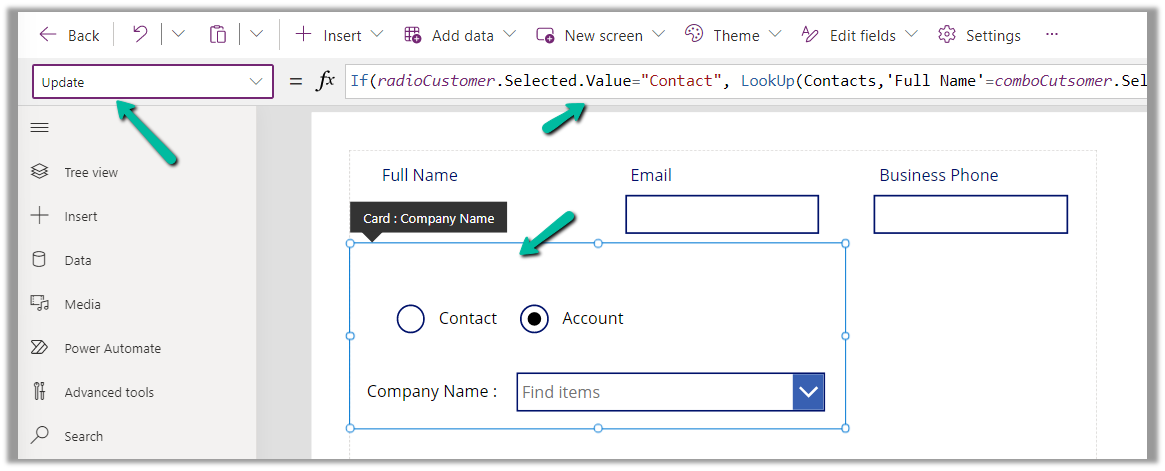
And set the Items property of the Combo box as below –

Based on the value selected in the radio button, we are setting the Data Source and also applying the Sort and Distinct function to it, along with StartsWith for delegation.

We have also set Allow searching as On for the combo box.

For the Contact option selected –

For the Account option selected –

Also, we can set the OnChange property of the radio button to Reset(comboControl) to clear the selection when the user switches between Contact and Account options.

Now to have this value saved back we can specify the Update property of the custom data card in which we have placed these controls.

References –

https://www.youtube.com/watch?v=y-VvNDwy_Jw&t=1191s

https://debajmecrm.com/configure-customer-lookup-to-show-either-contacts-or-accounts-in-canvas-apps/

https://learn.microsoft.com/en-us/power-apps/maker/canvas-apps/working-with-references#show-the-columns-of-a-customer

Hope it helps..

Advertisements

Enhanced Case experience – Full case form – Dynamics 365 Customer Service


Enhance Case Experience is currently available only for the Customer Service Workspace app which targets to increase the productivity of the agent.

To enable it, navigate to Customer Service Admin Center >> Customer Support >> Case Settings >> Enhanced case experience (Manage)

Enable the options – Here we have enabled the Full case form experience.

The new case form will show up while creating a new record from an existing case or the case grid.

Clicking on Configure opens the form in the Maker Portal.

The new Full Case form has the following new components added to it –

Grid Control – Case Associations (showing associated knowledge articles, similar cases, merged cases, and child cases)

  • Attachment Control – For the Case table, the new attachment control gives the option to directly upload the attachment as well as shows all the attachments either uploaded directly or associated with the notes or emails of the case record.

More on Attachment control:https://nishantrana.me/2023/05/08/new-attachment-control-dynamics-365/

  • Shows Priority and Case Status as color-coded options.

Due Activities Control – shows activities due today or overdue

More on Due Open Activities Control - https://nishantrana.me/2023/05/09/due-open-activities-control-dynamics-365/

It shows the activities overdue

  • Queue control shows the details of the Queue the record belongs to along with Worked By field.
  • Notes control that allows taking notes before saving i.e. in a new record.

More on Notes control - https://nishantrana.me/2023/05/10/notes-control-dynamics-365/

  • It also displays the Customer Details section based on the Customer selected in the case, as well as recent cases created.

Get more details on Enhanced Case Form

Hope it helps..

Advertisements

FaultException – RetrieveMultiple: GetEntityDataByFetchSearch while using Configuration Migration Tool – Dataverse / Dynamics 365


While recently trying to move configuration data using the Configuration Migration tool, we got the below error.

FaultException`1 - RetrieveMultiple : GetEntityDataByFetchSearch |=> 'msdyncrm_segment' entity doesn't contain attribute with Name = 'msdynmkt_name' and NameMapping = 'Logical'. MetadataCacheDetails: ProviderType=Dynamic, StandardCache=True, IsLoadedInStagedContext = False, Timestamp=65138568, MinActiveRowVersion=65138568, MetadataInstanceId=53062908, LastUpdated=2023-04-20 07:29:48.697, OrgId=f69f1cea-23d9-446f-9130-ed45ce666b28
Source : mscorlib
Method : HandleReturnMessage
Date : 21-04-2023
Time : 15:07:29
Error : Message: 'msdyncrm_segment' entity doesn't contain attribute with Name = 'msdynmkt_name' and NameMapping = 'Logical'. MetadataCacheDetails: ProviderType=Dynamic, StandardCache=True, IsLoadedInStagedContext = False, Timestamp=65138568, MinActiveRowVersion=65138568, MetadataInstanceId=53062908, LastUpdated=2023-04-20 07:29:48.697, OrgId=f69f1cea-23d9-446f-9130-ed45ce666b28

This was because we had the wrong filter condition applied to that table/entity.

Updating the filter to use correct attribute fixed the issue.

Hope it helps..

Advertisements

Notes Control – Dynamics 365


We now have new Notes control for the Case table.

The new notes control allows us to associate/create note without the need to create the case record first.

Here we are adding the Notes control in our Case form.

Specify Pre Create Notes Id (Text) as Table Column for Bound Attribute.

Save and publish the changes.

On creating the record we can see notes added to the timelines.

Also, we can observe that the control now shows – “No Data Available”.

In the case of the Enhanced Case Form, we have a script that hides that section after creation.

Due Open Activities Control – https://nishantrana.me/2023/05/09/due-open-activities-control-dynamics-365/

Attachment Control  – https://nishantrana.me/2023/05/08/new-attachment-control-dynamics-365/

Hope it helps..

Advertisements