Let us take a simple example to understand how we can upload files to the file column through SSIS Package + KingswaySoft’s Integration Toolkit.
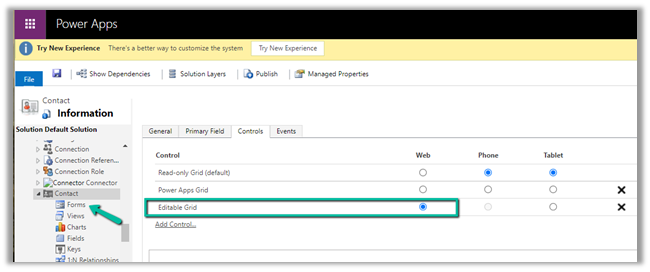
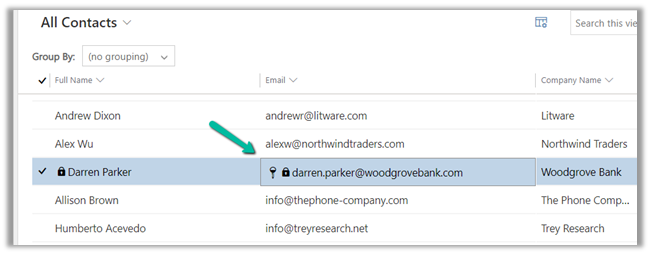
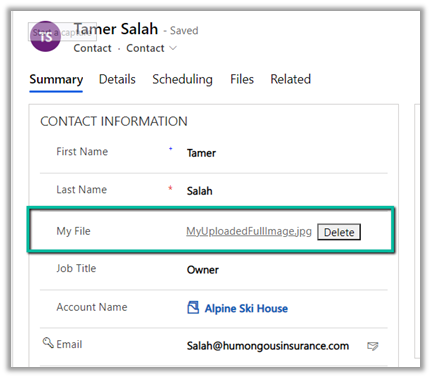
Here we have a File Column defined for the Contact Entity.
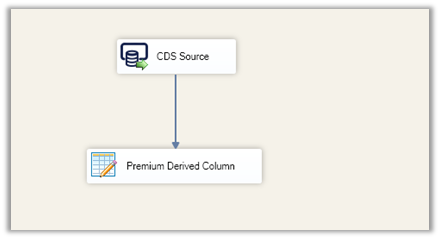
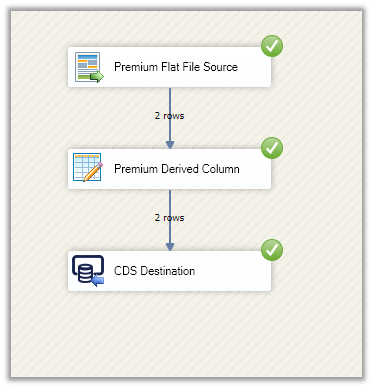
This is what our final package looks like –
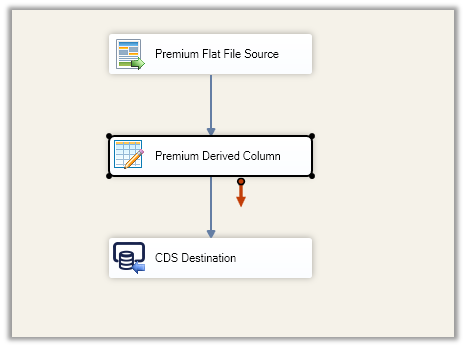
Our SSIS package will pick up the contact’s email, file path, and file name from the CSV file as the source using the Premium Flat File Source component.

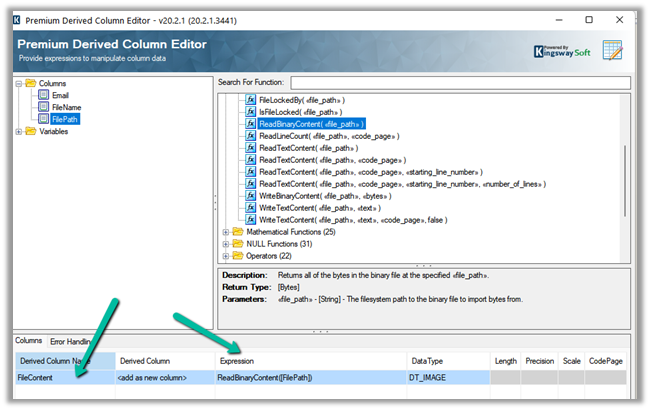
The premium derived component adds a new column that reads / stores the binary content of the file specified in excel.
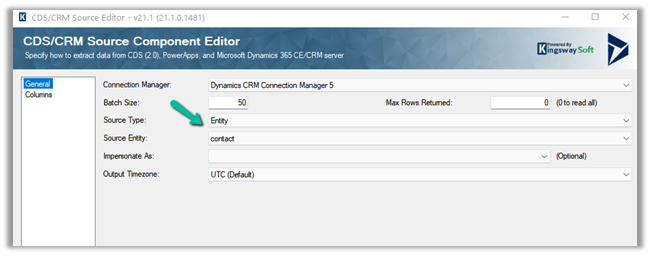
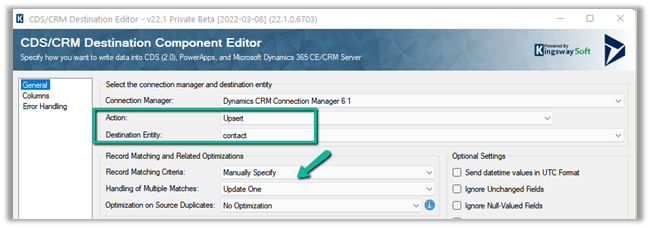
Finally, in CDS Destination we are doing Upsert on contact entity based on the email id field specified in the source excel file.
The mapping – 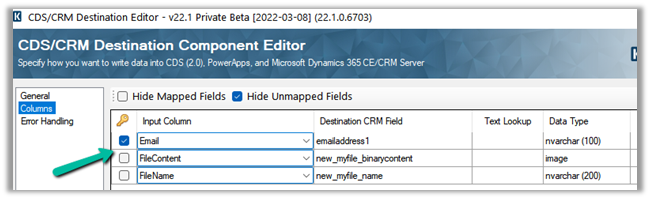
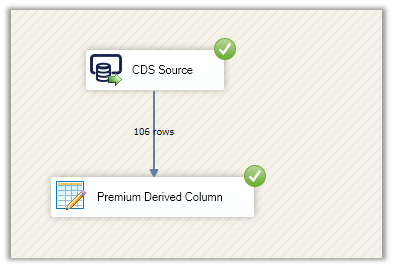
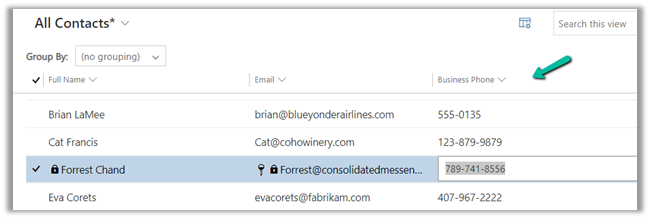
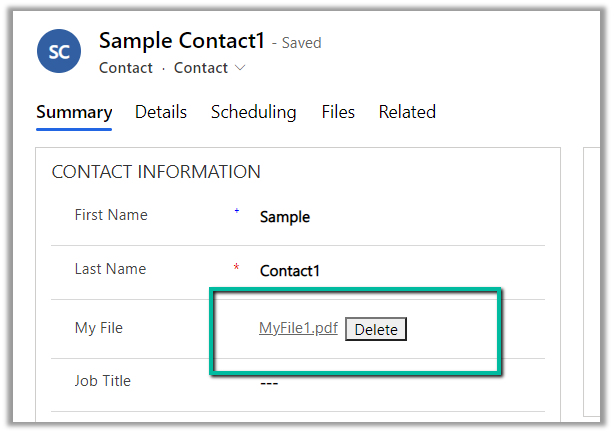
On running the package, we can see the file uploaded to the corresponding contact records.
To extract attachment from notes-https://nishantrana.me/2021/02/10/extracting-attachments-from-notes-in-dynamics-365-dataverse/
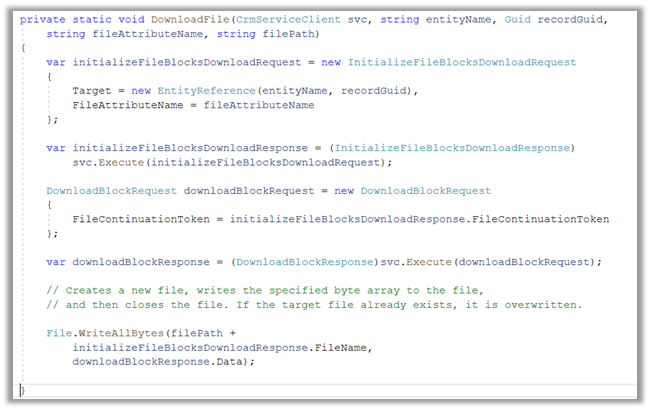
To download files using Download Block Request –https://nishantrana.me/2022/03/14/how-to-download-file-from-file-column-using-initializefileblocksdownload-and-downloadblock-request-dynamics-365-crm-dataverse/
To upload files using Upload Block Request –https://nishantrana.me/2022/03/15/how-to-upload-file-to-file-column-using-initializefileblocksupload-and-uploadblock-request-dynamics-365-crm/
Understand File and Image Data Type –https://nishantrana.me/2021/10/01/using-file-and-image-data-type-in-dataverse-dynamics-365/
Try out the wonderful, feature-rich, and powerful SSIS Integration Toolkit for Dynamics 365 by KingswaySoft –https://www.kingswaysoft.com/products/ssis-integration-toolkit-for-microsoft-dynamics-365/download
Check other articles on SSIS plus CRM – https://nishantrana.me/2018/11/26/ssis-and-microsoft-dynamics-365/
Hope it helps..