We recently wanted to create user accounts in CRM for managing users and their roles inside CRM, without accessing any of the data or functionality.
Below are the steps we can follow to achieve the same –
Login to Microsoft 365 Admin Center
https://admin.microsoft.com/#/homepage
Add a user

Temporarily assign the license to the user

In optional settings, specify either Global Admin or Dynamics 365 Administrator / Power Platform admin role.

And create the user.
Next,
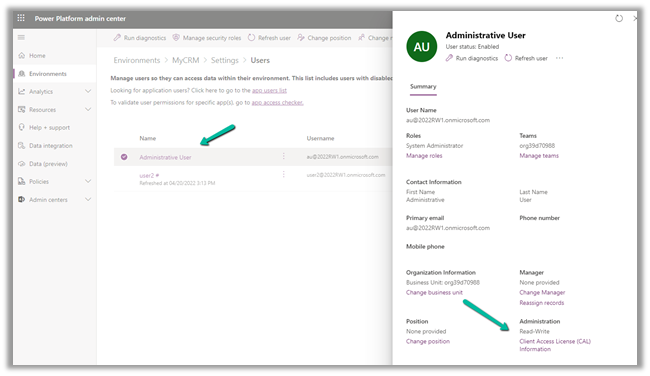
Login to Power Platform Admin Center
https://admin.powerplatform.microsoft.com/
and navigate to [Environment] >> Settings >> Users
If the users is not yet synced try- https://nishantrana.me/2021/12/14/the-trick-to-force-trigger-user-sync-power-platform-dynamics-365/
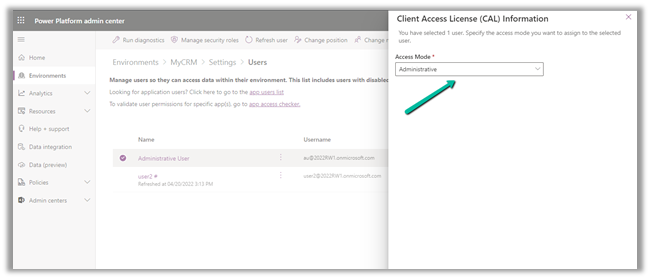
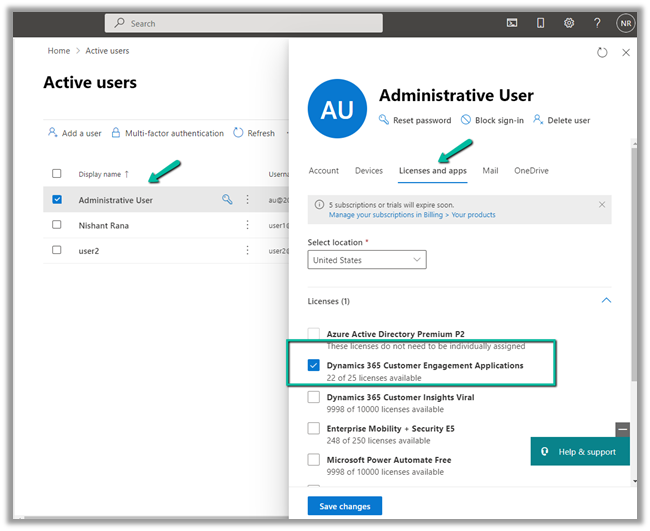
Select the User and click on Client Access License (CAL) Information
Change it to Administrative and save the change.
Now back in Microsoft 365 Admin Center we can remove the license and the roles from the user’s account.
Back inside CRM the user will only have access to the Dynamics 365 – Custom app.
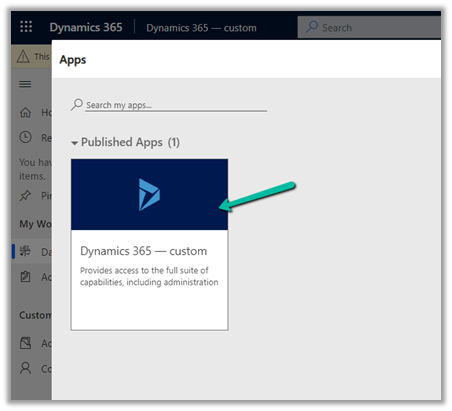
Inside app he gets the message No Read Privilege for data.

User will have access to following area within Settings
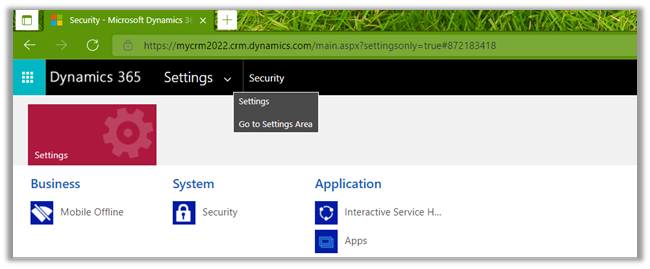
Inside Settings >> Security –
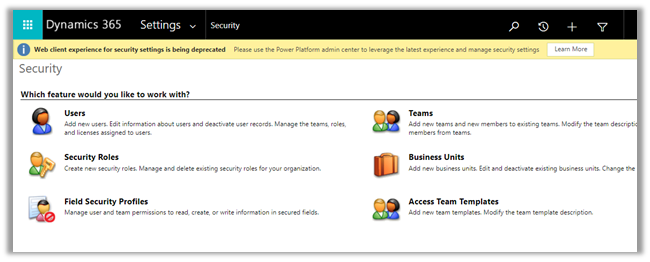
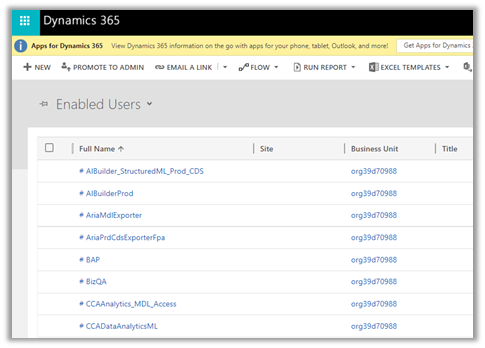
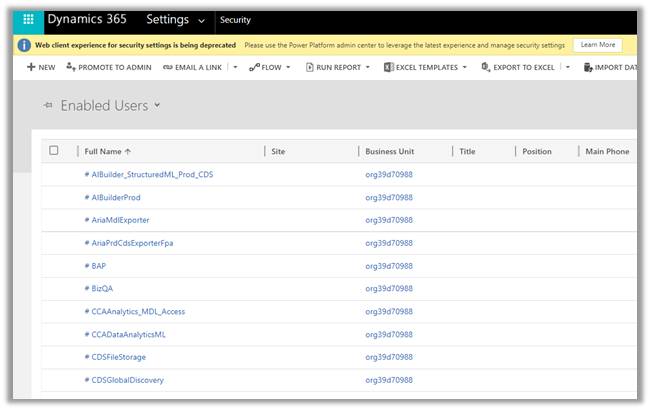
The administrative user can see the users –
Basically when a Global or Power Platform admins having license are synced to the environment, they get the access mode of Read-Write and also System Administrator security role is assigned to them.
That is the reason why we need to change the access mode to Administrative after sync.

If they do not have license assigned, there access mode is still “Read-Write” after sync but no security roles assigned. Also the unlicensed Global and Power Platform admin will have access to the administrative areas.
Also we could create a new custom security role having access to “Security Role” table instead of assigning System Administrator or copy of system admin role.
Get all the details here –
Hope it helps..