Appointments, Contacts, Fax, letters, Tasks, etc. entities can be synced both ways between Dynamics 365 and Outlook.
This setting is configurable.
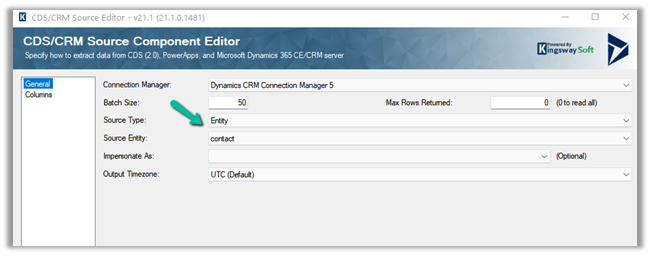
Navigate to System Settings >> Synchronization tab

Click on Synchronized Fields. It lists down all the entities there.

We can define the synchronization direction by clicking on the arrow of the attribute for a particular entity type.
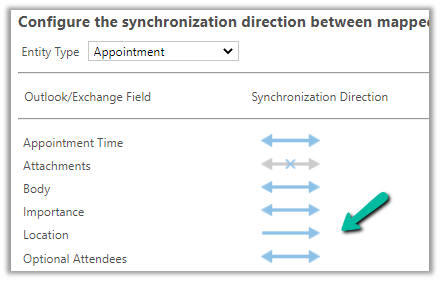
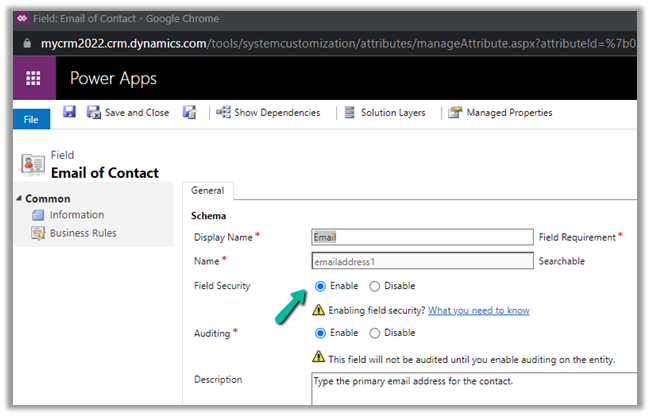
Email synchronization is handled separately as we can see below.

We cannot have a custom activity entity enabled for Synchronization.
Now to get it working the next step is to approve, test, and enable the user’s mailbox.
And set Appointment, Contacts, and Tasks to Server-Side Synchronization. (default = none).

Now let us create an Appointment record in Dynamics 365.
We have specified values for the Required and Subject field.
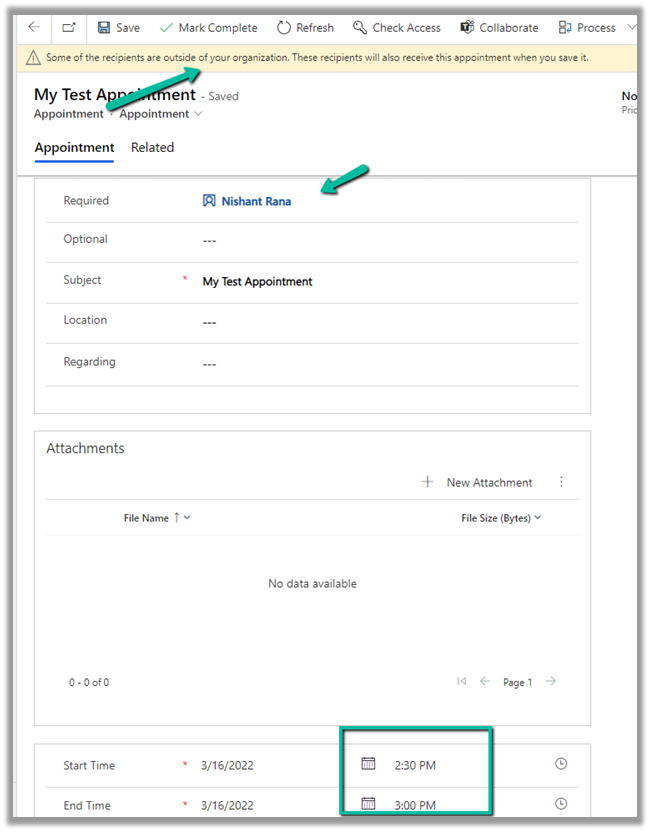
We get a notification before saving the record. Here the contact record specified had the Hotmail id associated.
Some of the recipients are outside of your organization. These recipients will also receive this appointment when you save it.
After saving the record we can see the Appointment reflected in Outlook along with the reminder after few mins.
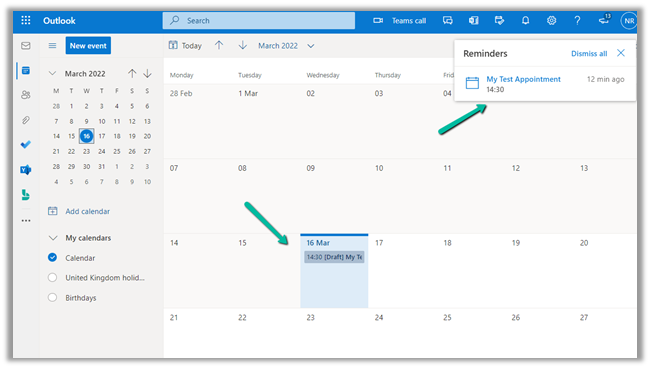
We can see it categorized as “Tracked to Dynamics 365“

Now let us update the same appointment inside Outlook and send it.
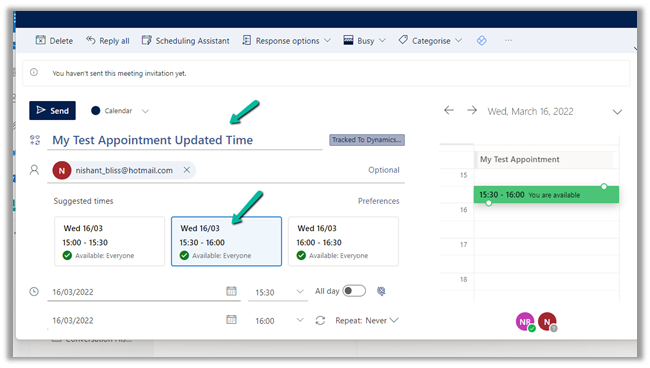
After a couple of minutes, we could see the record updated back in CRM.

Now for new appointments created in Outlook to reflect in CRM, we need to have either of the following conditions in place –
It has to be created or tracked in Dynamics 365 from Dynamics 365 for Outlook App.
Or from within the Outlook app, we need to apply Tracked to Dynamics 365 Category to it.

The same record in CRM –

Now let us delete one of the appointments in Dynamics 365

It is already synced to Outlook.

We will see the appointment deleted in Outlook because it fulfills the below criteria i.e.
The appointment is in the future and the user is also the appointment organizer.
This will also send the cancellation to the users/attendees.
And similarly, if we cancel an appointment in Outlook, it will send the cancellation to the attendees and will also delete the record in Dynamics 365.
The appointment record canceled in Dynamics 365 doesn’t sync to Outlook as canceled by default.

We need to enable SSSPropagateAppointmentCancellationsToExchange settings in OrgDbOrgSettings for it.
https://github.com/seanmcne/OrgDbOrgSettings/releases

After this is enabled, the appointment is canceled in Outlook also, and cancellation is sent to the attendees.
Get all the details here – https://docs.microsoft.com/en-us/power-platform/admin/sync-logic#syncing-canceled-and-deleted-appointments-from-dynamics-365-to-exchange
Hope it helps..