Setting Regarding of a record in Automatic Record Creation and Update Rules in Dynamics 365


Hi,

While implementing a scenario i.e. automatic case creation on phone call create using Automatic Record Creation and Updating Rules, we found that whenever we were setting the Regarding Object in the Phone Call activity, the case record was not getting created.

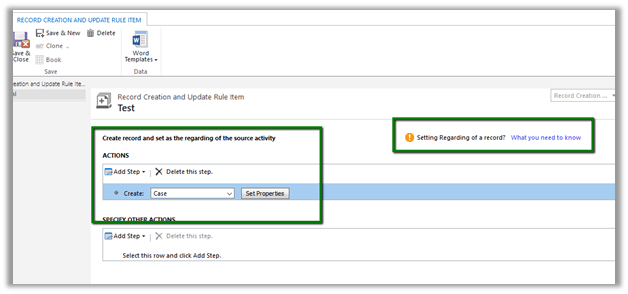
Create Case Rule Item –

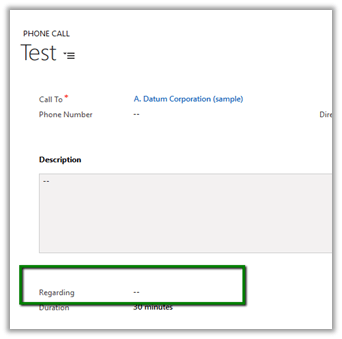
Creating a Phone Call record using Case as Regarding object.

Workflow ran but the case record was not created.

Then we created phone call activity record without setting the regarding object. This time workflow ran and created the case record.

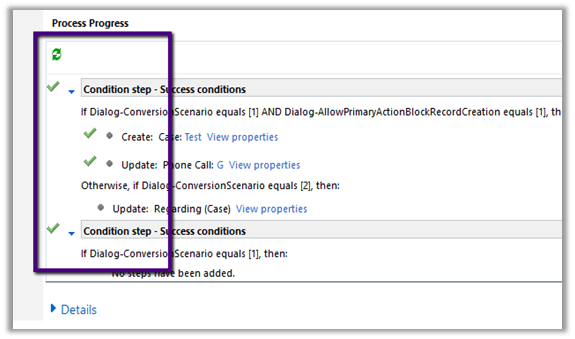
Basically, the workflow creates the case record and updates the Regarding Object in the Phone call record with this newly created case record.

However, if we check the Official documentation

https://www.microsoft.com/en-us/dynamics/crm-customer-center/set-up-rules-to-automatically-create-or-update-records-in-dynamics-365-customer-service.aspx#bkmk_RuleAndQueues

we have this mentioned

However, in our case we created a phone call record with case as regarding object and had case as the entity selected in the Create Record step, in this case also the Action were not executed.

Hope it helps..

Unknown Error or Resource not found for the segment ‘msdyn_FpsAction’ in Schedule Board in Field Service in Dynamics 365.


Hi,

Recently we configured the portal trial instance and installed Partner Field Service portal in it .

However, while trying to access Field Service à Schedule Board, we were getting the below errors

Eventually it turned out that the issue was caused because of the certain processes being in draft state.

The post which helped in fixing this issue

https://glinks.co.uk/2017/01/06/field-services-schedule-board-unknown-error/

Hope it helps..

Liquid Part 3 – Displaying a List of Dynamics 365 Records


Liquid Markup and Entity Lists in Portal in Dynamics 365

Nick Doelman's avatarThe ReadyXRM Blog by Nick Doelman

Just a heads up that I will be presenting a webinar for the XRM Virtual User Group on March 28, 2017 called “Portal Developer Primer”.  This session is focused for the Dynamics 365/CRM developer who needs to start getting ramped up on Portal development.  It is an evolution from my session at ExtremeCRM in Newport Beach.  Click here to Check it out!

Liquid Part 3

In Liquid Part 2 I demostrated how you can surface data from Dynamics 365 record on the portal.  The great thing about using Liquid is that you can format and modify the layout any way you like.

In today’s post I will be show how to display a bunch of Dynamics 365 records using a custom Liquid Web Template.

If you have done any Dynamics 365 Portal configuration, you know you can surface Dynamics 365 records by using Entity Lists.  Entity Lists surface Dynamics 365…

View original post 593 more words

More Liquid Markup in Dynamics 365 Retrieving Entity Record Data (Part 2)


Liquid Markup to show Entity Record in Portal in Dynamics 365

Nick Doelman's avatarThe ReadyXRM Blog by Nick Doelman

Before we dive into today’s tutorial, today Adoxio (the consulting arm of the old Adxstudio) released Adoxio Connect Framework to allow seamless integration to other platforms.  Something I will be definitely checking out.

Retrieving Dynamics 365 Data with Liquid

In Part 1 we looked at a very basic Web Template using Liquid.  One of the great things about the Liquid Markup code is that it can be incorporated into other areas like Web Page copy and Content Snippets.

Microsoft’s implementation of Liquid can also be used to show data from Dynamics 365 (Customer Engagement).

In my example, I am going to use Liquid to retrieve an Invoice and show the Invoice Name, the Invoice Status and the Invoice Amount and display that on a Web page.

In order to be able to show some data, we need to be able to know what record we want to pull from Dyn365…

View original post 432 more words

List of all blog posts on CRM and Azure Integration


Advertisements

Configure Product Recommendations using Recommendations API in Dynamics 365


For configuring Product Recommendations first we need to enable the preview –

Go to Settings – Administration – System Settings – Previews
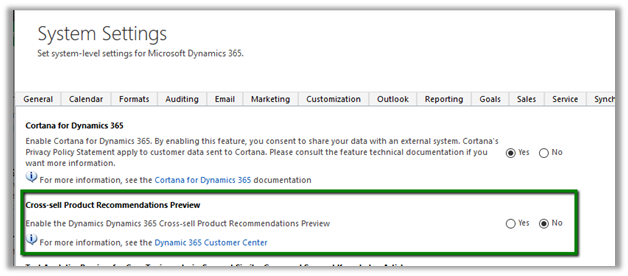
Select Yes and Click on OK.
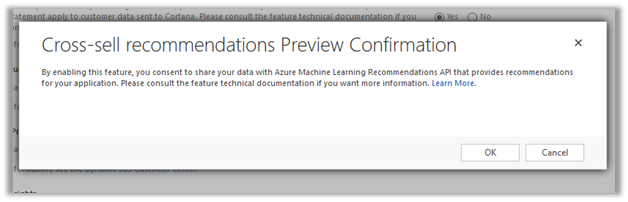
As a next step, we need to create Cognitive Services for Recommendation API and connect it to CRM.

Go to Portal

https://portal.azure.com

Search and select Cognitive Services Accounts
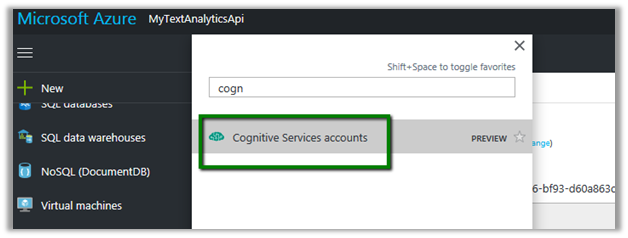
Click on Add

Select Recommendation API and provide other details and click on Create.
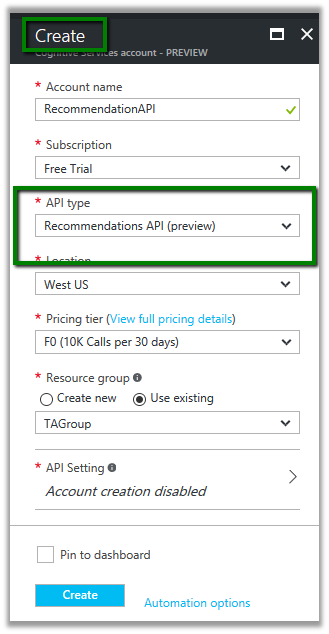
From Overview, note down the Endpoint which will be used to configure the connection in CRM.
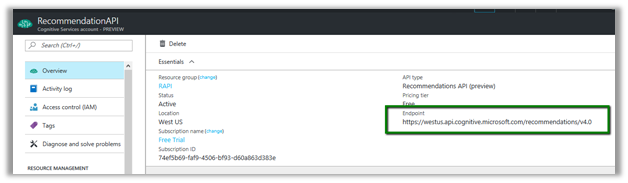
From Keys, copy value of the Key which will be used for configuring connection to CRM.

In CRM, go to Settings – Administration and click on Azure Machine Learning Recommendation Service Configuration.

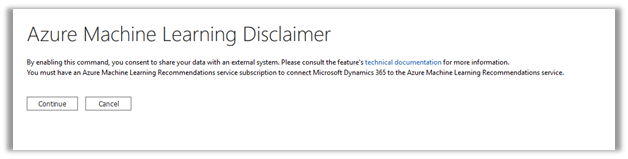
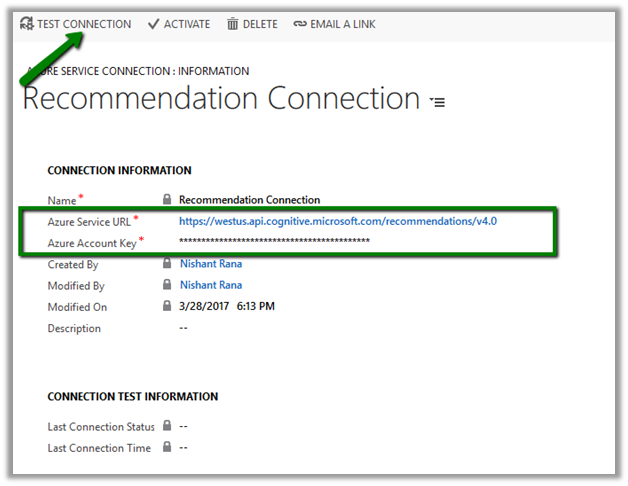
Specify the value for the URL and Key we had noted down earlier, save the record and click on Test Connection to test the connection.
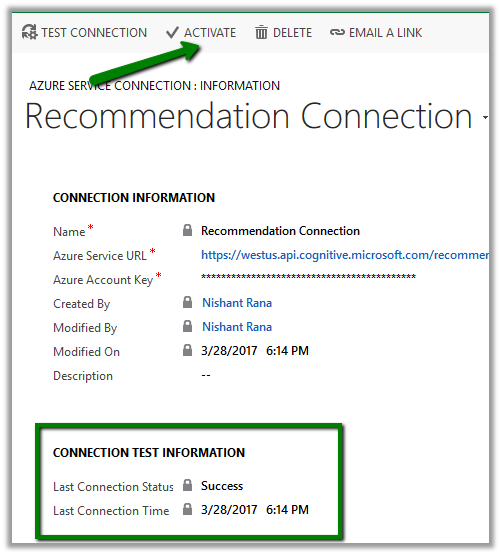
On Successful connection, we’d see Success message for Last Connection Status. Click on Activate to enable the connection.
Now we need to define\build the model for recommendations. For this go to Settings – Product Catalog and click on Product Recommendations.
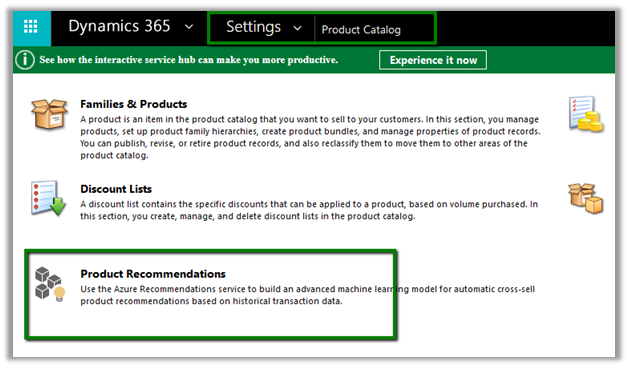
We’d see a recommendation model with default values
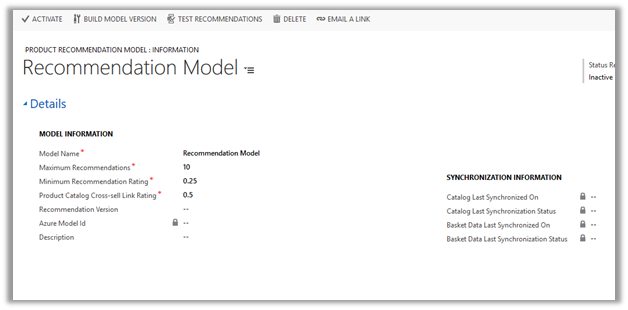
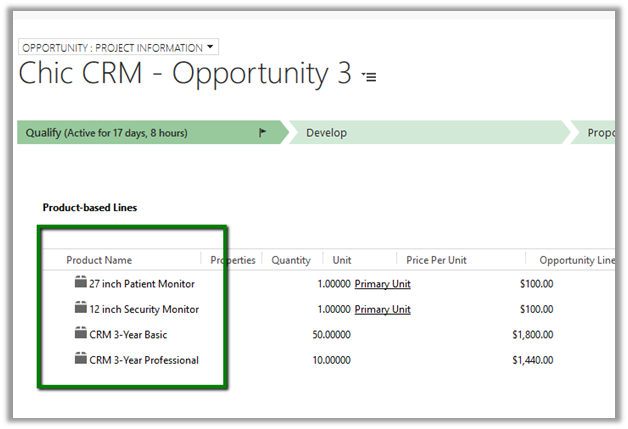
The model will have Basked Data Entities already defined. We can edit\add new\ delete these existing configuration records for Basked Data Entities. Basked Data Entities recommendations are based on which products appear together.

For e.g. in below Opportunity record we can see 27 inch and 12 inch monitor opportunity products appearing together. It will look for all such line items records.
Similarly we have recommendation entities records configured which we can update.

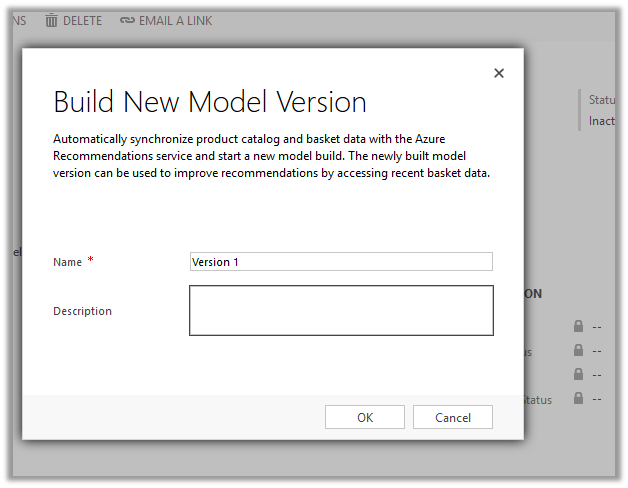
Once done with the configuration, we need to click on Build Model Version to build the model.
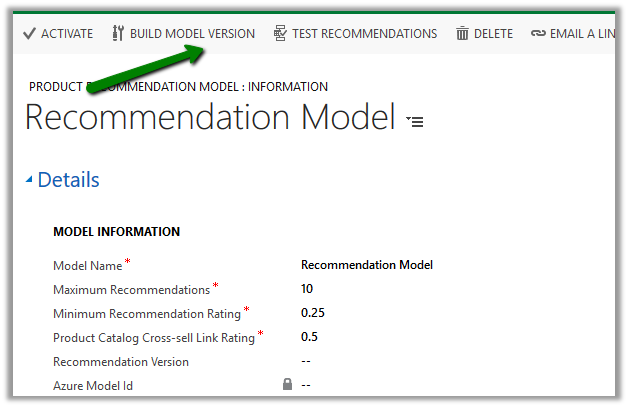
It will create a corresponding model version record.
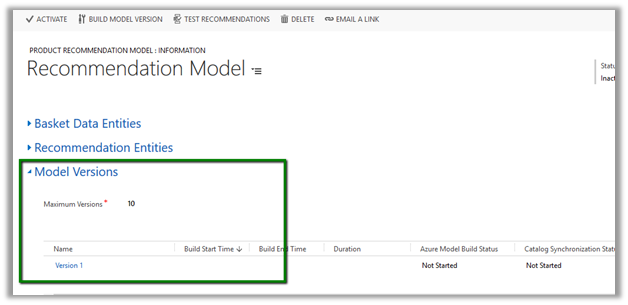
We can check its progress by refreshing it.
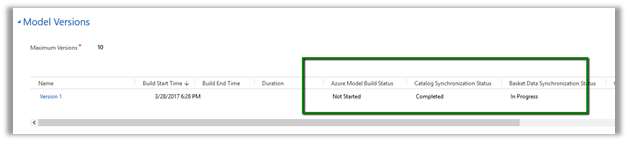
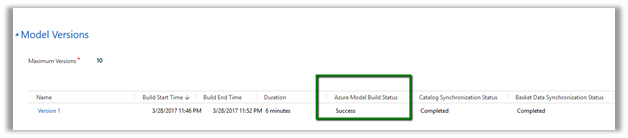
Here the model that we had defined has successfully build and it took around 6 minutes.
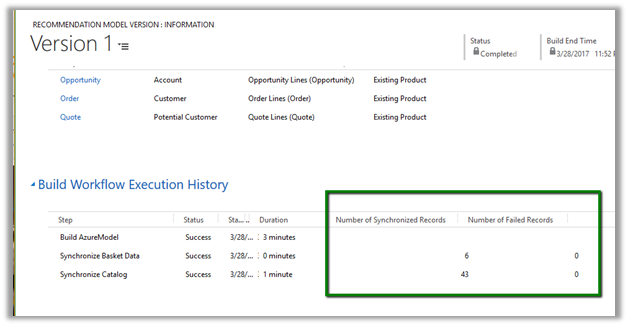
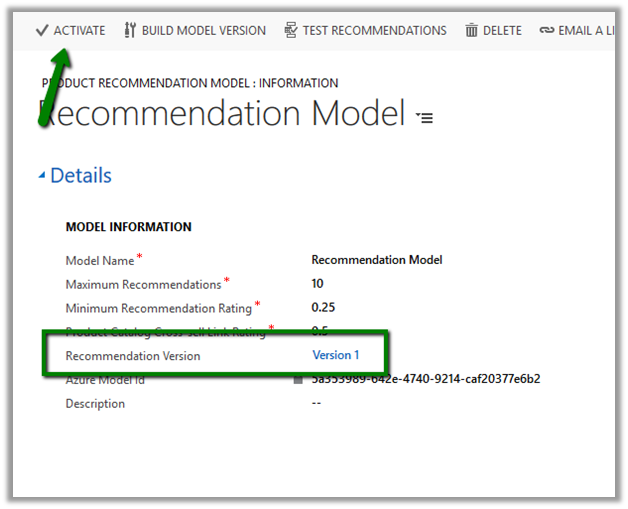
We can click on the Model Version to open the record to get the further details.
Next step would be to check the recommendations. For this click on Test Recommendations.
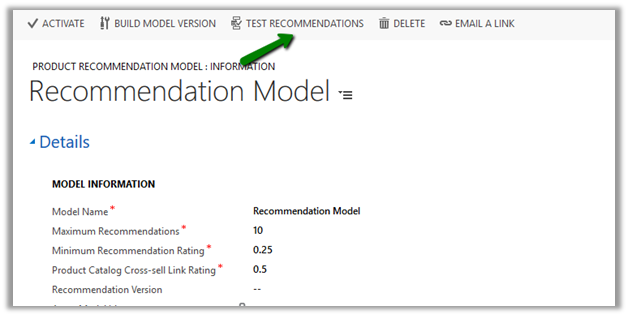
Pop up opens wherein we can select the Products and model version and click on Show Result to see what are the product recommendations.

Once satisfied with the test result, click on Activate to enable the recommendations.
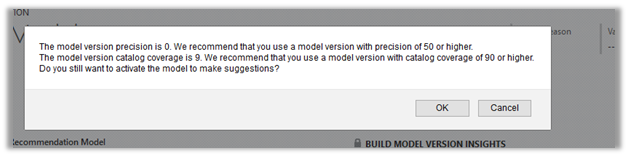
We might get the below message in case we do not have good enough data in our system.
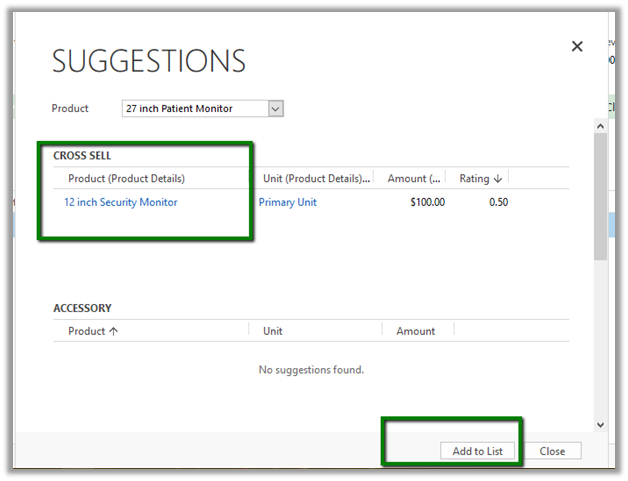
To see it in action, open an existing opportunity record , go to product sub grid and select a product and select Suggest Products.
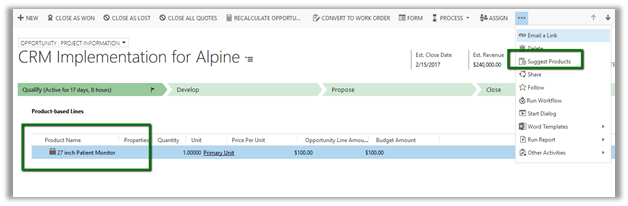
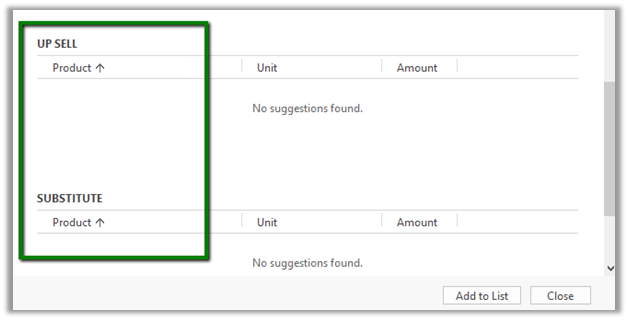
A dialog box opens up that shows the Cross-Sell products and other details.
Get all the details here

https://technet.microsoft.com/library/56b35229-72f8-46ca-bebf-eae023f633c2.aspx

Hope it helps..

Nishant Rana's Weblog

Everything related to Microsoft .NET Technology

Skip to content ↓