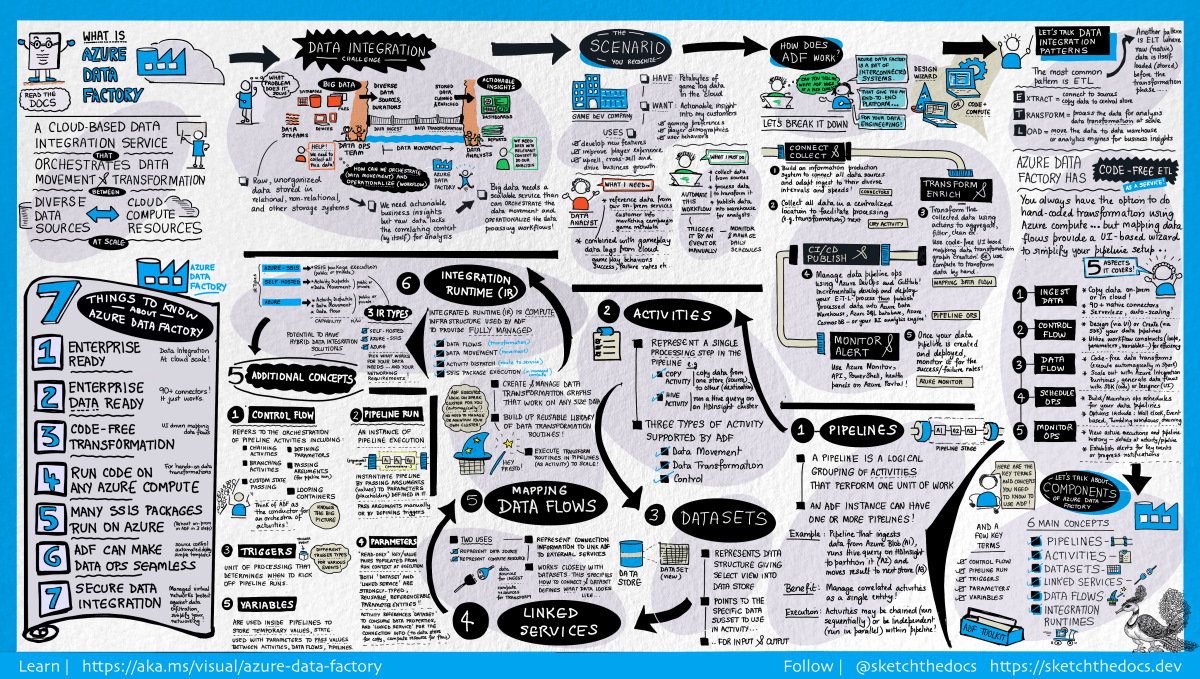
[Visual Guide to Azure Data Factory - https://acloudguru.com/blog/engineering/a-visual-guide-to-azure-data-factory]
Using the new Azure Data Factory pipeline template – Copy Dataverse data from Azure Data Lake to Azure SQL – we can now easily export the Dataverse data to Azure SQL Database.
Check other posts on Azure Data Factory
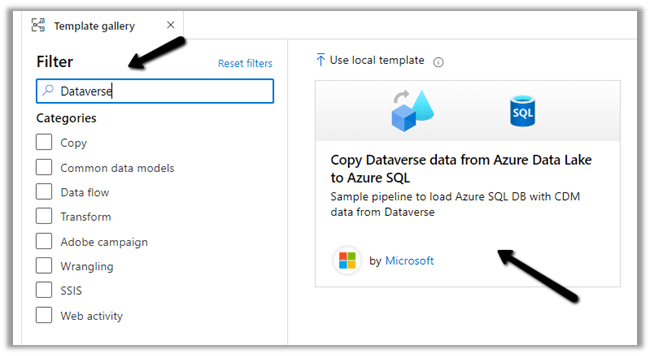
Select Pipeline from template option inside the Data Factory

Search for Dataverse and select the Copy Dataverse data from Azure Data Lake to Azure SQL template
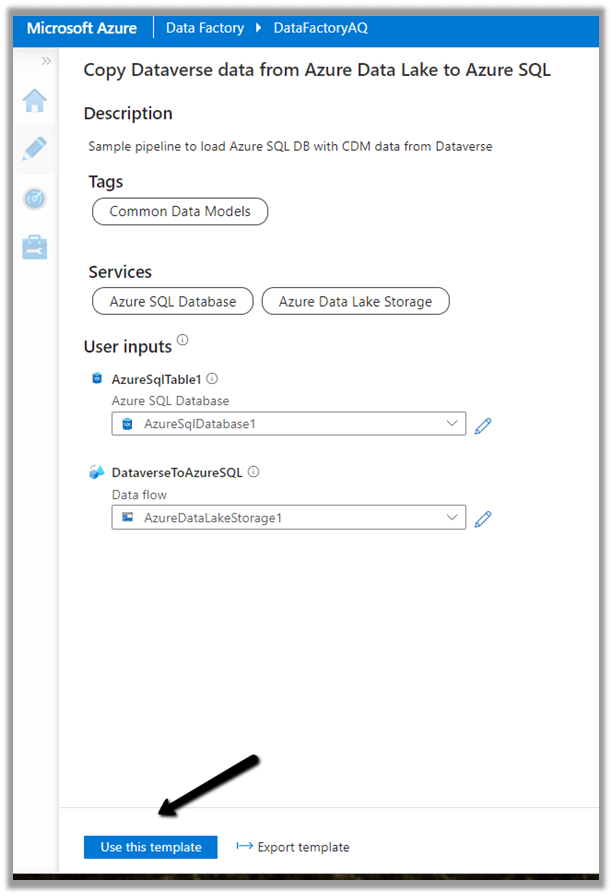
Let us specify the User Inputs required by the template – i.e. Azure SQL Database and the Data Lake Storage.

First we have created the linked service for the Azure SQL Database.

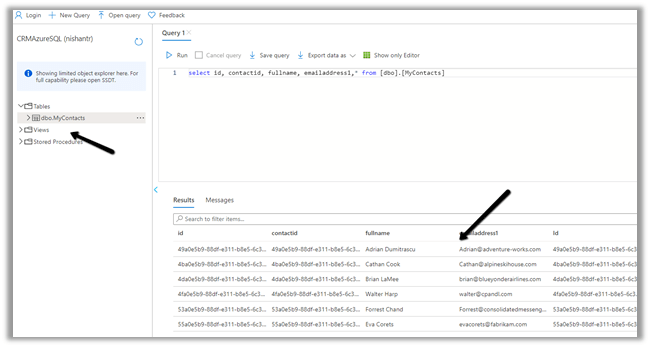
We’d use it to connect to the below table MyContacts.

Similarly create a linked service to Azure Data Lake Gen 2, which holds our Dataverse data.

Get the URL from the Container’s property. (replace blob with dfs in the URL)

To get the storage account key, select Access Keys >> Show Keys >> Copy the Key for the Storage Account.

Here we have already configured Azure Synapse Link for Dataverse

Now as we have defined the User Inputs, select Use this template.
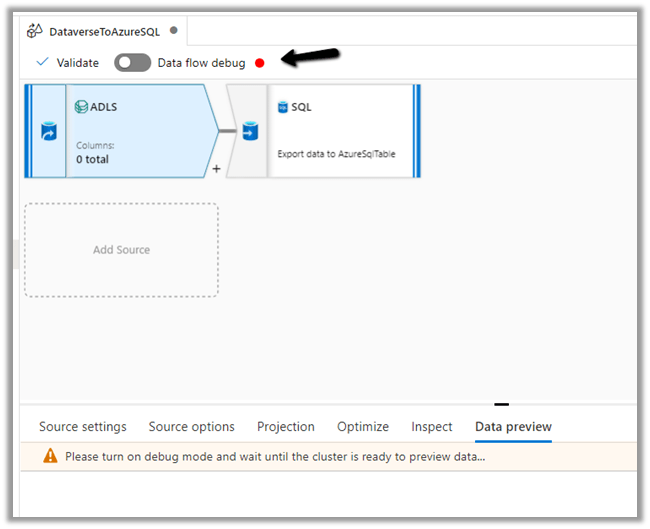
Navigate to the data flow created – DataverseToAzureSQL

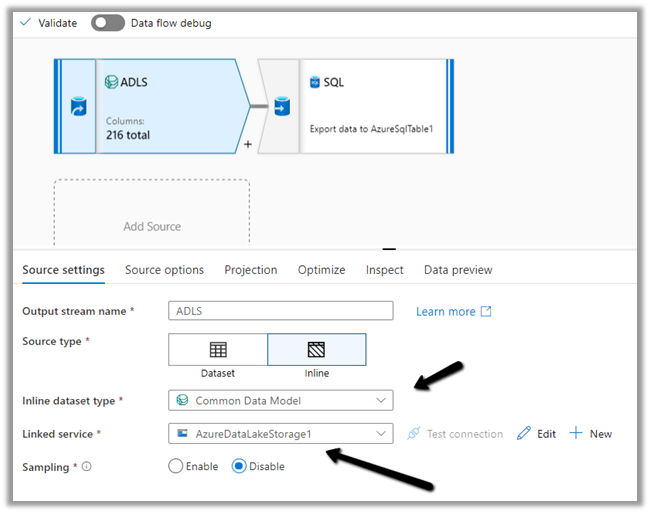
Select our source ADLS and check and configure its properties.
Source Settings
Here we have the Inline dataset type set to Common Data Model and the Linked service is the AzureDataLakeStorage1 we created earlier.
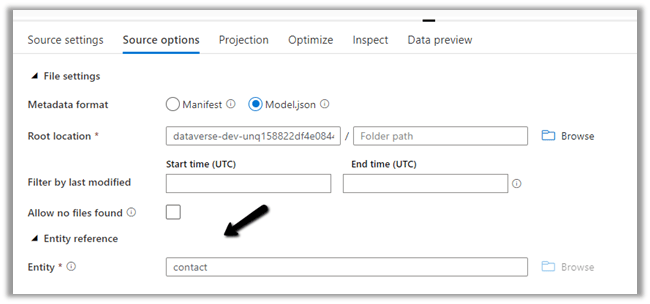
Source Option
Specify the Dataverse folder for the Root Location.

Here we have specified the contact entity from our Data Lake Storage.
Projection
In the projection we have cleared the generated schema using Clear Schema, also selected Schema options >> Allow schema drift

We have enabled Allow schema drift option which will create the required columns in the destination Azure SQL Table.
Optimize

Inspect
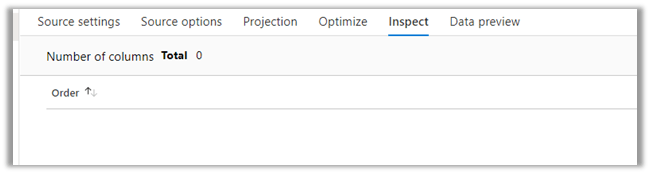
Data preview
As we have not turned on Debug mode, there is nothing to preview
Now let us move to our Destination – SQL.
Sink
Here we have AzureSQLTable dataset connected to contact table in Azure SQL and have checked Allow schema drift option.

Below is our AzureSQLTable Dataset connected to the MyContacts table.
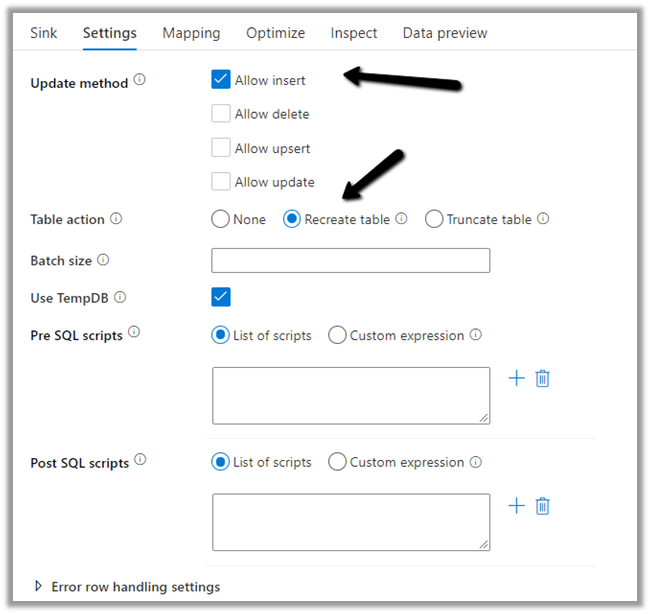
Settings
Here we have selected Allow Insert as the Update Method and Table
action as Recreate table – as we want the destination table to be re-created dynamically based on the source.

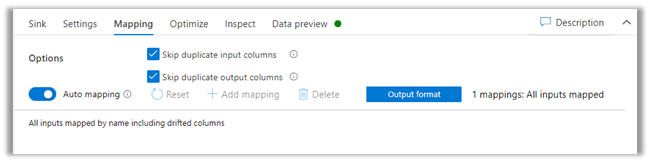
Mapping
We have left it to Auto mapping.
Optimize

Inspect

Data preview

Let us Publish All our changes and Debug our pipeline.

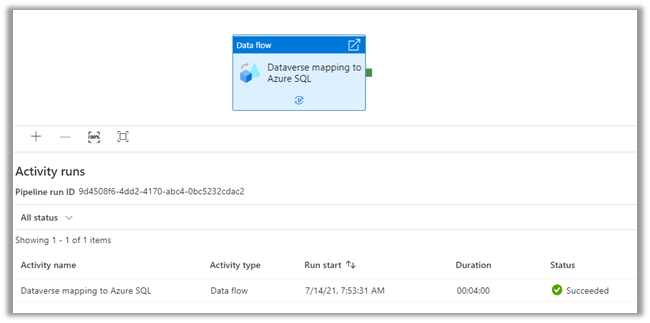
Let us monitor our pipeline run.

We can see that pipeline has run successfully and took around 4 minutes.
We can see the contact’s data copied to our Azure SQL successfully.
So here we covered the insert operation, in the next posts we’d see how we can configure update, upsert and delete operation.
Also, check
Hope it helps..