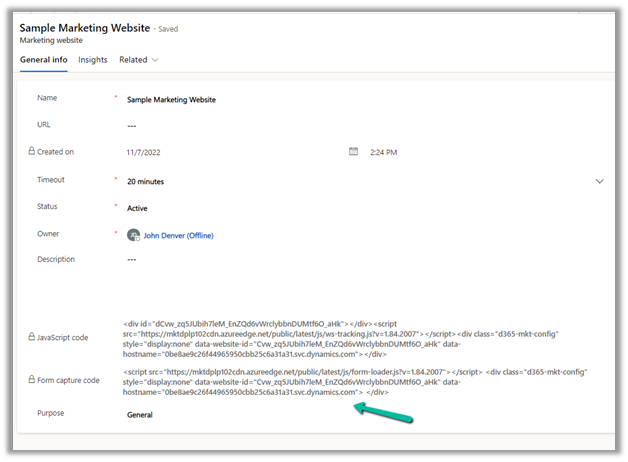
Check the previous posts on hosting marketing forms for more details
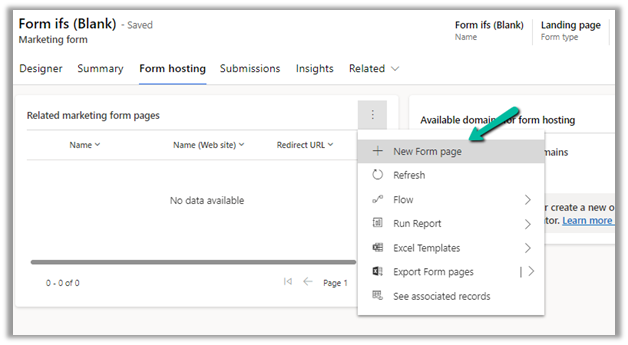
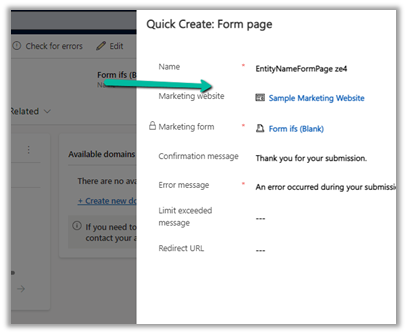
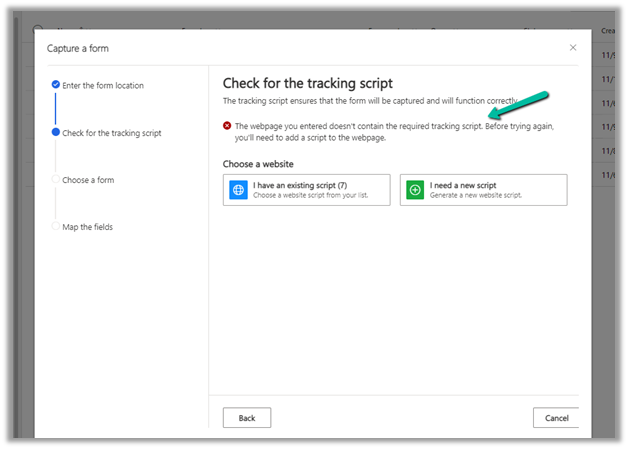
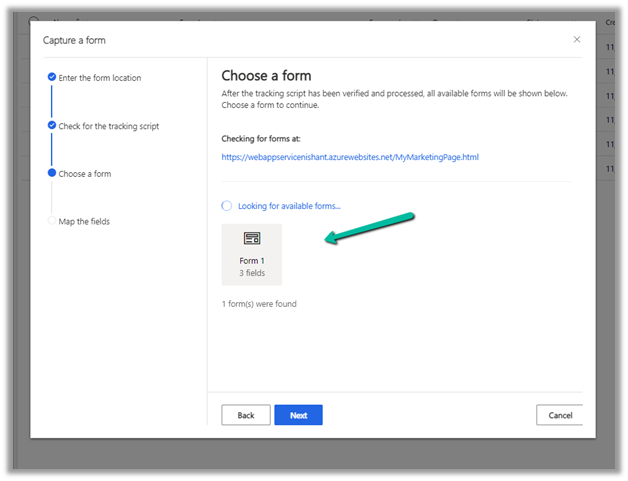
How to – embed marketing form on an external page
Here we will see Prefill in action.
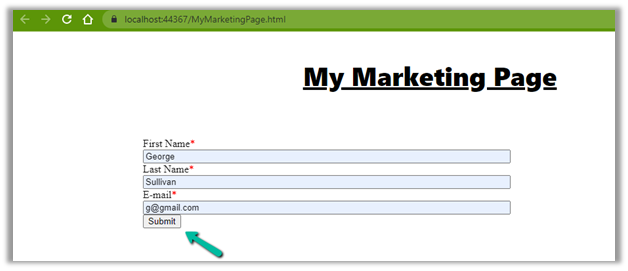
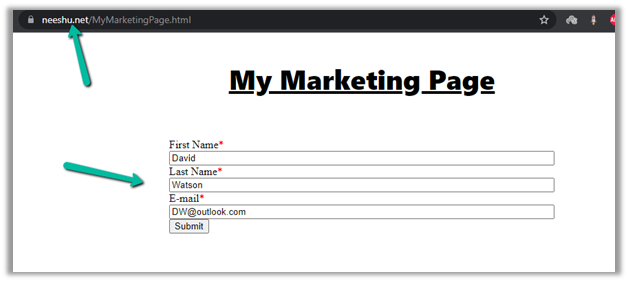
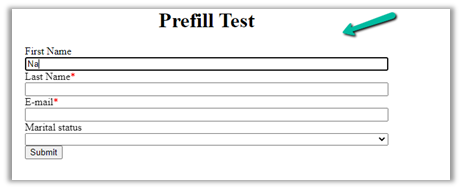
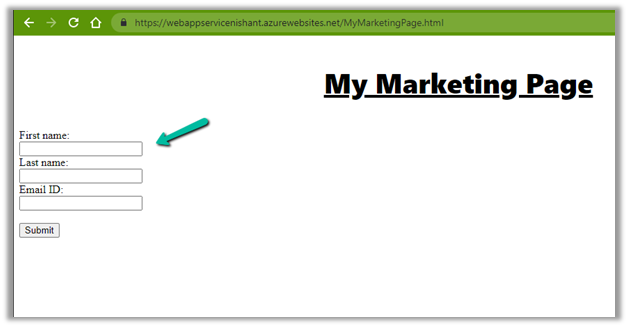
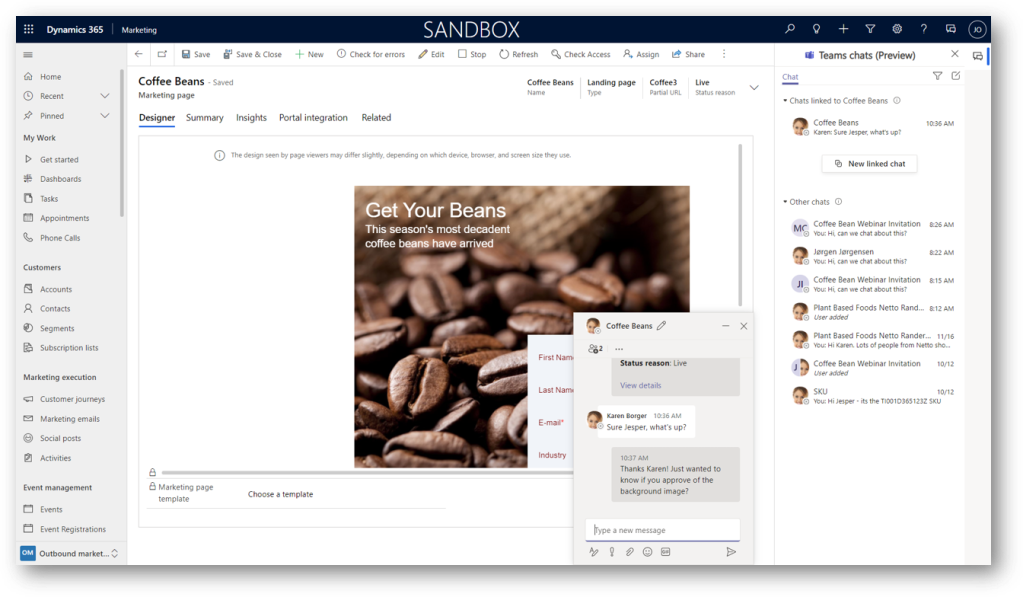
We have created the below marketing form (type – Landing Page) right now (currently Pre-fill is set as default false for the form/fields)
 Submit the form –
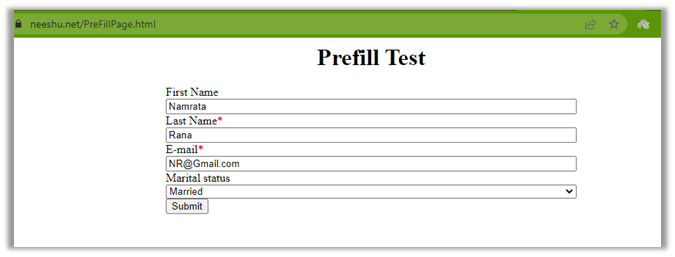
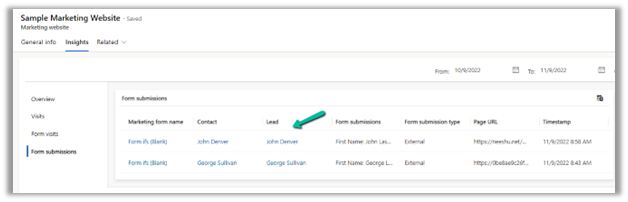
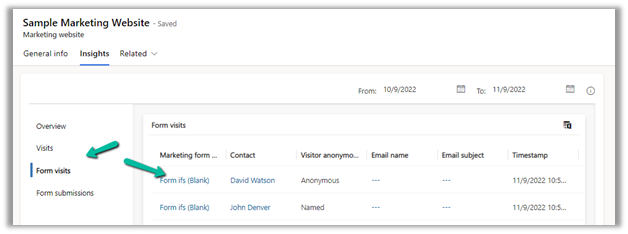
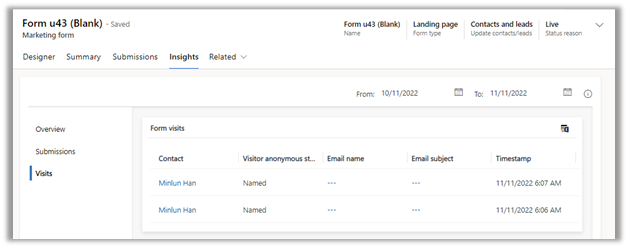
We can see the contact / lead records created as part of submission.
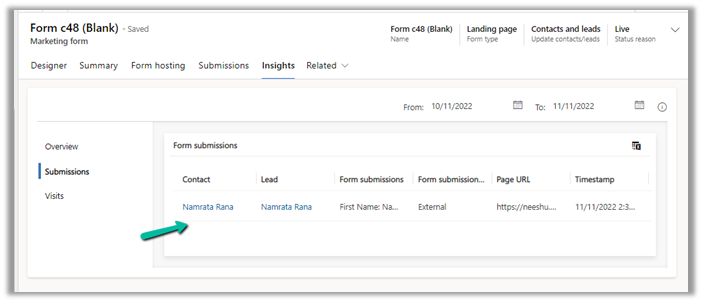
The contact has Do not allow for Prefill marketing form field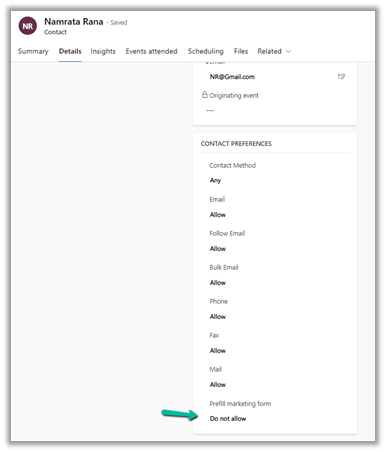
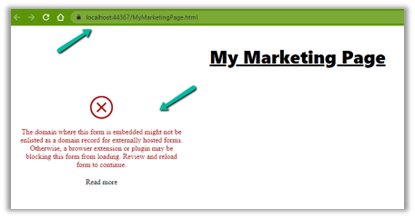
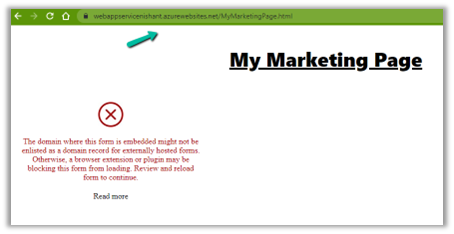
Opening the website we don’t see any pre-fill information as expected.
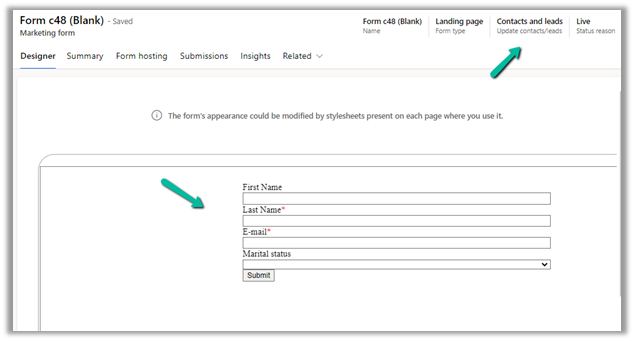
Now let us enable prefill for the fields and for the form.

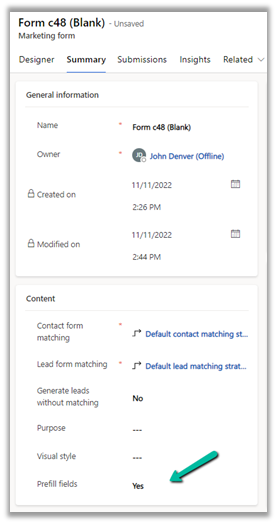
Enabling Prefill for form automatically adds the Remember me element to the form. It is tied to Prefill marketing form field on the contact record as we saw earlier and required for prefilling to work.
Let us submit the form, this time with Remember me as true. 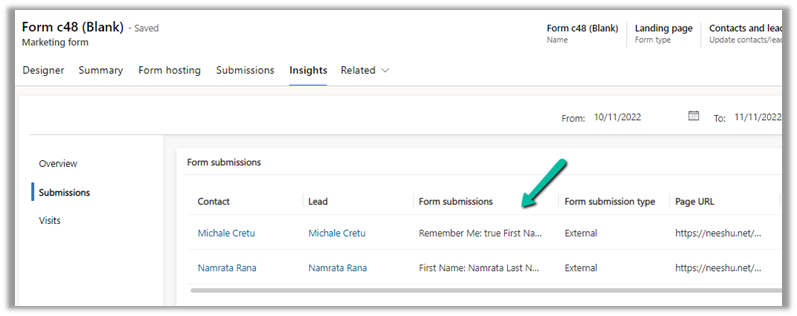
We can see Prefill marketing form field set as Allow for the contact.

Load the marketing form page again and we can see the value already pre-filled or populated for the user.

We saw how we can enable prefilling for Landing Page type form, by enabling prefill as true at form and field level and adding the remember me element.
For form type – Subscription Center, pre-filling is already enabled for all the fields regardless of their prefill setting, and at the form level also it is set as true and the field is read-only.
Here we do not have to add a remember-me element.
Here we must include the Do not email element.

Prefill in the case of subscription form

Hope it helps..


 in your command bar in all the Dynamics 365 apps in the organization.