Recently we faced an issue in our flow that was showing a different date that the date entered by the user for a date time field.
Let us look at the below scenario to understand it.
Say we have the below field Date and Time with Time Zone Adjustment as User Local created in CRM / Dataverse.

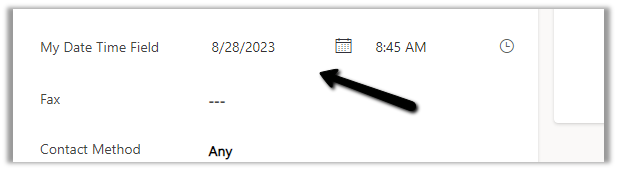
Now user enters the below value in in the field and saves the record which triggers the flow.
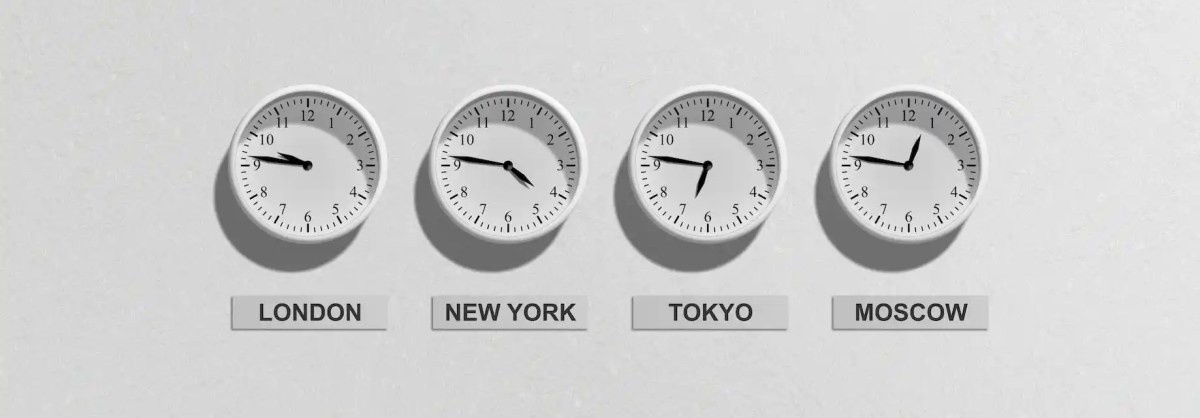
The user’s time zone is set as below

Now in our Power Automate flow, we can see the UTC date for it.
2023-08-27T20:00:00Z

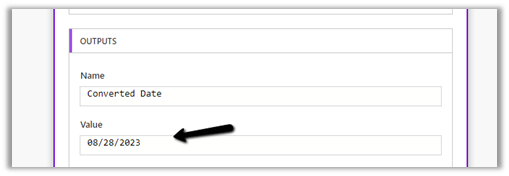
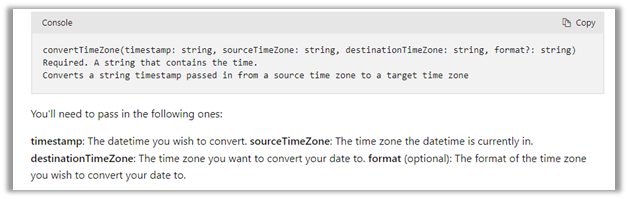
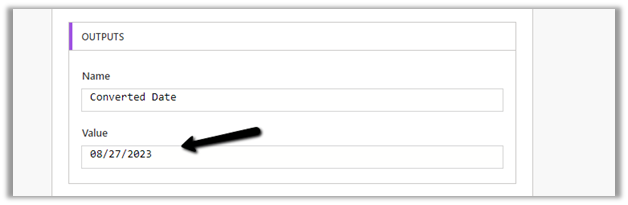
Now to convert to the user’s New Zealand Time Zone we can make use convertTimeZone function here
convertTimeZone(triggerOutputs()?[‘body/cr0e8_mydatetimefield’],’UTC’, ‘New Zealand Standard Time’, ‘MM/dd/yyyy’)

We get the date as expected i.e. 28th
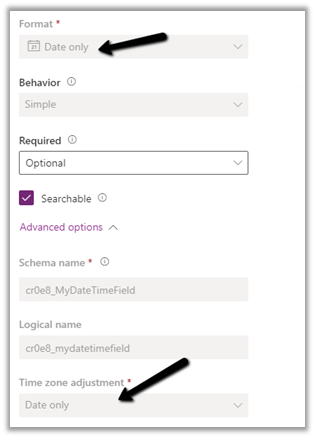
Now let us change the Format of the field to Date Only, and we keep the Time zone adjustment as User Local only.

Let us trigger the flow again. (now we don’t have the time part)
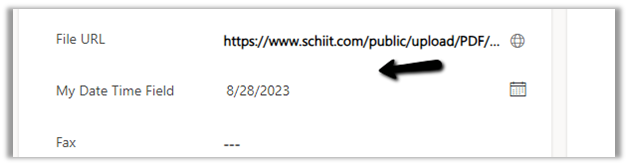
We get the date without time part as expected.

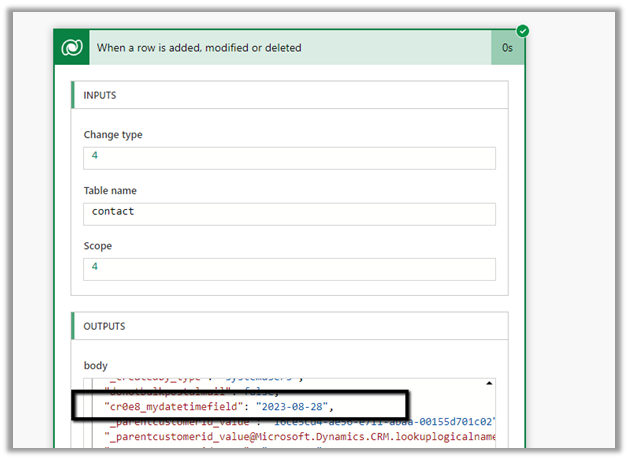
But this time the convertTimeZone
function doesn’t work, as we only have the Date part and it is not in the UTC format.
convertTimeZone(triggerOutputs()?[‘body/cr0e8_mydatetimefield’],’UTC’, ‘New Zealand Standard Time’, ‘MM/dd/yyyy’)
 Check this thread that talks about it –
Here one quick fix could be to change the Time zone adjustment to Date Only or Time zone independent for that field(i.e. no time zone conversion).
Now triggering the flow again, we get the below values –
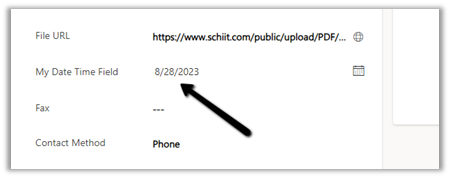
as now there is no time zone conversion for that field.
Hope it helps..