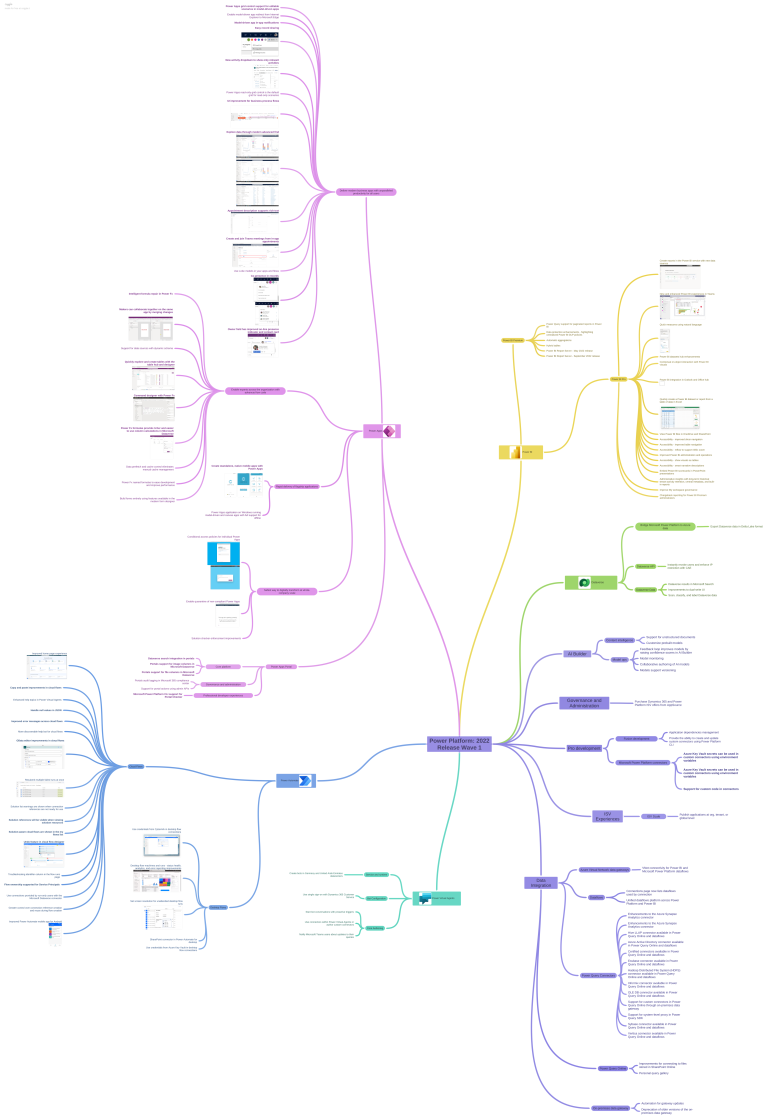
Check out the Mind Map for the 2022 Release Wave 1 Power Platform by Khoa Nguyen
https://dyncrmexp.com/2022/03/05/power-platform-2022-release-wave-1-overview/
Advertisements

Check out the Mind Map for the 2022 Release Wave 1 Power Platform by Khoa Nguyen
https://dyncrmexp.com/2022/03/05/power-platform-2022-release-wave-1-overview/

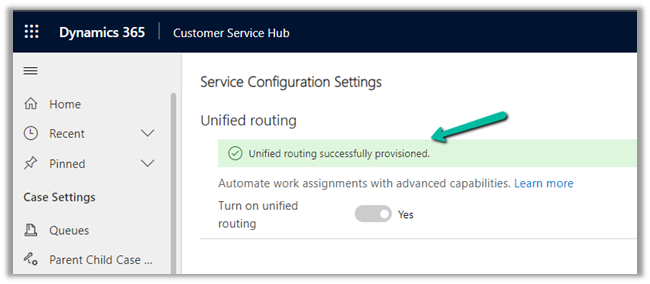
Recently while trying to provision Unified Routing from Dynamics 365 Customer Service Hub in one of our trial environments (Service Management >> Service Configuration >> Unified Routing – Turn on unified routing.),

even after providing the consent multiple times (by clicking on Provide consent, with Global Admin role)

it kept coming as disabled and kept asking for providing the consent.

Opening in in-private browsing or a different browser didn’t fix it.
Clearing the cache also didn’t help – Empty Cache and Hard Reload
https://nishantrana.me/2018/02/28/empty-or-disable-cache-while-working-with-web-resources-in-dynamics-365-chrome/

The trick that worked here was creating a workstream record
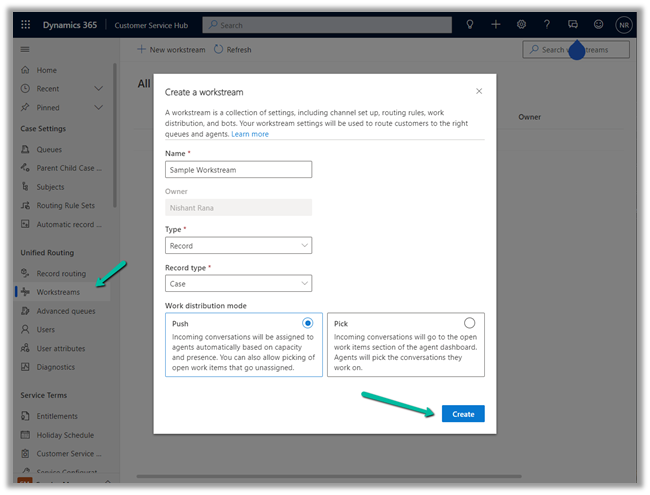
which also triggered the provision of Unified Routing
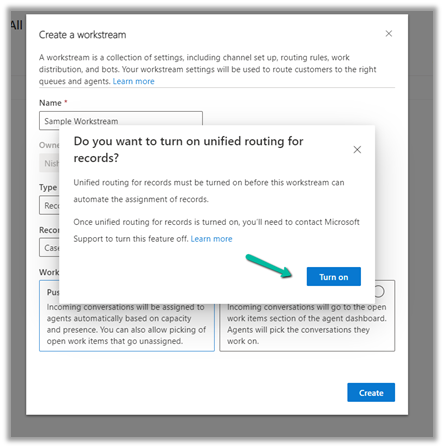
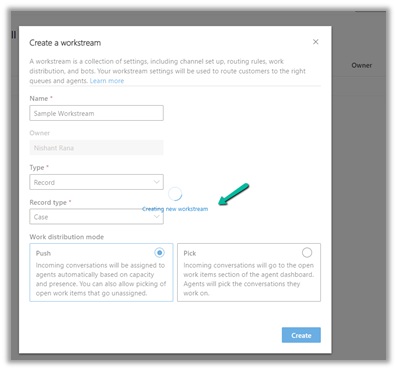
And after our workstream record got created,

we could see the unified routing enabled successfully.
Hope it helps..

Recently we saw File usage for one of the environments reaching around 68 GB.
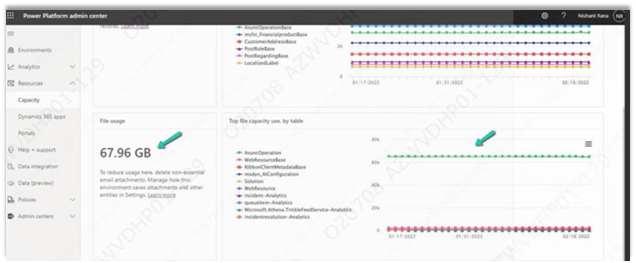
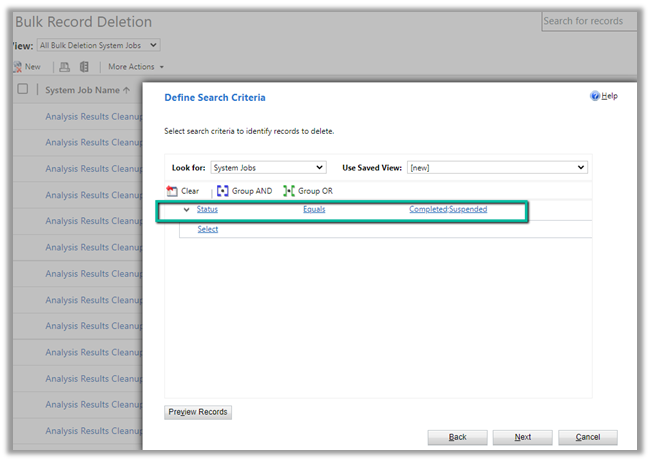
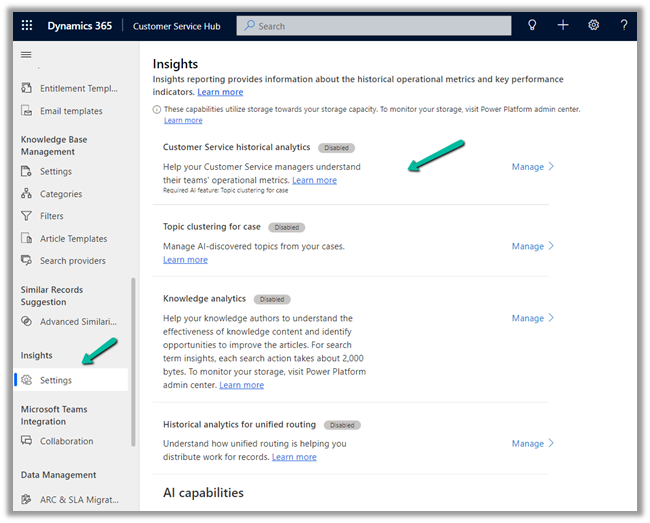
We managed to bring it down to around 10 GB or so by (Microsoft Support quickly helped us by sharing the required details here)
Settings >> Data Management >> Bulk Record Deletion
Customer Service Hub >> Service Management >> Insights (Settings)
Nicely explained here –
Also, check
https://docs.microsoft.com/en-us/power-platform/admin/free-storage-space
Hope it helps..

Suppose we have the following Autonumber field created with
Seed value – 1000 and Format – {SEQNUM:4}

Now based on a certain requirement, we want to dynamically / programmatically update / reset the seed value.
For this, we can make use SetAutoNumberSeed Action
Below we can see the auto number set as 1007 on creating a new contact record.

Now to set it back to 1000 we can run the following code –
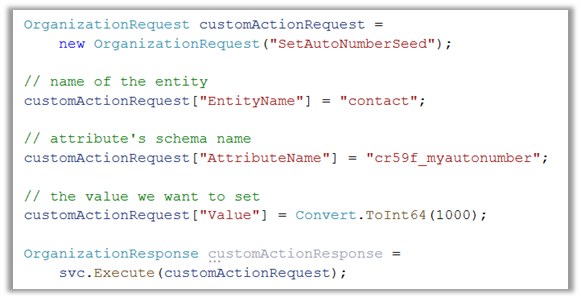
On executing the action, we can see the next contact record having autonumber field set as 1000.
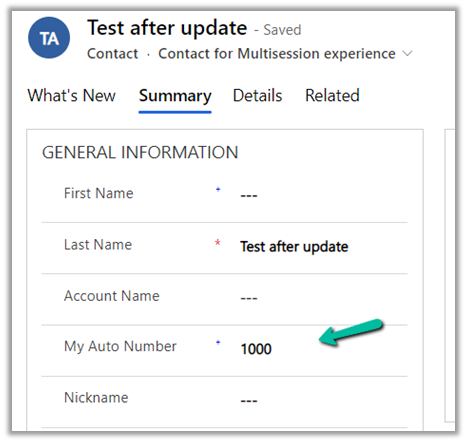
Another example –

On updating the value to 888, and creating a new contact record

Sample code –
                OrganizationRequest customActionRequest =
                    new OrganizationRequest("SetAutoNumberSeed");

                // name of the entity
                customActionRequest["EntityName"] = "contact";

                // attribute's schema name
                customActionRequest["AttributeName"] = "cr59f_myautonumber";

                // the value we want to set
                customActionRequest["Value"] = Convert.ToInt64(888);

                OrganizationResponse customActionResponse =
                    svc.Execute(customActionRequest);
Check other posts –
https://powerobjects.com/tips-and-tricks/auto-number-d365-version-9/
Hope it helps..

Recently we saw a new update in our sandbox environments with regards to Audits.
Login to Power Platform Admin Center, select an environment.
We can see a new section Auditing added.

Click on Delete logs allows us to –
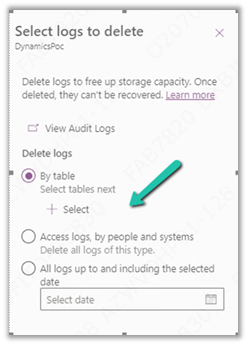
We can select the tables there.
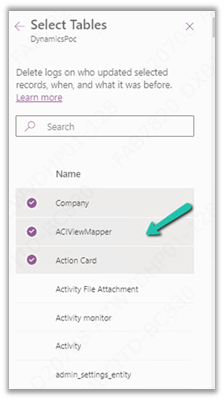


And now we can also manage or specify the retention duration for the audit log.
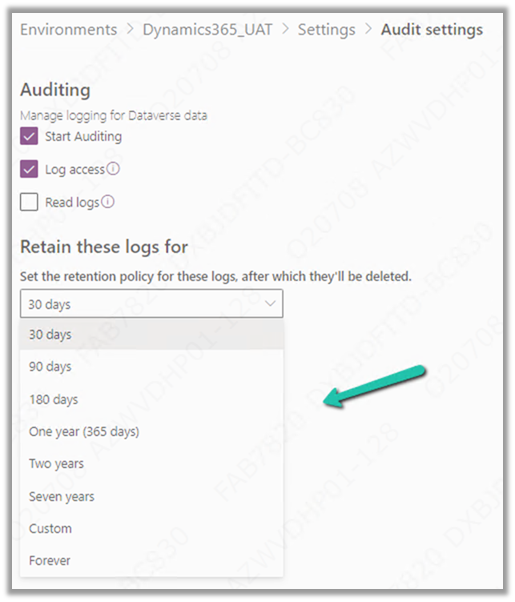
These are very useful updates to the Audit feature in the platform which more or less have been similar since CRM 3.0 days.
Check other posts on Audit –
https://nishantrana.me/2021/08/31/audit-entity-table-few-key-points-dynamics-365-power-apps/
https://nishantrana.me/2021/05/17/how-to-export-the-audit-history-values-from-dynamics-365/
Hope it helps..

https://nishantrana.me/2022/02/09/how-to-import-data-from-local-data-files-to-dynamics-365-customer-insights/To set up the trial of Customer Insights, open the Dynamics 365 Free Trial Page and scroll down to Dynamics 365 Customer Data Platform section
https://dynamics.microsoft.com/en-gb/dynamics-365-free-trial/
Click on Try for free

Sign in with your work account or the Dynamics 365 trial account created and click on Get Started
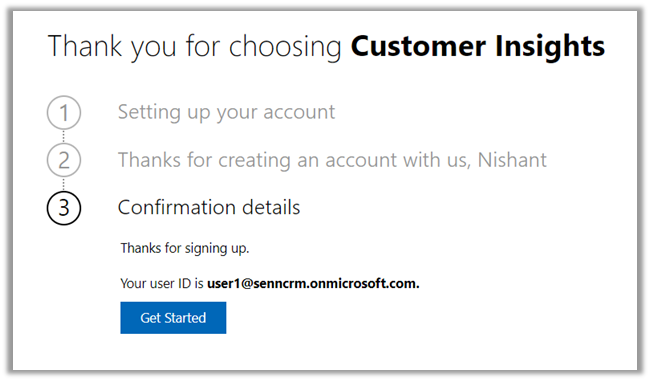
As a first step, it asks for specifying the region for the communication preferences.

For the trial, let us choose the Audience Insights option.

It opens the Demo environment having the sample data. We can explore and understand the features with the sample data or we can start a trial.
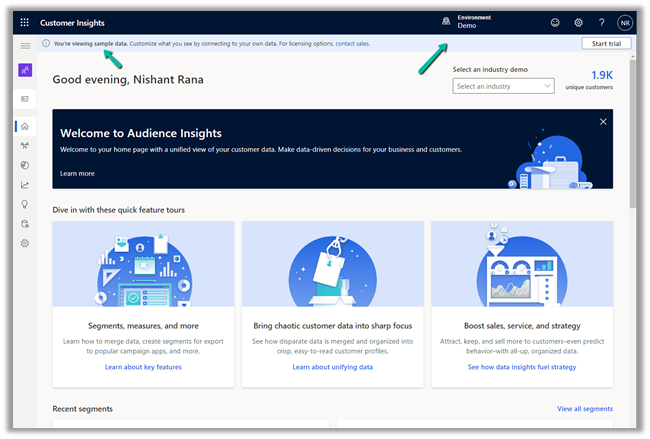
Let us select the option Start trial in the tool bar to connect it to an existing CRM / Dataverse Environment.
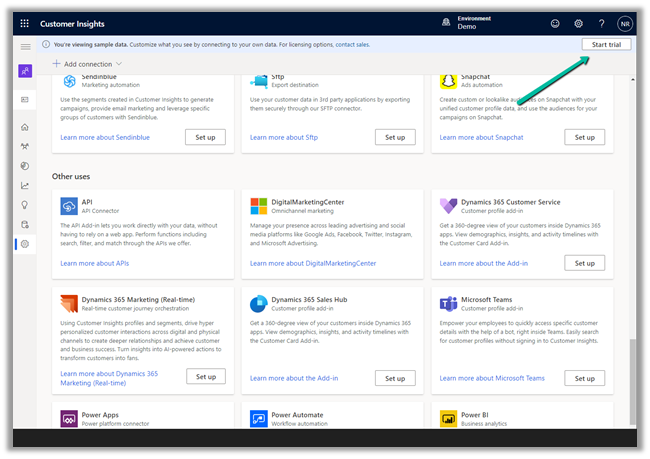
Enter the basic information requested. Make sure you have selected the correct region else you might get unable to create an environment error later.

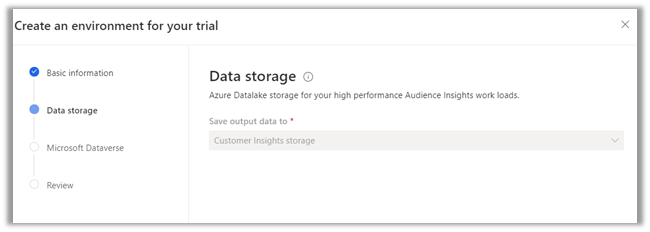
The data storage option comes as disabled.
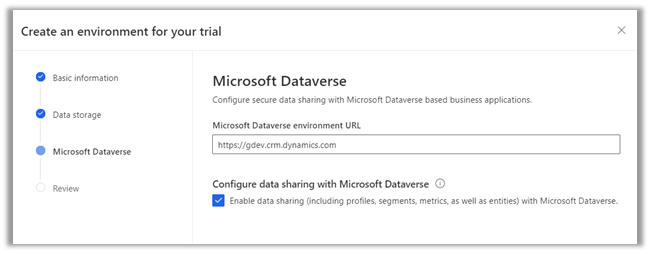
Specify the Dataverse / CRM environment’s URL. (here I am logged in with System Administrator user who is also the Global Admin)
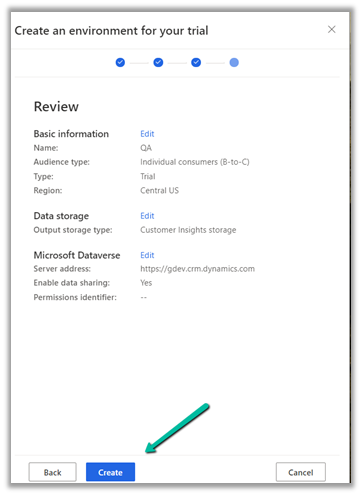
Finally, review the information and click on Create.
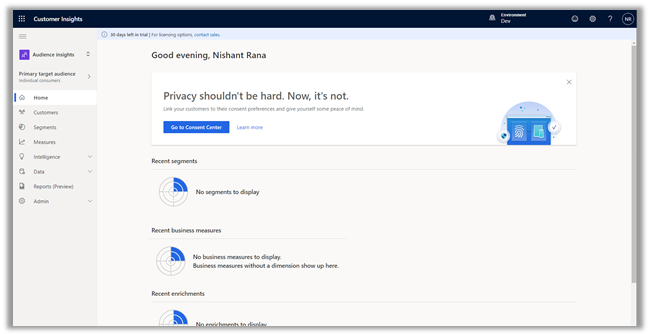
This will configure a 30 day trial against the CRM / Dataverse environment.
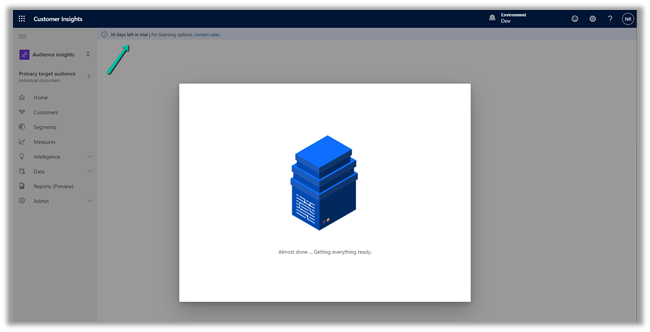
Now we are ready to explore it further.
How to – Import Data from Dataverse / CRM to Dynamics 365 Customer Insights
How to – Import Data from local data files to Dynamics 365 Customer Insights
How to – Unify (Map, Match and Merge) Entities in Dynamics 365 Customer Insights
Hope it helps..






 Nishant Rana's Weblog