Let us continue with our previous post on Bot Framework
https://nishantrana.me/2017/04/18/getting-started-with-microsoft-bot-framework/
Here we will implement our own dialog.
Dialogs are basically a class which implements IDialog interface. Dialog sends a message to the user and is in suspended state till it waits for the response from the user. The state is saved in State Service provided by Bot Connector Service.
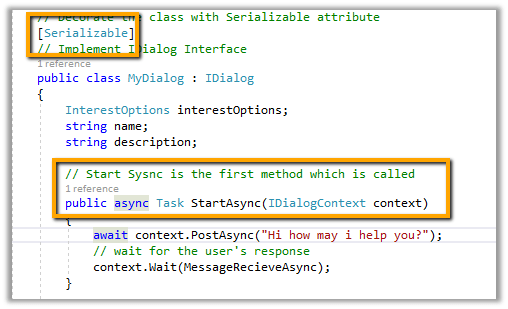
Here MyDialog is our dialog class which implements the IDialog Interface i.e. implement StartAsync method which would be the first method called. We also need to mark our class as Serializable.
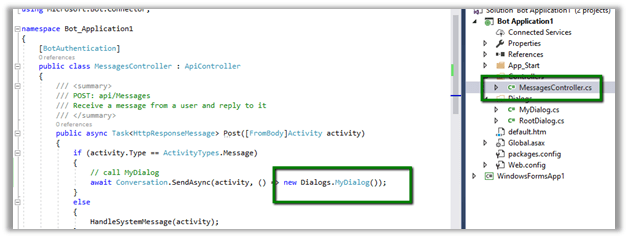
Next we need to update our controller class to point it to our new MyDialog class.
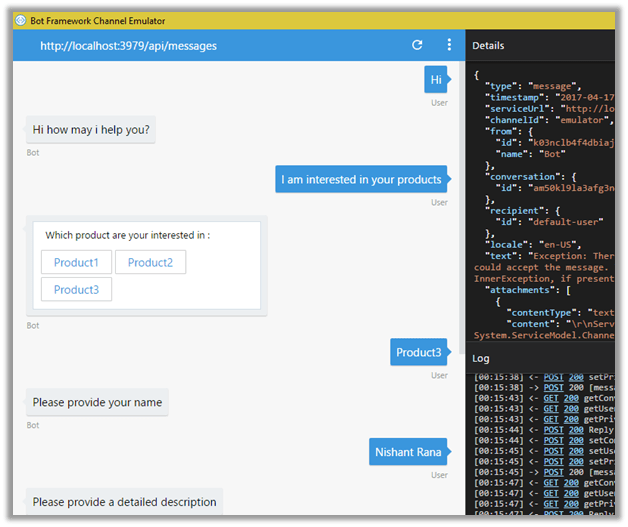
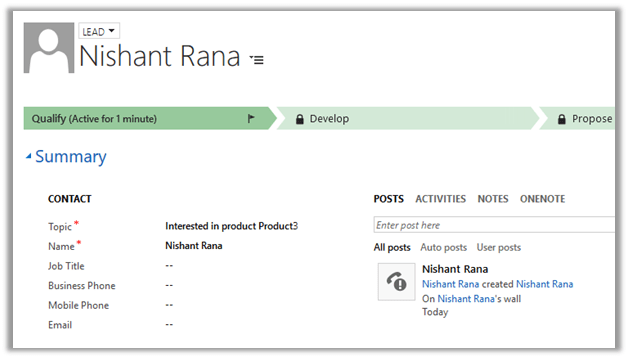
Here we will ask the user about the product in which he is interested, then get the name and description and finally using this information we will create a Lead record inside CRM.

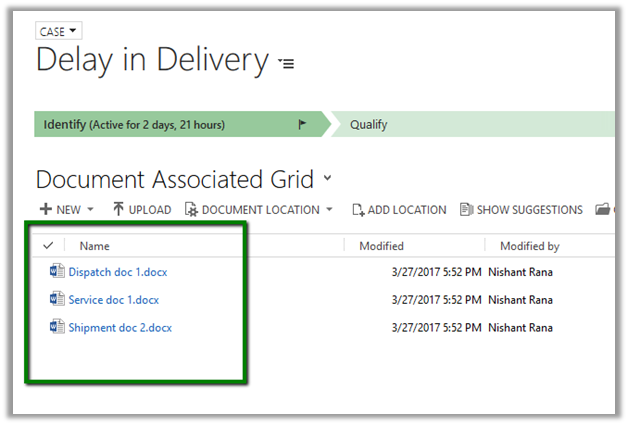
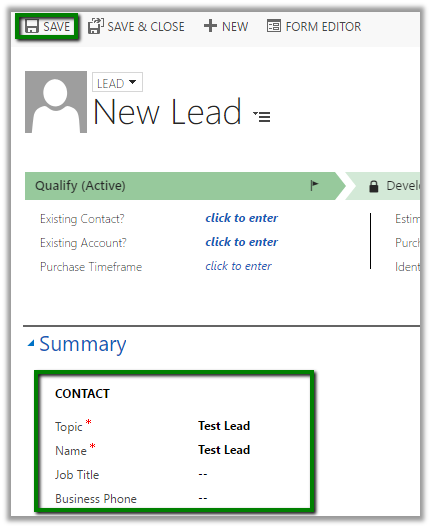
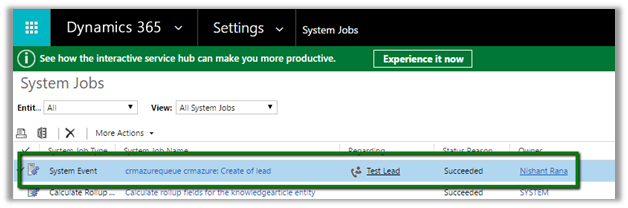
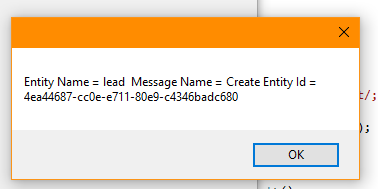
The lead record created in CRM.
Here we are making use of PromptDialog type for managing interactions with the user. Using PromptDialog we can easily prompt user for text, choice, attachment, confirmation etc.
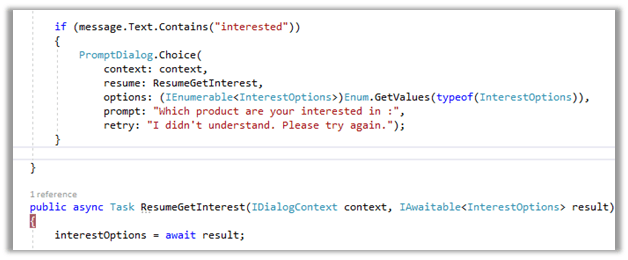
The context here is the IDialogContext. In resume parameter, we can specify which dialog methods to be called next after the user has responded. The response from the user is passed to the subsequent dialog methods.
using Microsoft.Bot.Builder.Dialogs;
using Microsoft.Bot.Connector;
using Microsoft.Xrm.Sdk;
using Microsoft.Xrm.Sdk.Client;
using System;
using System.Collections.Generic;
using System.Threading.Tasks;

namespace Bot_Application1.Dialogs
{

public enum InterestOptions
{
Product1,
Product2,
Product3
}

// Decorate the class with Serializable attribute
[Serializable]
// Implement IDialog Interface
public class MyDialog : IDialog
{
InterestOptions interestOptions;
string name;
string description;

// Start Sysnc is the first method which is called
public async Task StartAsync(IDialogContext context)
{
await context.PostAsync("Hi how may i help you?");
// wait for the user's response
context.Wait(MessageRecieveAsync);
}

public virtual async Task MessageRecieveAsync(IDialogContext context, IAwaitable argument)
{
// get the message
var message = await argument;

if (message.Text.Contains("interested"))
{
PromptDialog.Choice(
context: context,
resume: ResumeGetInterest,
options: (IEnumerable<InterestOptions>)Enum.GetValues(typeof(InterestOptions)),
prompt: "Which product are your interested in :",
retry: "I didn't understand. Please try again.");
}

}

public async Task ResumeGetInterest(IDialogContext context, IAwaitable result)
{
interestOptions = await result;

PromptDialog.Text(
context: context,
resume: ResumeGetName,
prompt: "Please provide your name",
retry: "I didn't understand. Please try again.");
}

public async Task ResumeGetName(IDialogContext context, IAwaitable result)
{
name = await result;

PromptDialog.Text(
context: context,
resume: ResumeGetDescription,
prompt: "Please provide a detailed description",
retry: "I didn't understand. Please try again.");
}

public async Task ResumeGetDescription(IDialogContext context, IAwaitable result)
{
description = await result;
PromptDialog.Confirm(
context: context,
resume: ResumeAndConfirm,
prompt: $"You entered Product :- '{interestOptions}', Your Name - '{name}', and Description - '{description}'. Is that correct?",
retry: "I didn't understand. Please try again.");
}

public async Task ResumeAndConfirm(IDialogContext context, IAwaitable result)
{
bool confirm = await result;

if (confirm)
await context.PostAsync("Thanks for showing your interest we will contact you shortly.");

// Create a lead record in CRM
CreateLeadinCRM();

}

private void CreateLeadinCRM()
{
Microsoft.Xrm.Sdk.Entity lead = new Microsoft.Xrm.Sdk.Entity("lead");
lead.Attributes["subject"] = "Interested in product " + interestOptions;
lead.Attributes["lastname"] = name;
lead.Attributes["description"] = description;
GetOrganizationService().Create(lead);
}

public static OrganizationServiceProxy GetOrganizationService()
{
IServiceManagement<IOrganizationService> orgServiceManagement =
ServiceConfigurationFactory.CreateManagement<IOrganizationService>(new Uri("https://nishantcrm365.crm.dynamics.com/XRMServices/2011/Organization.svc"));

AuthenticationCredentials authCredentials = new AuthenticationCredentials();
authCredentials.ClientCredentials.UserName.UserName = "nishant@nishantcrm365.onmicrosoft.com";
authCredentials.ClientCredentials.UserName.Password = "*****";
AuthenticationCredentials tokenCredentials = orgServiceManagement.Authenticate(authCredentials);
return new OrganizationServiceProxy(orgServiceManagement, tokenCredentials.SecurityTokenResponse);
}
}

}
The next posts in this series
- Using FormFlow in Microsoft Bot Framework.
- Using LUIS AI in Microsoft Bot Framework Part 1
- Using LUIS AI in Microsoft Bot Framework.- Part 2
- Publishing Bot to Azure and adding it to Skype
- Publishing Bot to Facebook Messenger
Hope it helps..