Recently while trying to login into Microsoft Teams we got the below error –

- As suggested in the different articles – we didn’t find any Teams Account Credentials to be removed.

- Windows update also didn’t fix the issue.
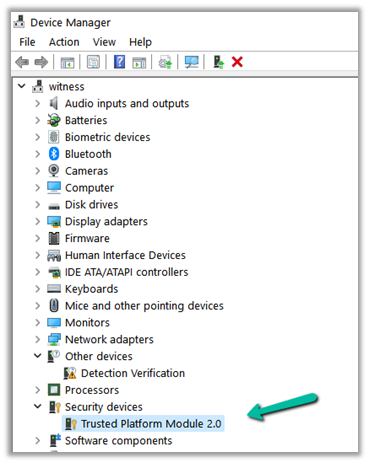
- Neither updating the driver from Devic Manager.
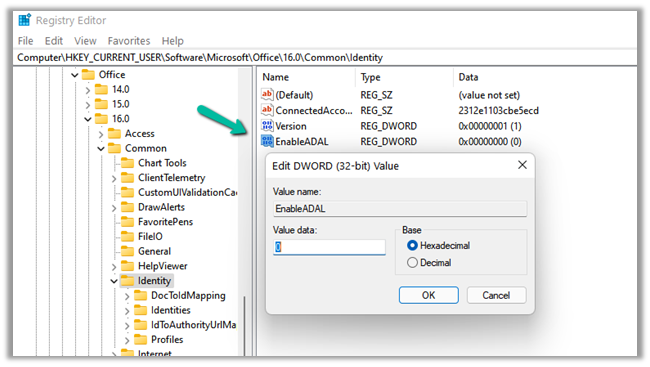
Navigate to HKEY_CURRENT_USER\Software\Microsoft\Office\16.0\Common
Expand the Common key and select the Identity subkey. Right-click on the space on the right side and go to “New > DWORD (32-bit) Value.”
Right-click on the newly created value and select Rename. Type EnableADAL.
By default, the Value Data of EnableADAL should be 0. If not, double-click on it and enter 0 in its Value Data. Click OK to save the changes.
 Cryptographic Services were also running properly.
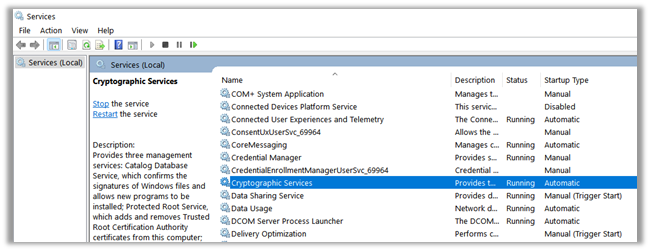
In our case, we were getting below additional error.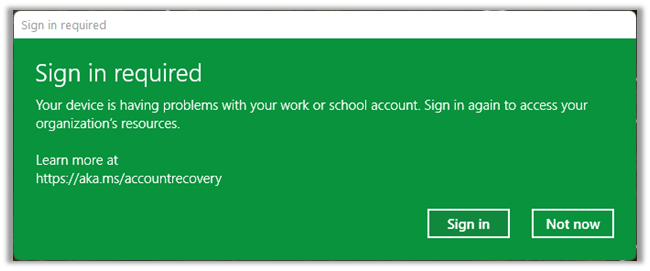
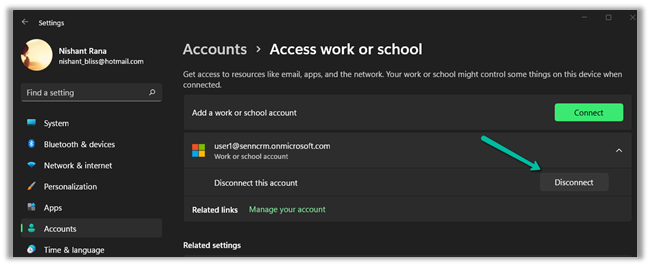
Eventually disconnecting the work account worked in our case.
https://nishantrana.me/2022/04/18/fixed-sign-in-required-your-device-is-having-problems-with-your-work-or-school-account-sign-in-again-to-access-your-organizations-resources/
The other solution that worked temporarily for us was to uninstall and reinstall the Microsoft Teams.
https://www.microsoft.com/en-ww/microsoft-teams/download-app
Hope it helps..