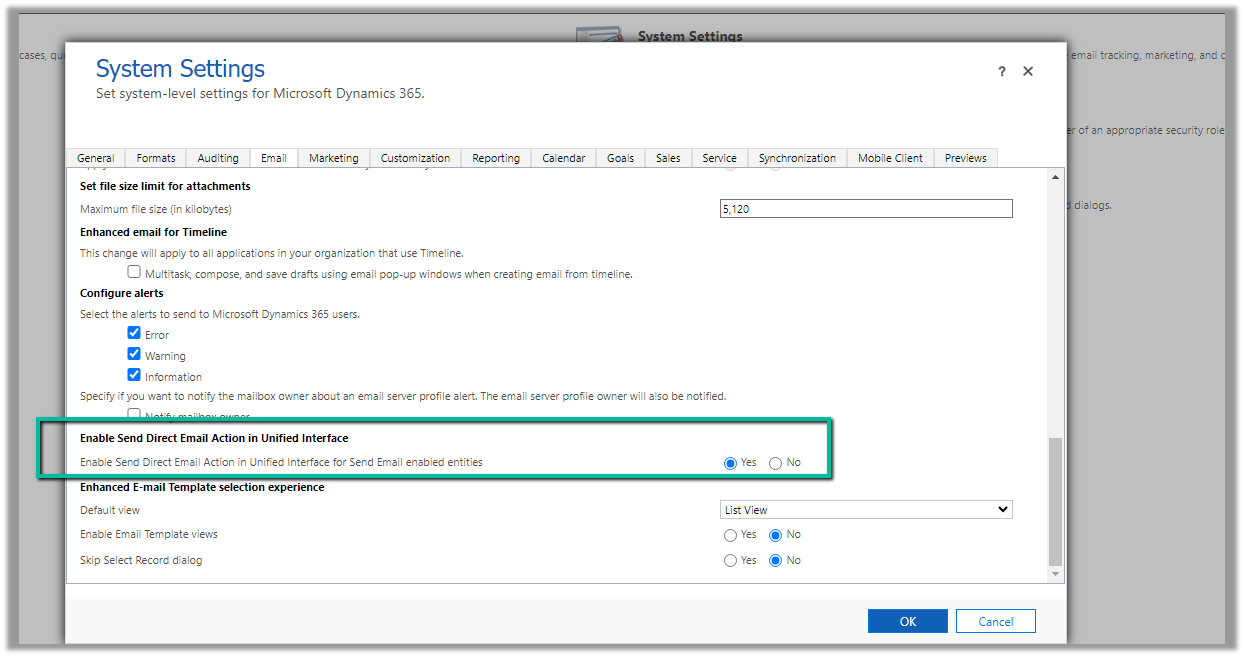
To enable the option of sending bulk email / direct mail in Unified Interface, we can navigate to Settings >> Administration >> System Settings >> Email >> Enabled Send Direct Email Action in Unified Interface
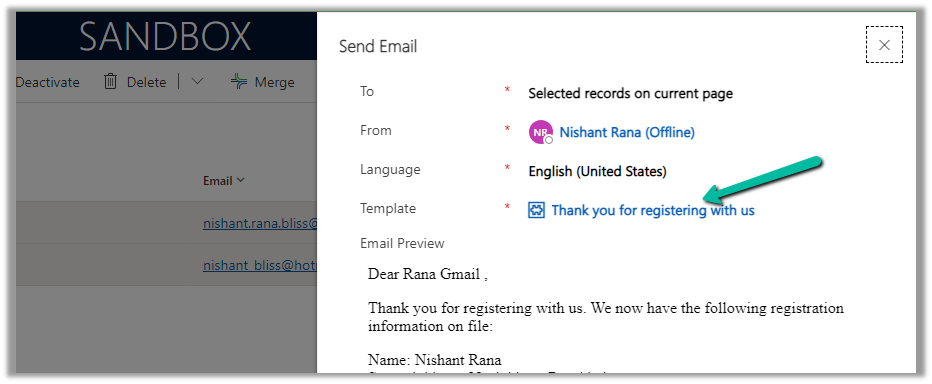
Now on selecting the record(s) of email enabled table, we get the option “Send Direct Email”

We can also specify the Email Template and preview the content before sending.
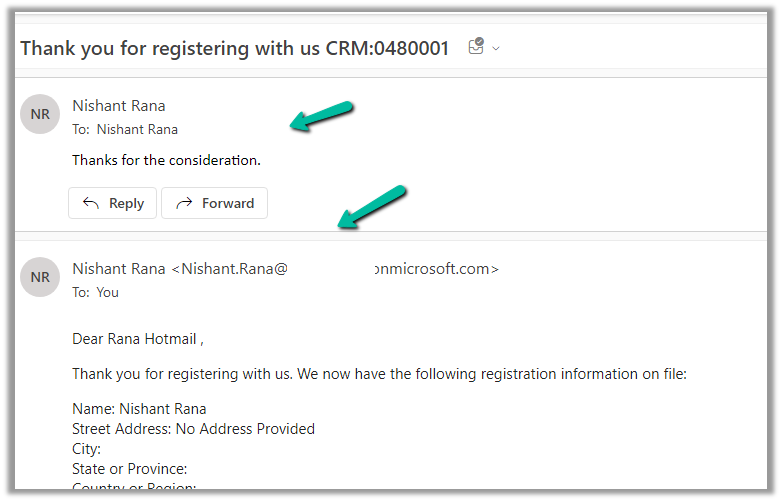
We can see the mail received in the Hotmail account from the CRM user’s email id/mailbox configured.
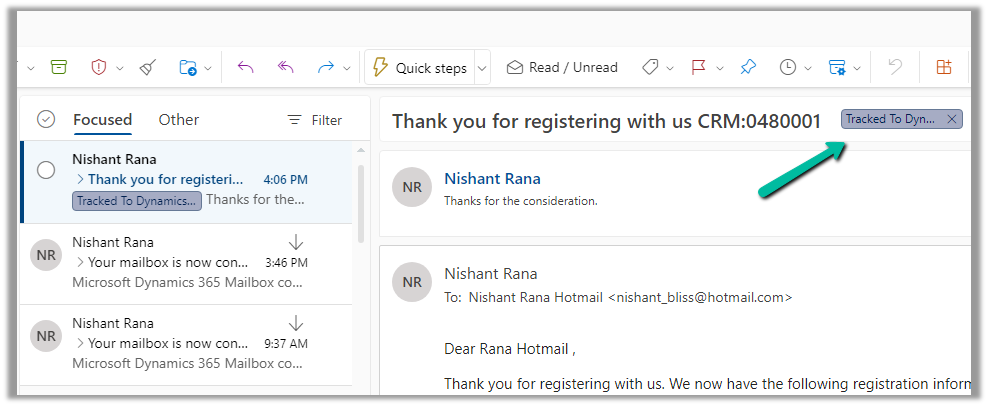
Here the end-user has also replied to the email.
We can see the response / reply automatically “Tracked to Dynamics 365” in the CRM user’s outlook. (based on the CRM user’s Personal Options setting)
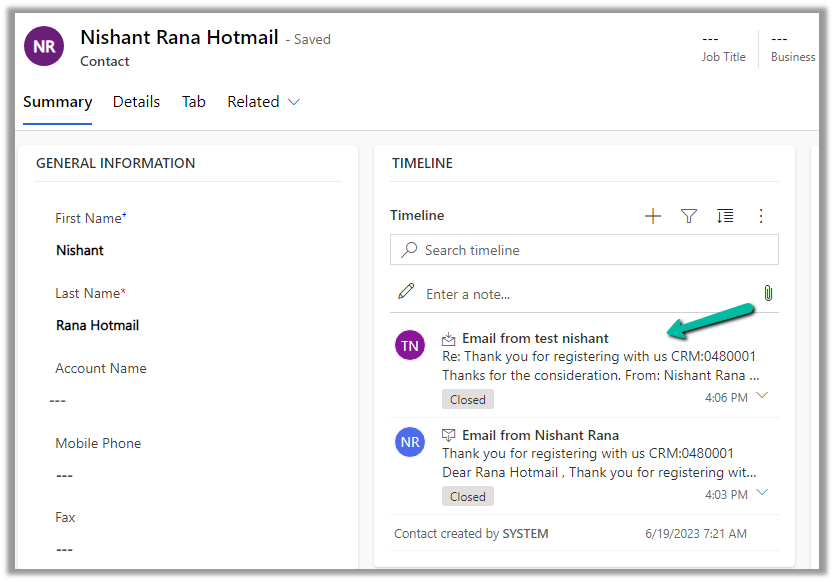
Which creates Email activity (closed status) in the corresponding contact record inside CRM.
More on Tracking Email –
Hope it helps..