Sharing a sample code which we can use to download the file from the File Column
Also read –
https://nishantrana.me/2021/10/01/using-file-and-image-data-type-in-dataverse-dynamics-365/
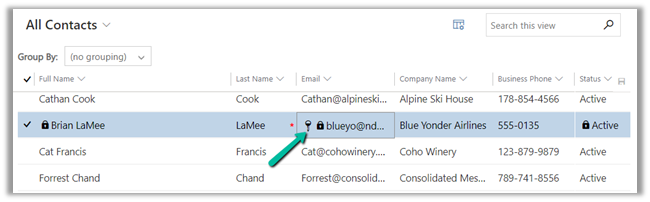
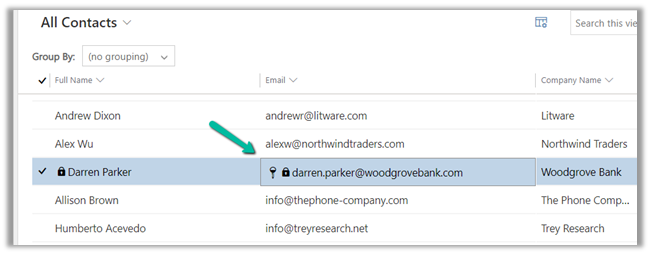
Here we would download the below file uploaded to one of the contact records.

The sample code –
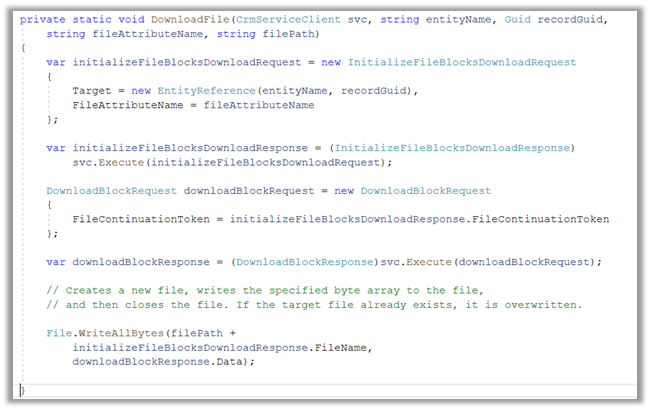
On calling the method –

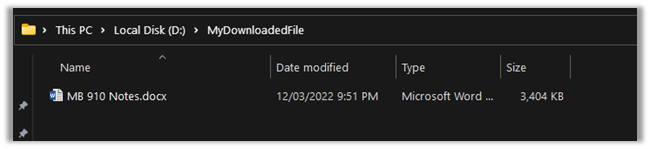
We can see the file downloaded at the location specified
Here the file transfers are limited to a maximum of 16 MB in a single call. In case of more than 16 MB, we need to divide the data into 4 MB or smaller chunks, combine or join the downloaded data to form the complete file.
Get more details – Retrieve File Data
*interestingly enough we didn't get any error while trying to download files with size more than 16 GB by using the DownloadBlockRequest
Hope it helps..
private static void DownloadFile(CrmServiceClient svc, string *interestingly enough we didn't get any error while trying to download files with size entityName, Guid recordGuid,
            string fileAttributeName, string filePath)
        {
            var initializeFileBlocksDownloadRequest = new InitializeFileBlocksDownloadRequest
            {
                Target = new EntityReference(entityName, recordGuid),
                FileAttributeName = fileAttributeName
            };

            var initializeFileBlocksDownloadResponse = (InitializeFileBlocksDownloadResponse)
                svc.Execute(initializeFileBlocksDownloadRequest);

            DownloadBlockRequest downloadBlockRequest = new DownloadBlockRequest
            {
                FileContinuationToken = initializeFileBlocksDownloadResponse.FileContinuationToken
            };

            var downloadBlockResponse = (DownloadBlockResponse)svc.Execute(downloadBlockRequest);

            // Creates a new file, writes the specified byte array to the file,
            // and then closes the file. If the target file already exists, it is overwritten.

            File.WriteAllBytes(filePath +
                initializeFileBlocksDownloadResponse.FileName,
                downloadBlockResponse.Data);

        }
Advertisements