Recently we had a requirement to set some of the fields in our business process flow to be enabled only if that stage is active.
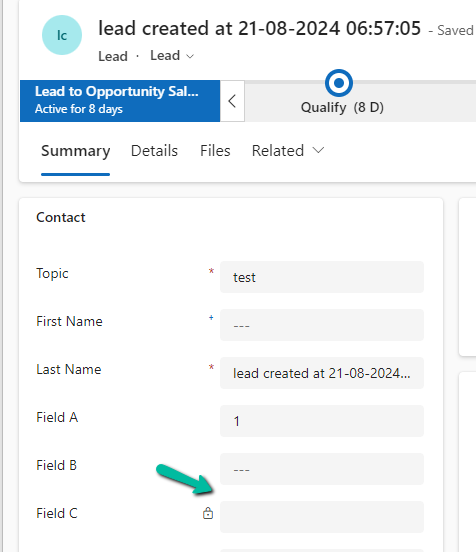
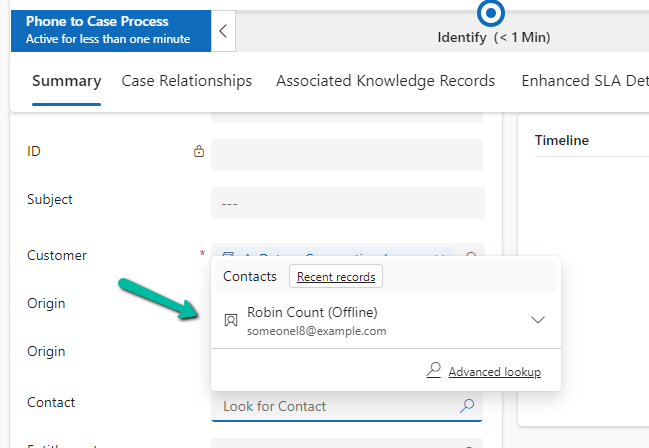
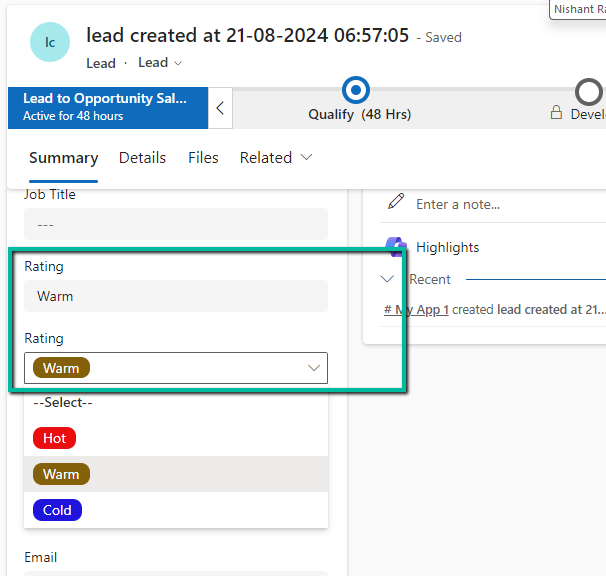
E.g. We want to Identify Sales Team field to be Enabled only if the Propose stage is active, else we want to set it as read-only.

We can use the below JScript to achieve the same.

Because the Propose stage is Inactive we have Identify Sales Team as read only.

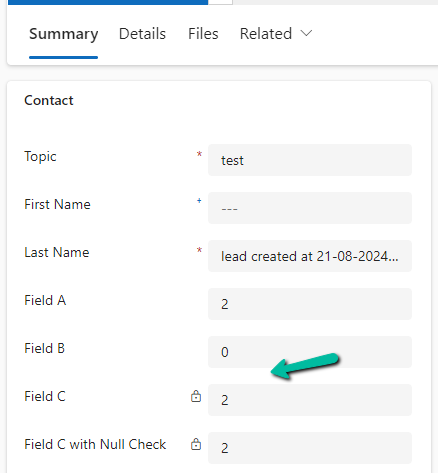
On moving to the Propose stage, we can see the field being enabled back.

The key steps are –
In the onload of the form associate your function/logic to the OnStage change method of the Process object.
formContext.data.process.addOnStageChange(CheckStageAndToggleFieldBPF);
Next, check for the active stage ID.
Here to get the active stage ID, open the business process flow and get its Guid.

Then using the awesome SQL4CDS XrmToolBox plugin get the Guid of the particular stage.

function OnLoad(executionContext)
{
	 var formContext = executionContext.getFormContext();
	 formContext.data.process.addOnStageChange(CheckStageAndToggleFieldBPF);
	 CheckStageAndToggleFieldBPF(executionContext);
}

 function CheckStageAndToggleFieldBPF(executionContext) {

        var formContext = executionContext.getFormContext();
        var activeStage = formContext.data.process.getActiveStage();
        var activeStageId = activeStage.getId();
        var stagePropose = "3a275c22-fc45-4e89-97fc-41e5ec578743";

        if (activeStageId.toLowerCase() === stagePropose) {
                formContext.getControl("header_process_identifypursuitteam").setDisabled(false);
        }
        else {
            formContext.getControl("header_process_identifypursuitteam").setDisabled(true);
        }
  }
select processidname,stagename, processstageid  from processstage
where processid = '919E14D1-6489-4852-ABD0-A63A6ECAAC5D'
Also if we have the same fields used in multiple places / stages in the Business Process Flow, we will have the suffix added to the fields, so we need to refer the field appropriately in our script.
- header_process_identifypursuitteam
- header_process_identifypursuitteam_1
- header_process_identifypursuitteam_2
Also check – https://www.c-sharpcorner.com/blogs/options-for-locking-field-on-business-process-flow
Hope it helps..