- Sign in to Microsoft Azure Management Portal or Sign up for a free trial. The account should be in the same Office 365 tenant where we would like to register the app. (or link existing Azure Subscription not in same tenant as CRM)
https://manage.windowsazure.com/
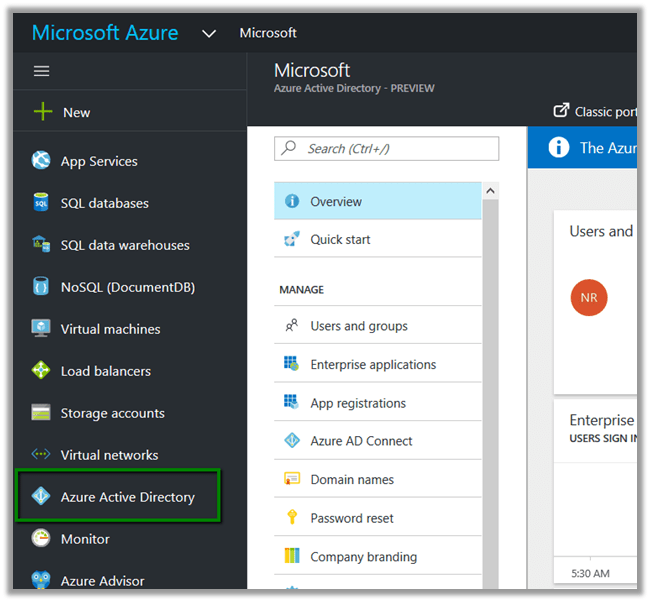
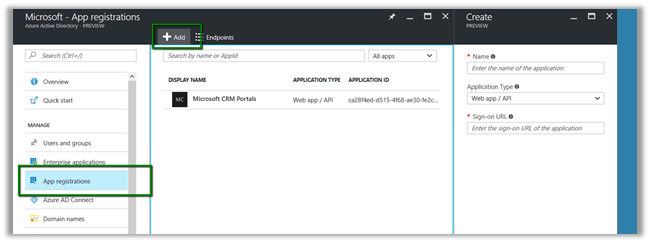
- Inside Azure Management Portal select Azure Active Directory
- Select App registrations and click Add
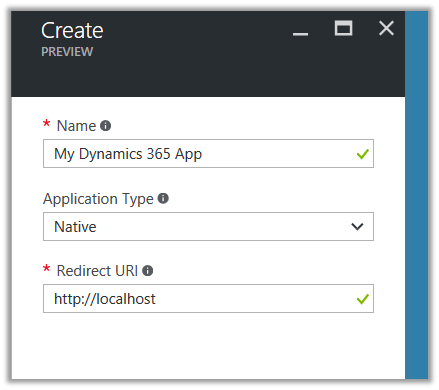
- Provide required details for the App and click Create
- Select the App created to get the required details

- To give permission to App to access Dynamics CRM, click on Required Permissions in API Access section

- Click on Add

- Select Dynamics CRM Online


We’d get the notifications.

- Along with Client id we would also need Authorization Endpoint, when we develop App.

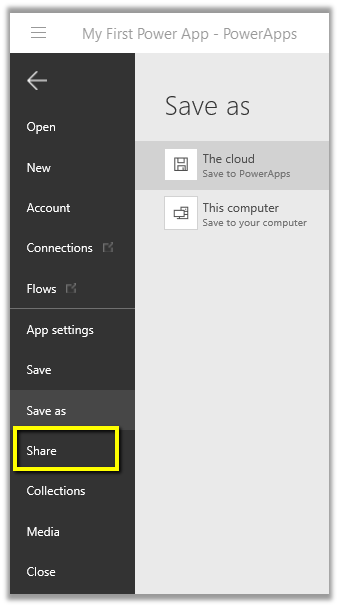
Hope it helps..