Hi,
Today i cleared MB2-712 certification exam. It had 48 Questions in it with passing score 0f 700.
I referred to the following guide for my preparation by CRM MVP Neil Parkhurskt
Hope it helps..
Hi,
Today i cleared MB2-712 certification exam. It had 48 Questions in it with passing score 0f 700.
I referred to the following guide for my preparation by CRM MVP Neil Parkhurskt
Hope it helps..


using System;
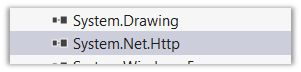
using System.Net.Http;
using System.Net.Http.Headers;
using System.Threading.Tasks;
using Microsoft.IdentityModel.Clients.ActiveDirectory;
using Newtonsoft.Json;
using Newtonsoft.Json.Linq;
namespace Dynamics365ConsoleApp
{
internal class Program
{
// username and password
private const string UserName = "sapnarana@nishant365.onmicrosoft.com";
private const string Password = "mypassword";
// Crm Url
private const string Resource = "https://nishant365.crm8.dynamics.com";
// Application's Client Id
private const string ClientId = "d08b641c-2dc8-4f33-8a57-b1573da88a22";
// Redirct Uri specified during registration of application
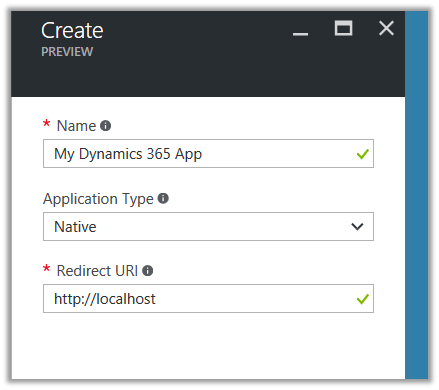
private const string RedirectUri = "http://localhost";
// Authroiztion Endpoint
private const string Authority = "https://login.windows.net/nishant365.onmicrosoft.com";
private static AuthenticationResult _authResult;
private static void Main(string[] args)
{
// without prompt
var authContext = new AuthenticationContext(Authority, false);
var credentials = new UserCredential(UserName, Password);
_authResult = authContext.AcquireToken(Resource, ClientId, credentials);
// with prompt
AuthenticationContext authContext = new AuthenticationContext(authority);
authResult = authContext.AcquireToken(resource, clientId, new Uri(redirectUri));
Task.WaitAll(Task.Run(async () => await GetFullNameSystemUsers()));
}
private static async Task GetFullNameSystemUsers()
{
var httpClient = new HttpClient
{
BaseAddress = new Uri(Resource),
Timeout = new TimeSpan(0, 2, 0)
};
httpClient.DefaultRequestHeaders.Add("OData-MaxVersion", "4.0");
httpClient.DefaultRequestHeaders.Add("OData-Version", "4.0");
httpClient.DefaultRequestHeaders.Accept.Add(new MediaTypeWithQualityHeaderValue("application/json"));
httpClient.DefaultRequestHeaders.Authorization = new AuthenticationHeaderValue("Bearer",
_authResult.AccessToken);
var retrieveResponse =
await httpClient.GetAsync("api/data/v8.1/systemusers?$select=fullname");
if (retrieveResponse.IsSuccessStatusCode)
{
var jRetrieveResponse =
JObject.Parse(retrieveResponse.Content.ReadAsStringAsync().Result);
dynamic systemUserObject = JsonConvert.DeserializeObject(jRetrieveResponse.ToString());
foreach (var data in systemUserObject.value)
Console.Write(data.fullname.Value);
}
}
}
}
For in depth understanding please refer the following post
Hope it helps..
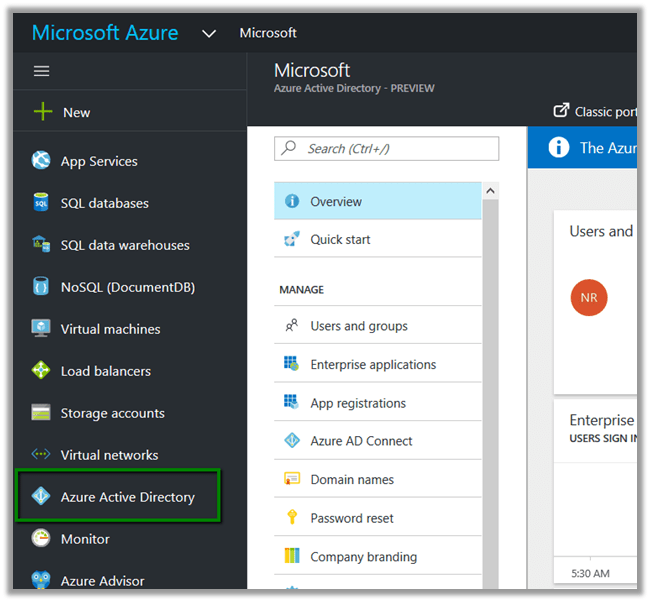
https://manage.windowsazure.com/


We’d get the notifications.


Hope it helps..
Similar to the apps that we see in Menu Bar for Dynamics 365, we can create our own apps.

First we need to enable the Preview for it.
Go to Administration à System Settings

Go to Settings à My Apps
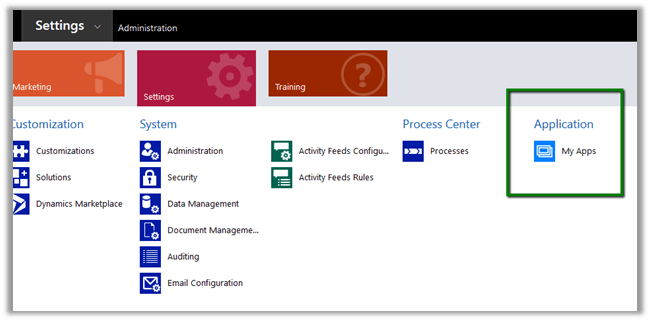
Click on Create App
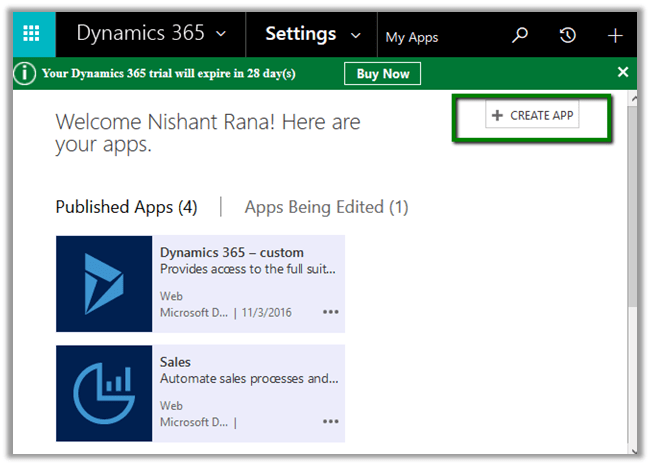
It will take us to App Designer, provide details.

Different components that we can add
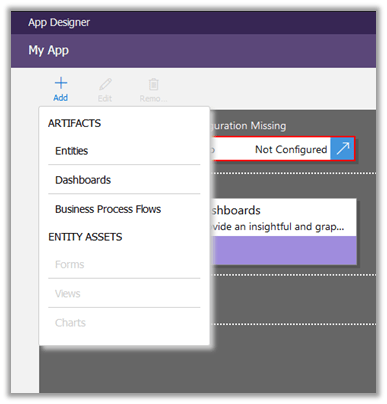
Or drag drop
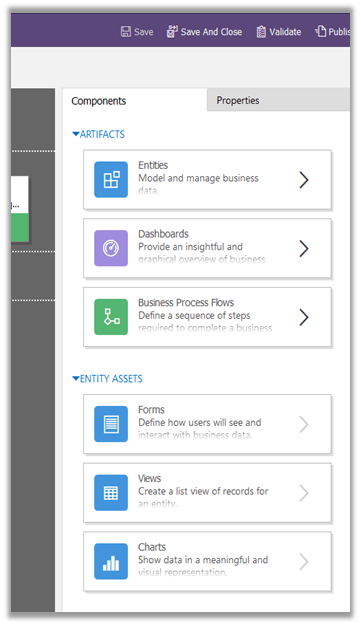
First we need to configure the SiteMap for the app. Click on arrow inside Sitemap area to configure.

Inside Site map designer we can add Area, Group and Sub Area (the usual components of Site Map)

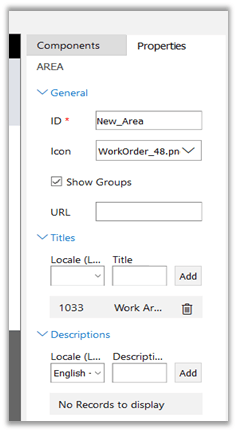
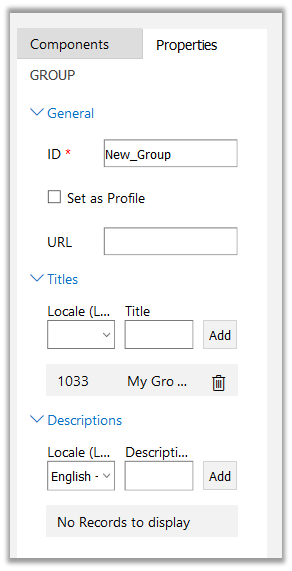
Update properties of Area, Group and Subarea and add new Sub Areas.
Area Properties.
For Group
For SubArea
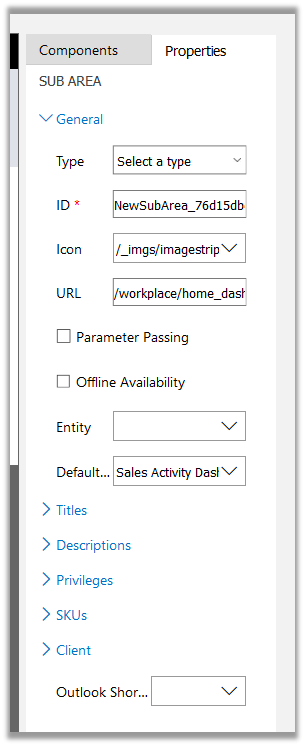
Different Types of Sub Area can be defined.

This is how the app looks inside Site Map Designer
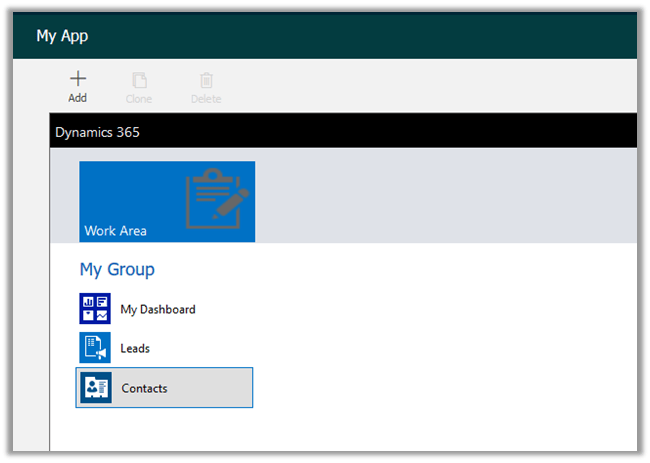
Save and close to go back to App Designer
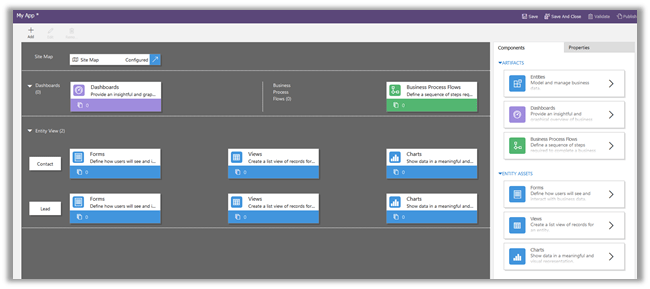
It has added Dashboard along with Contact and Lead Entity View.
Now let us add Form and Views to Contact and Lead Entity View using Entity assets.
Select Contact in Entity View and select Forms in Entity Assets
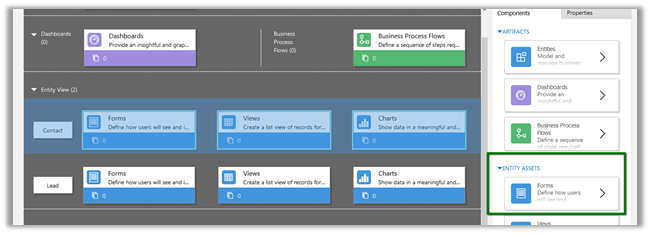
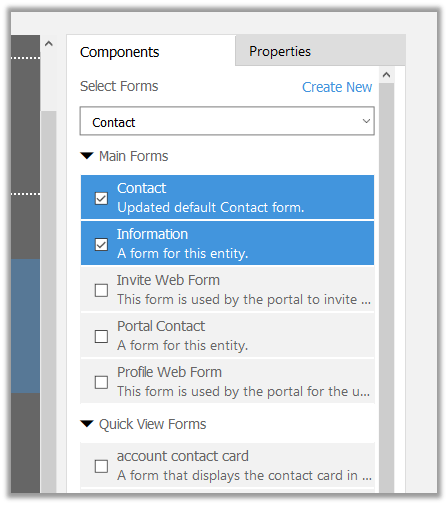
Similarly, for Views
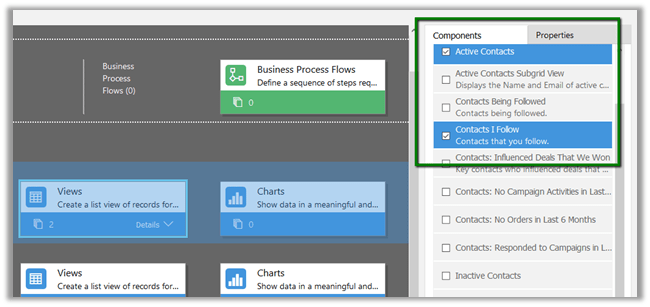
Repeat the same steps for Lead entity.
Click on Validate
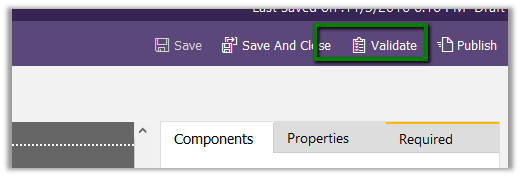
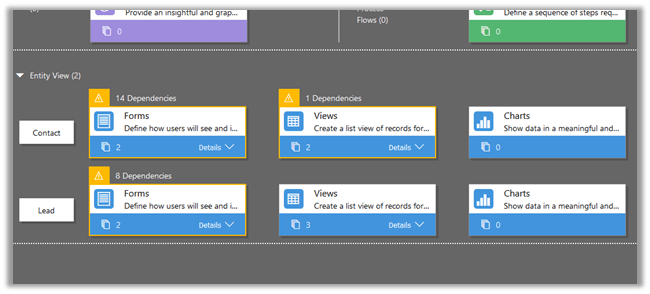
It will show up all the dependencies
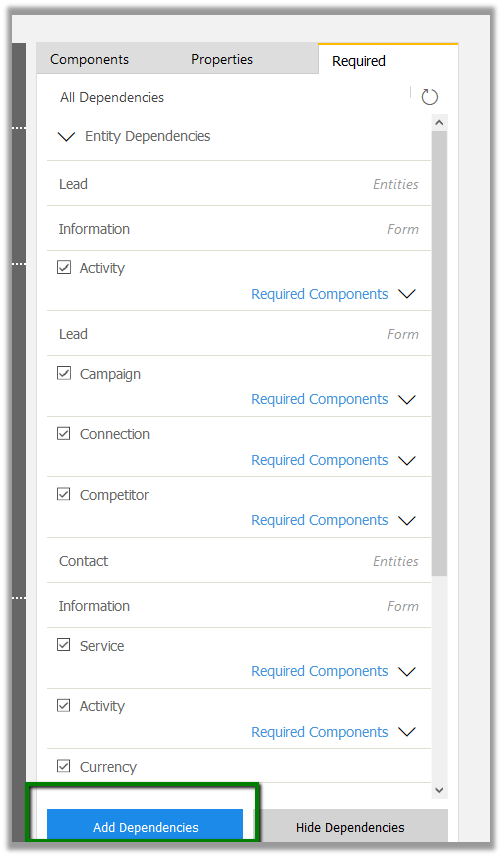
Required tab will list all the dependencies. For time being let us add all the dependencies
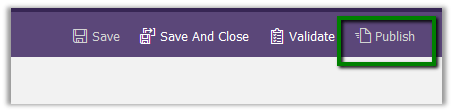
Publish the app.
The apps would appear now in Dynamics 365 menu
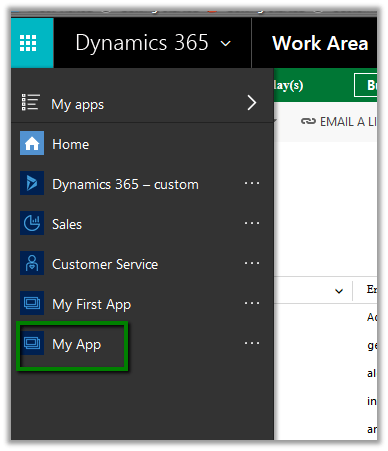
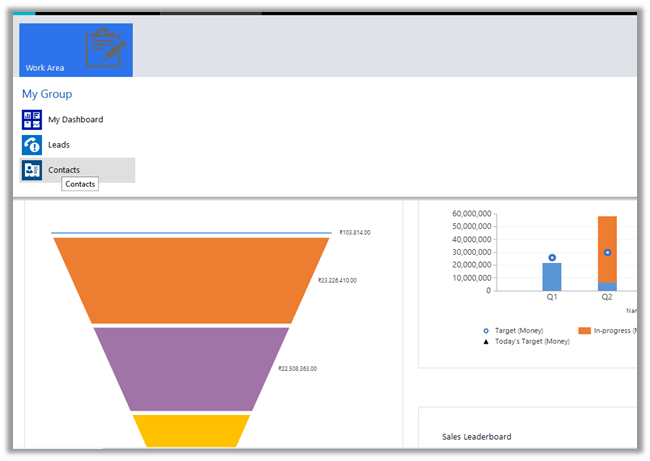
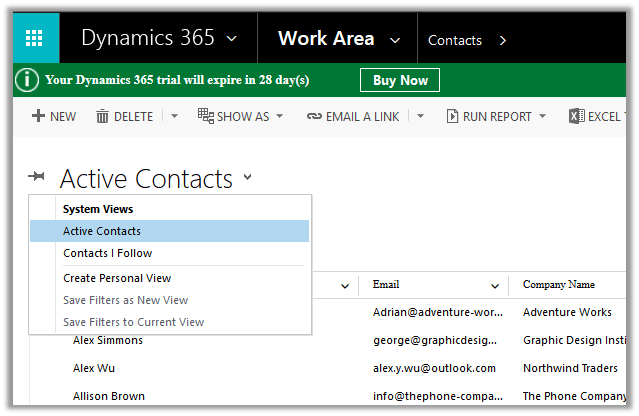
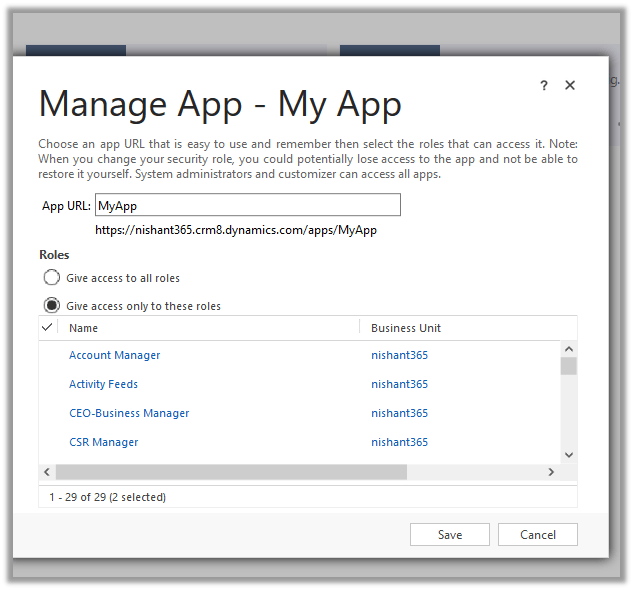
We can specify specific roles which could access the apps.
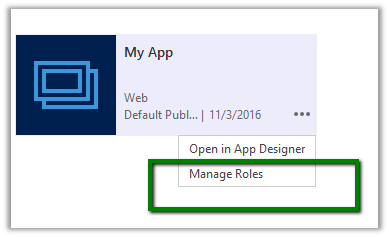
Hope this helps ..
In Dynamics 365 we have new visual designer for Business Rules (and Business Process Flows).

Condition and Actions can be added through Add button or dragged and dropped


Conditions and Action can be copied, cut. delete and pasted in designer window.

Snapshot creates a snapshot of the business rules. (image file with png extension)

Conditions can be defined in the Properties window

Still we can only specify either Add or OR conditions
Changing it to OR replaces AND condition

May be in future release we’d have that feature as well.
Hope it helps..
Let us try exploring Editable Grid in Dynamics 365
We’d enable it on Contact Entity ( editable grid works for custom entities as well)


For Subgrid,


Hope it helps..