For configuring Product Recommendations first we need to enable the preview –
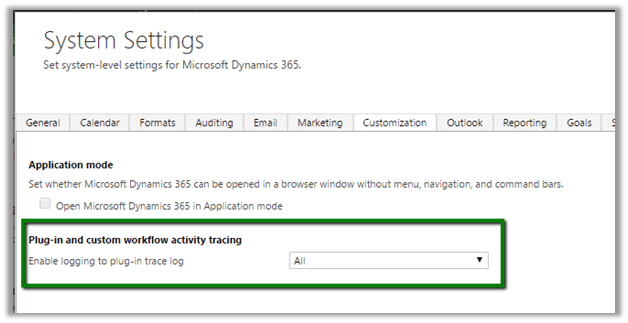
Go to Settings – Administration – System Settings – Previews

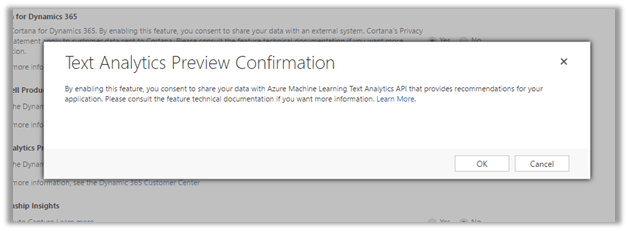
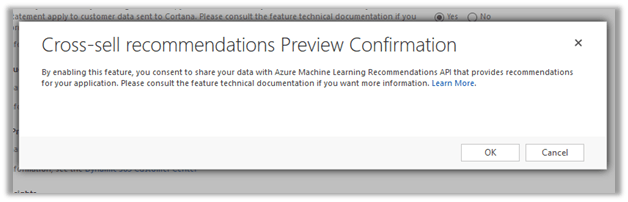
Select Yes and Click on OK.
As a next step, we need to create Cognitive Services for Recommendation API and connect it to CRM.
Go to Portal
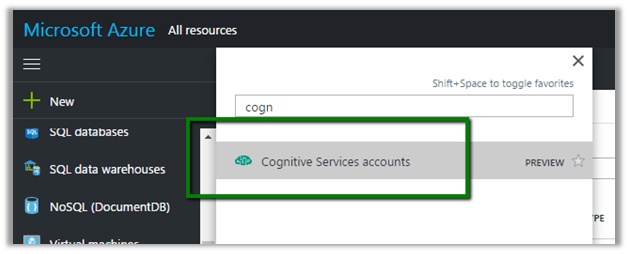
Search and select Cognitive Services Accounts

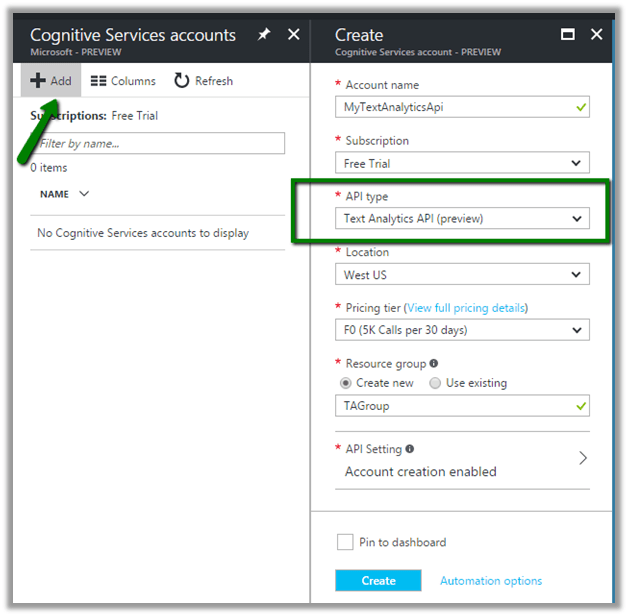
Click on Add
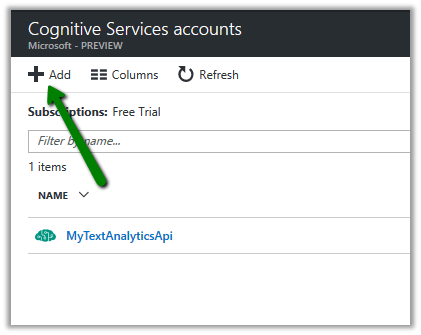
Select Recommendation API and provide other details and click on Create.

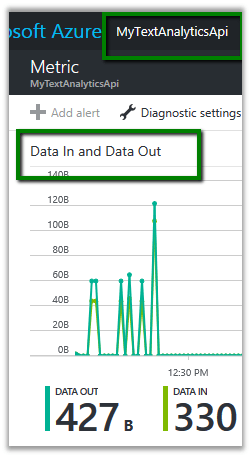
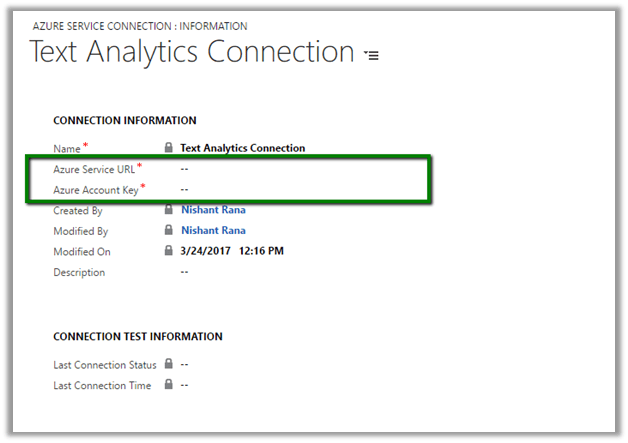
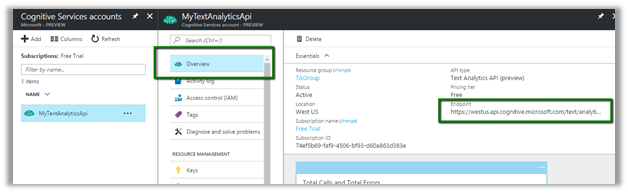
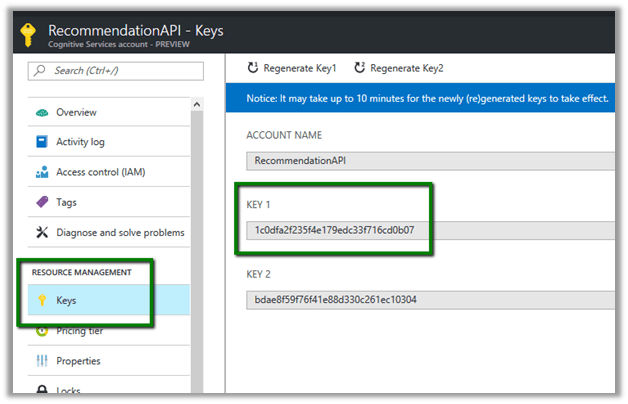
From Overview, note down the Endpoint which will be used to configure the connection in CRM.

From Keys, copy value of the Key which will be used for configuring connection to CRM.
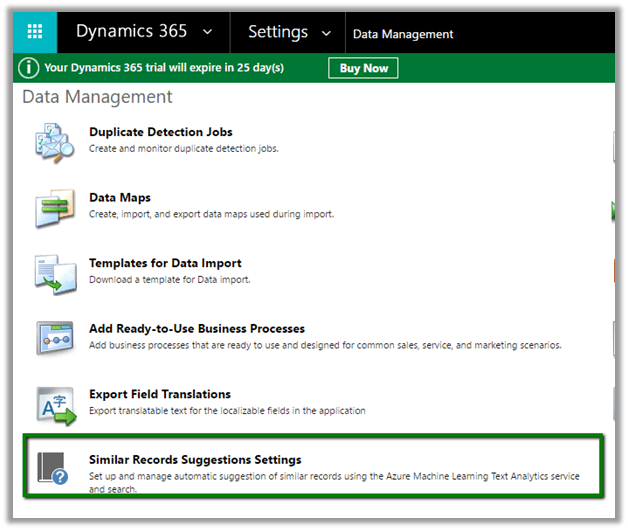
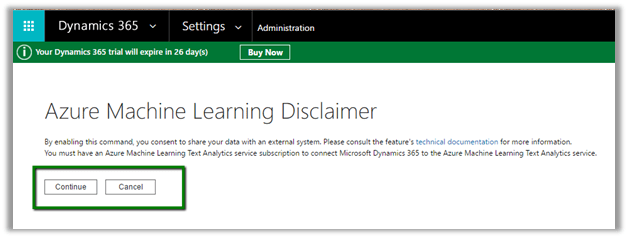
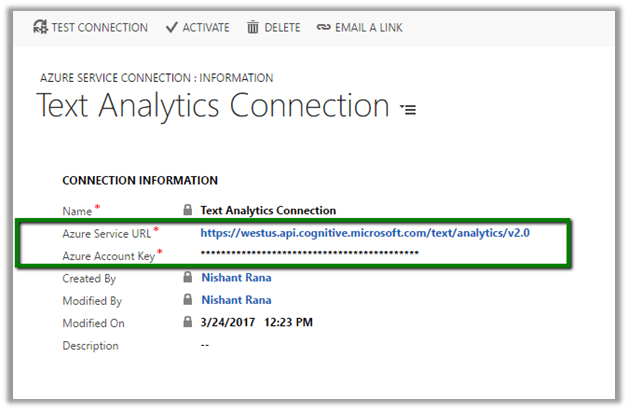
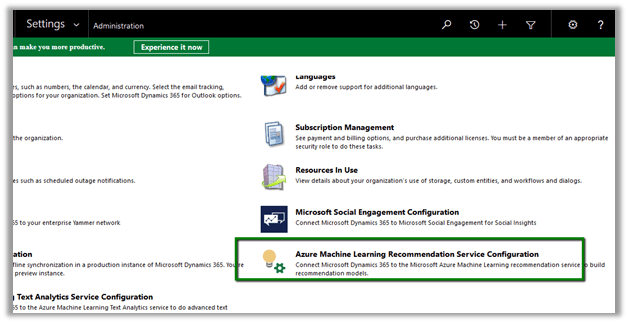
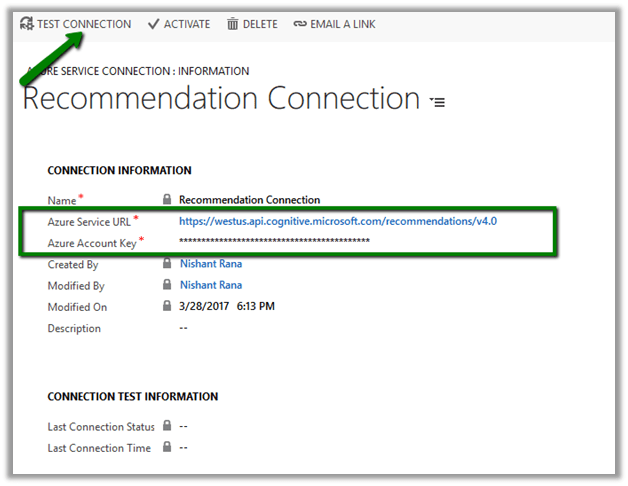
In CRM, go to Settings – Administration and click on Azure Machine Learning Recommendation Service Configuration.
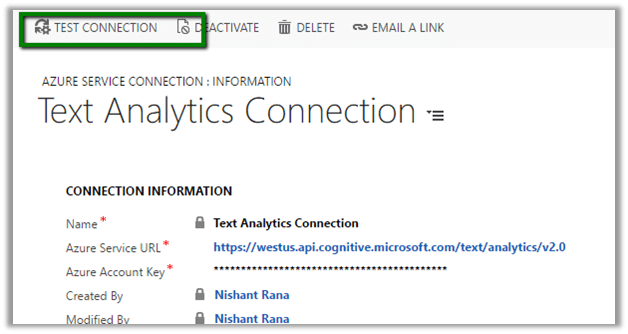
Specify the value for the URL and Key we had noted down earlier, save the record and click on Test Connection to test the connection.
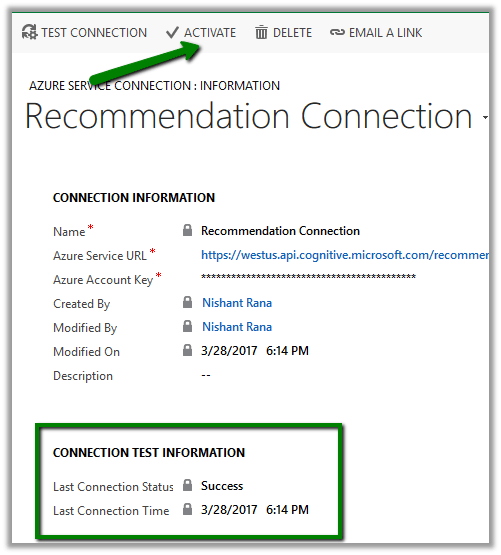
On Successful connection, we’d see Success message for Last Connection Status. Click on Activate to enable the connection.
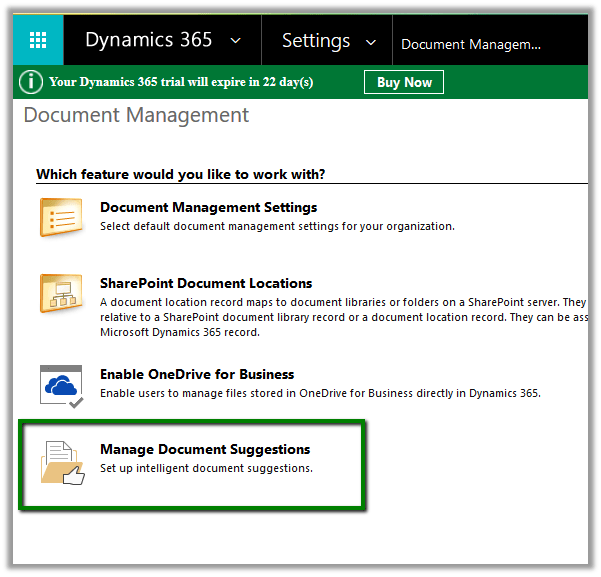
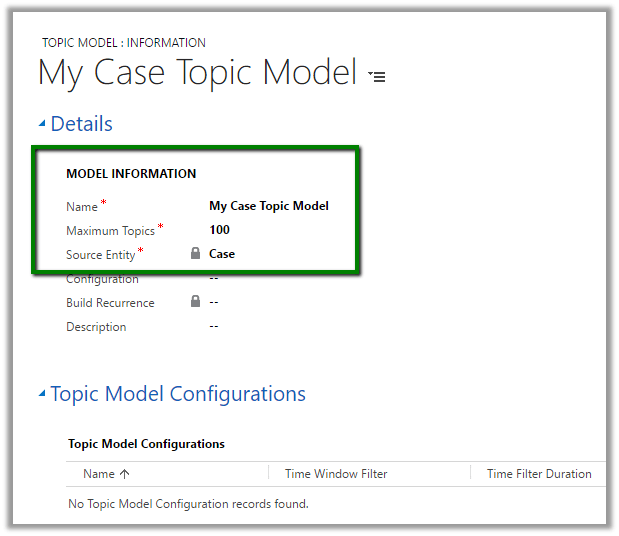
Now we need to define\build the model for recommendations. For this go to Settings – Product Catalog and click on Product Recommendations.

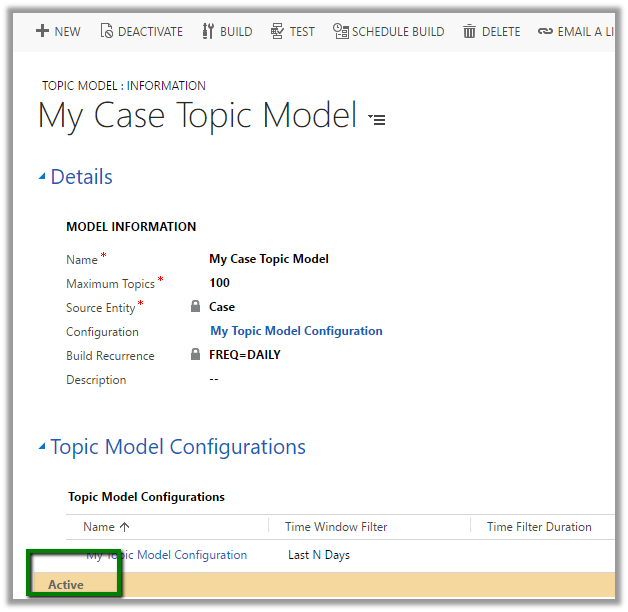
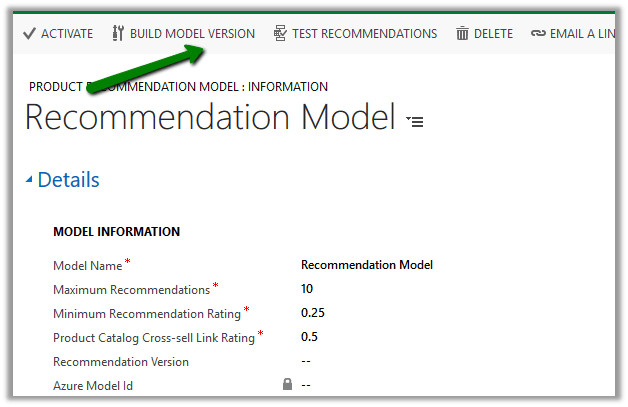
We’d see a recommendation model with default values

The model will have Basked Data Entities already defined. We can edit\add new\ delete these existing configuration records for Basked Data Entities. Basked Data Entities recommendations are based on which products appear together.
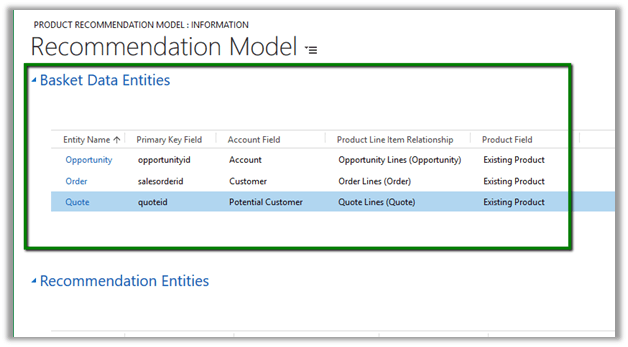
For e.g. in below Opportunity record we can see 27 inch and 12 inch monitor opportunity products appearing together. It will look for all such line items records.

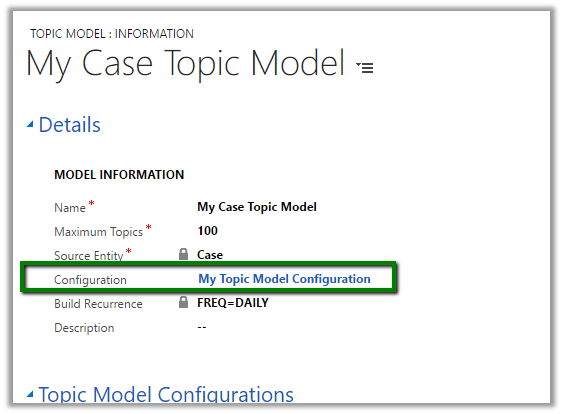
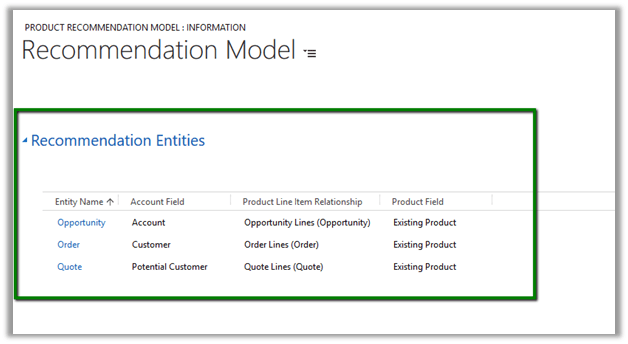
Similarly we have recommendation entities records configured which we can update.
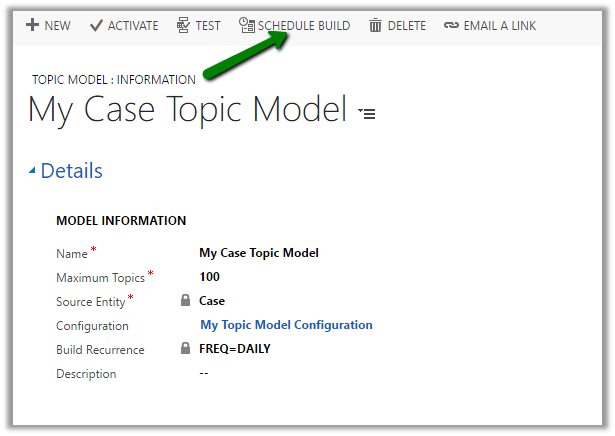
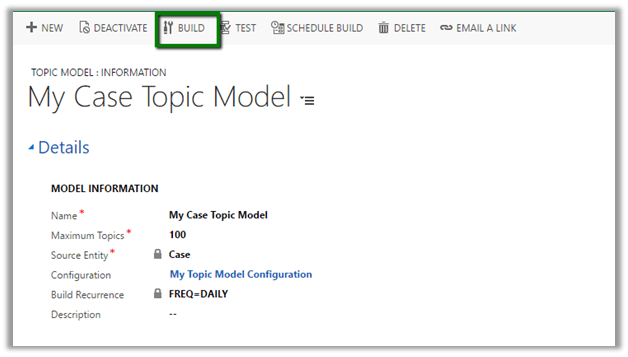
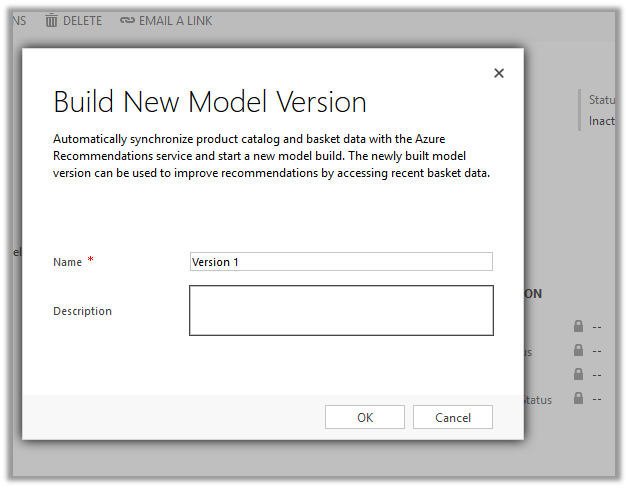
 Once done with the configuration, we need to click on Build Model Version to build the model.
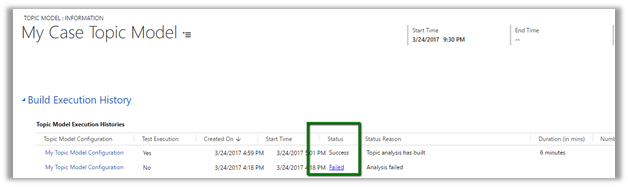
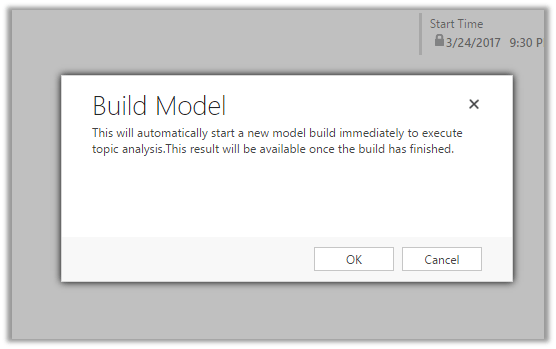
It will create a corresponding model version record.
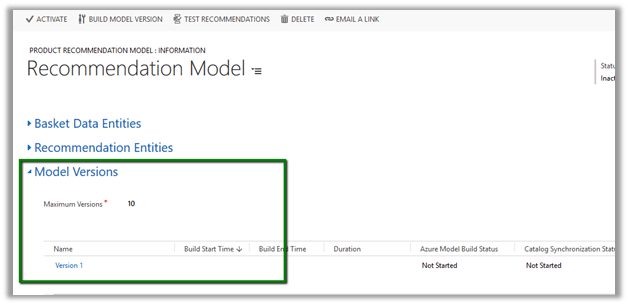
We can check its progress by refreshing it.

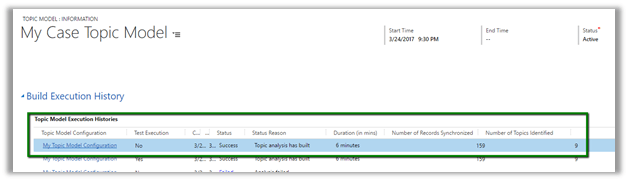
Here the model that we had defined has successfully build and it took around 6 minutes.
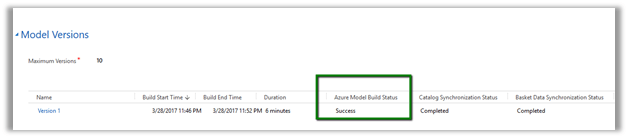
We can click on the Model Version to open the record to get the further details.

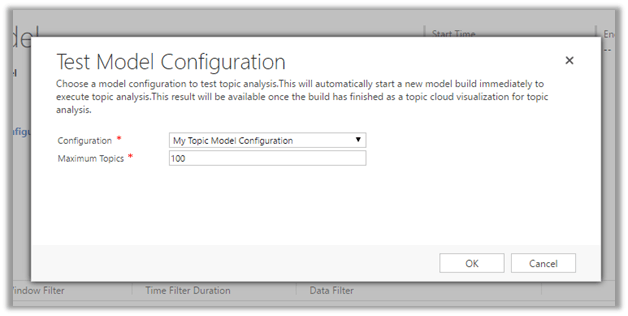
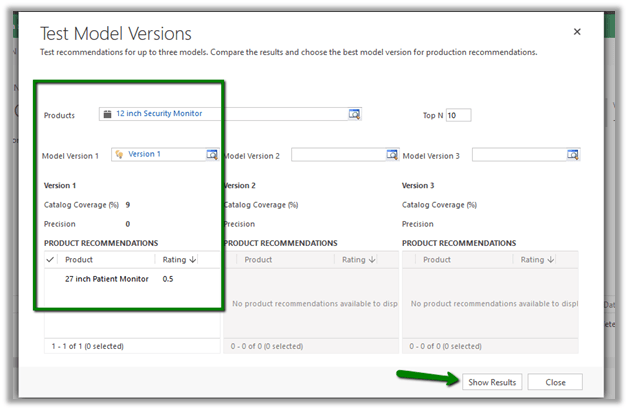
Next step would be to check the recommendations. For this click on Test Recommendations.

Pop up opens wherein we can select the Products and model version and click on Show Result to see what are the product recommendations.
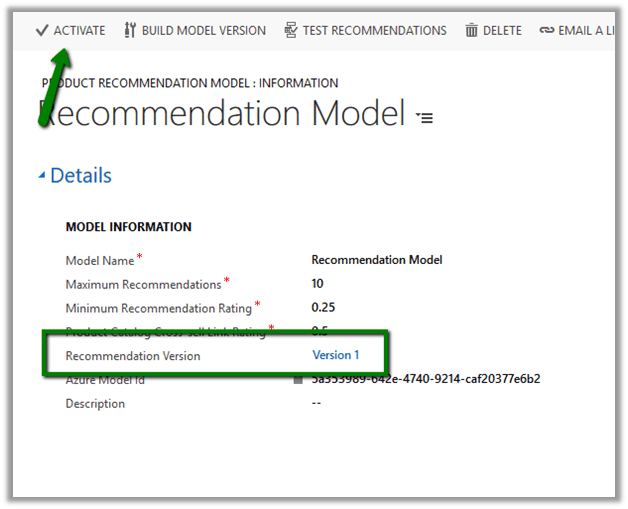
Once satisfied with the test result, click on Activate to enable the recommendations.
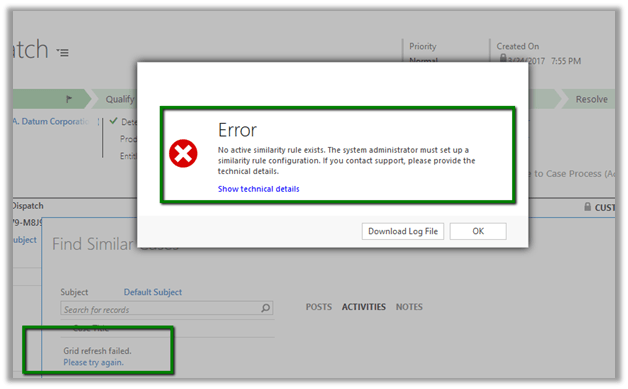
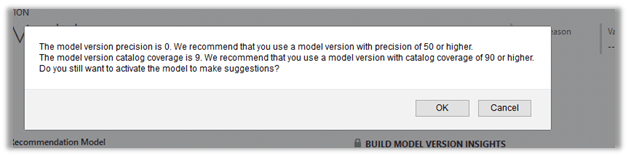
We might get the below message in case we do not have good enough data in our system.
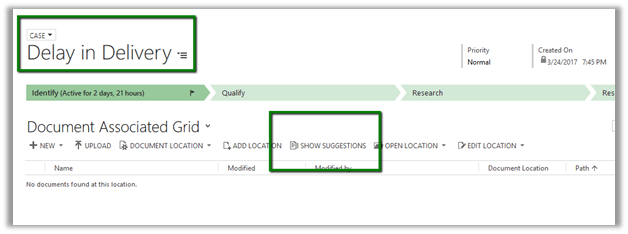
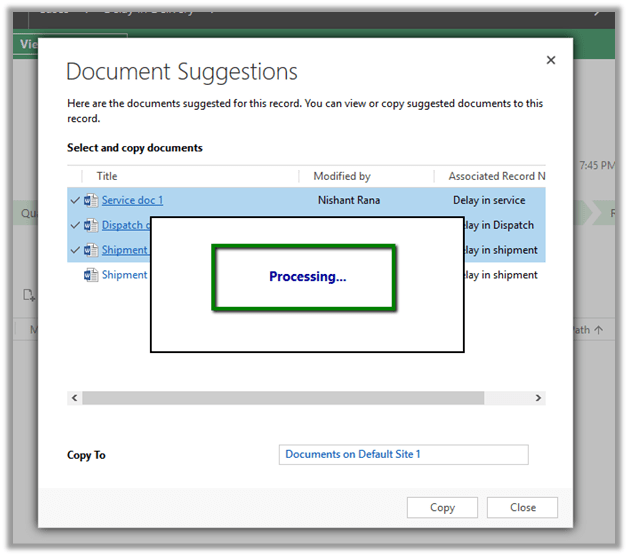
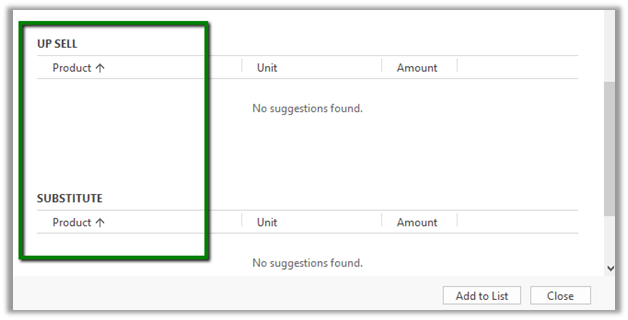
To see it in action, open an existing opportunity record , go to product sub grid and select a product and select Suggest Products.
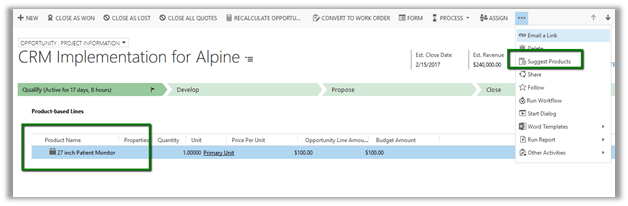
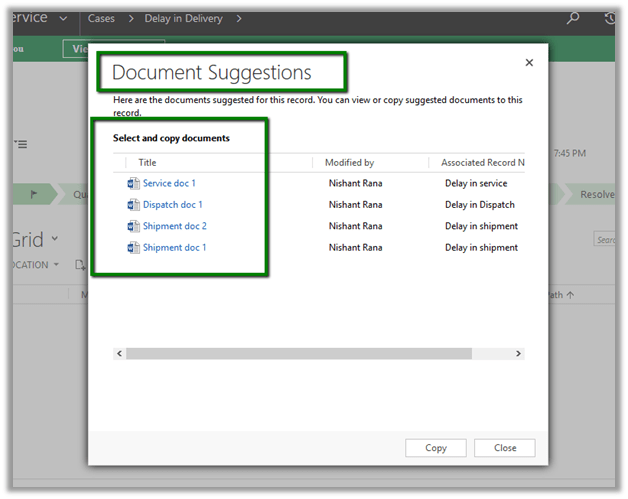
A dialog box opens up that shows the Cross-Sell products and other details.

Get all the details here
https://technet.microsoft.com/library/56b35229-72f8-46ca-bebf-eae023f633c2.aspx
Hope it helps..