For voice mail to work, make sure Unified Routing is provisioned.
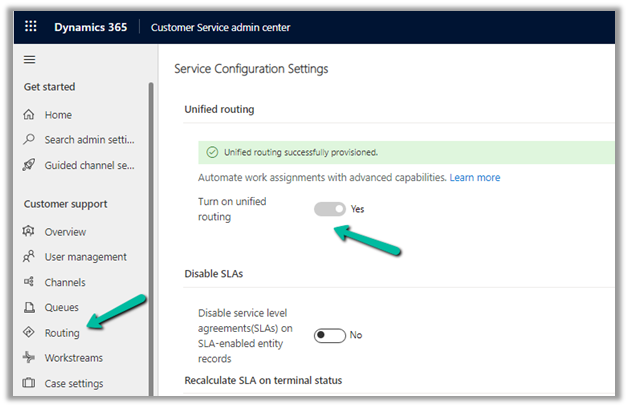
Next, we need to create a new Agent experience profile.
Navigate to Agent Experience >> Workspaces and select Manage for Agent experience profiles.
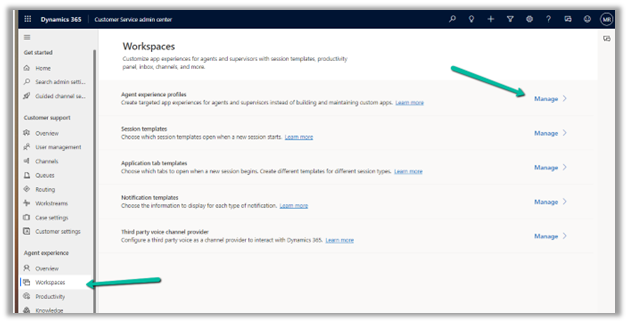
Create a new record.
Add the users to it. One user can be part of only one Agent experience profile record.
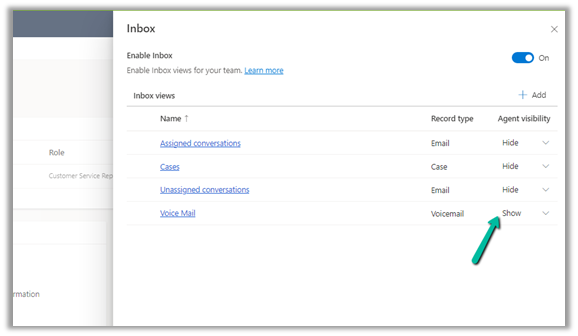
Click on edit for Inbox
Enable Inbox, and add a view for Voice Mail.
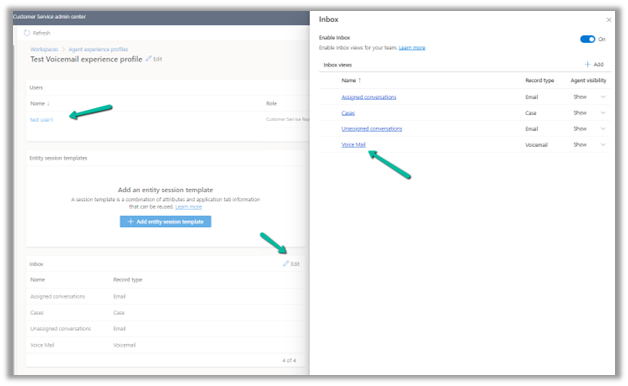
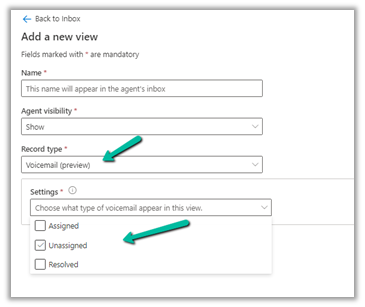
We can specify what views the agent can see in the inbox.
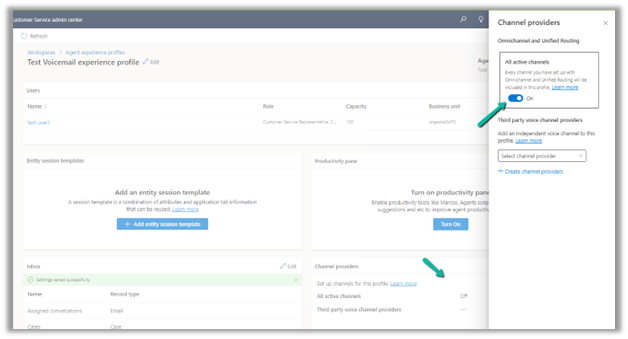
Also, switch on All active channels.
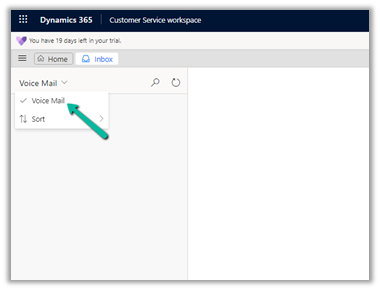
The agent inside Customer Service Workspace can now see the Voice Mail option in his Inbox.
Here we first tested the voice mail feature by calling the personal number assigned to the agent. The agent was not logged into the Customer Service Workspace app.
On calling we get the prompt that the agent is not available and to record the voice message.
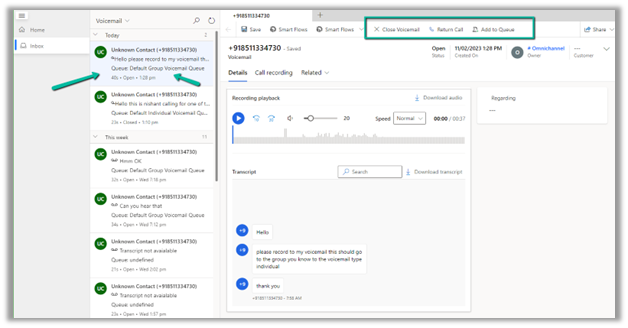
After recording the message, if we log in to the CSW app, we can see a voicemail record created for the user.
The user can hear the recording, call back the customer using Return Call, Add to Queue, or close the voice mail.
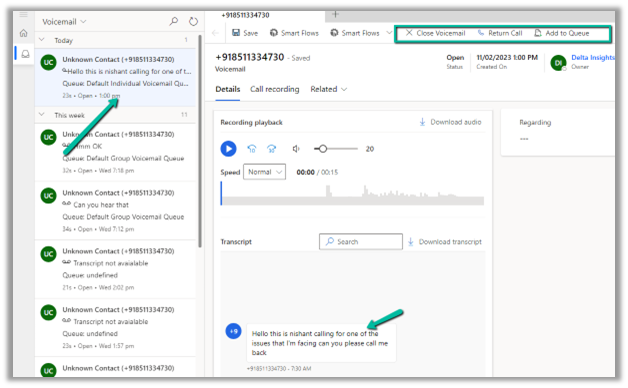
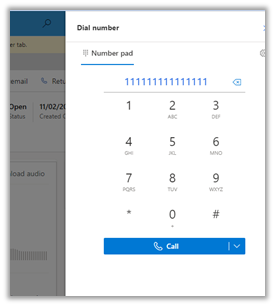
Return Call will launch the phone dialer, with the customer’s number populated.
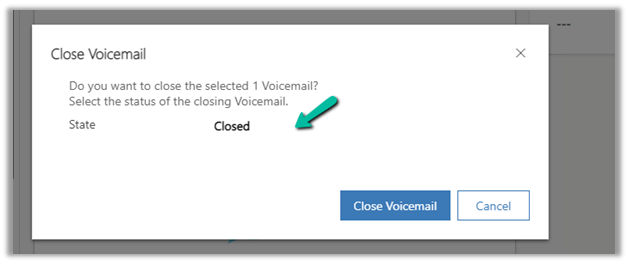
Close Voicemail will set the status of the voicemail record as Closed.
For this to work, we need to have a Record Routing configured for Voicemail.
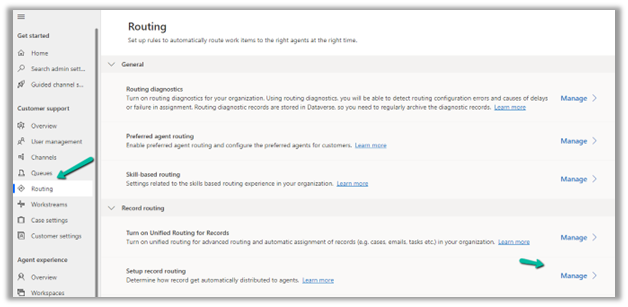
Navigate to Customer Support >> Routing >> Manage for Setup record routing.
We have created routing rules for the Voicemail record type.
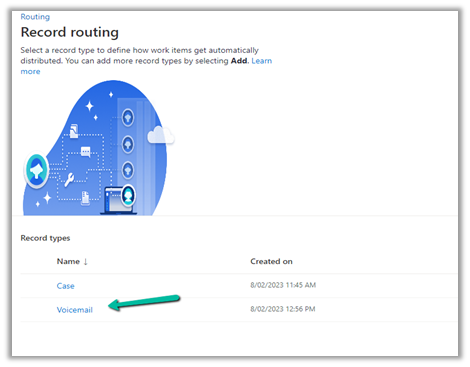
We have 2 intake rules configured, one for Voicemail type individual (which worked in our earlier scenario, when a customer called the personal number of the agent) and one for a group that would apply to Queue.
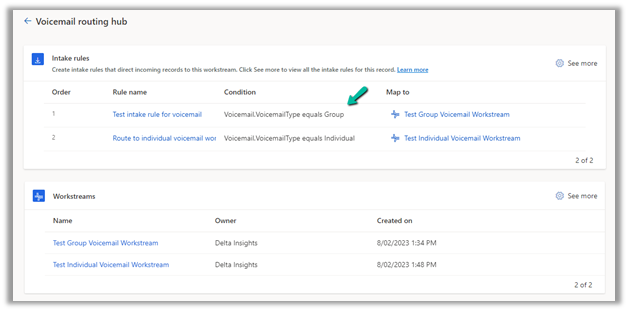
Intake rule for Group
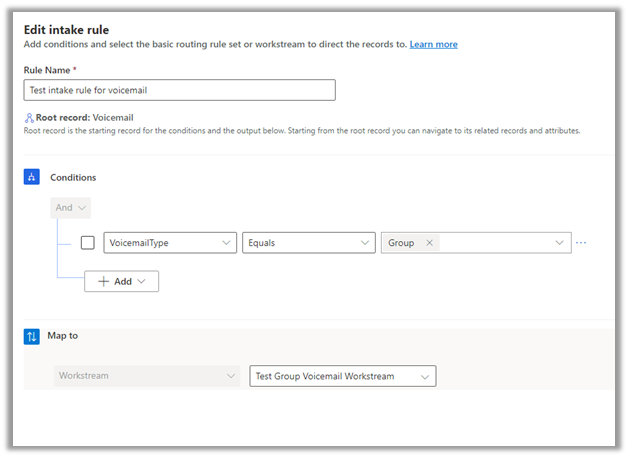
Intake rule for individual.
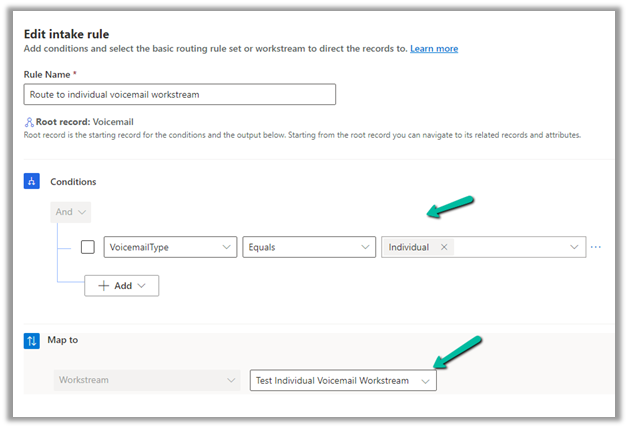
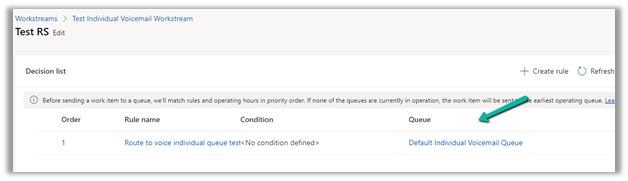
The workstream for the voicemail type individual
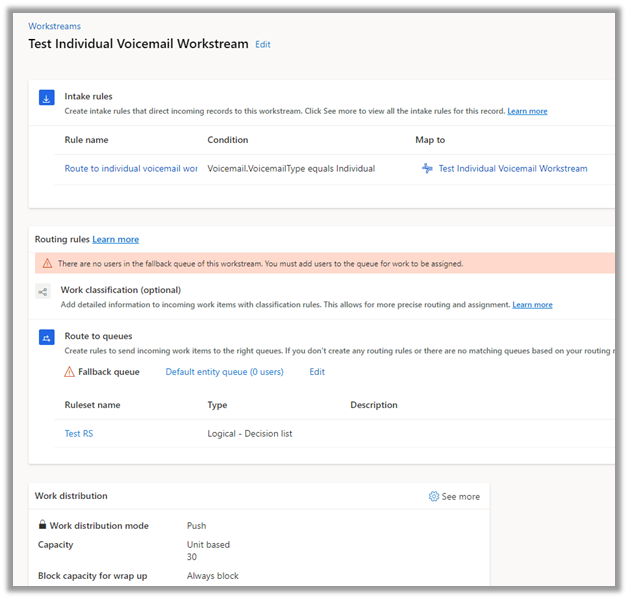
It routes to the Default Individual Voicemail Queue, which the agent is part of.
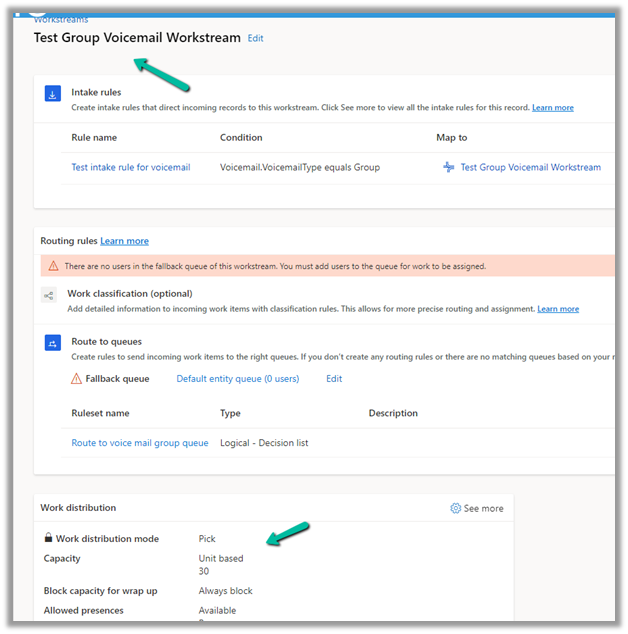
Similarly we have Workstream for Voicemail type Group
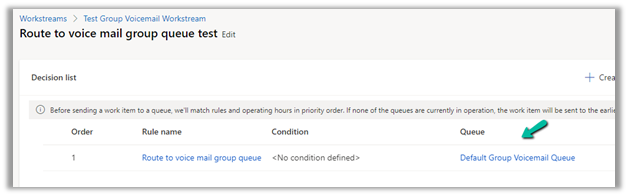
The ruleset in it routes to the Default Group Voicemail Queue.
Now to test it, we have created a queue, with only one user currently in it.
Most importantly we have configured an Overflow management rule to it along with operating hours.
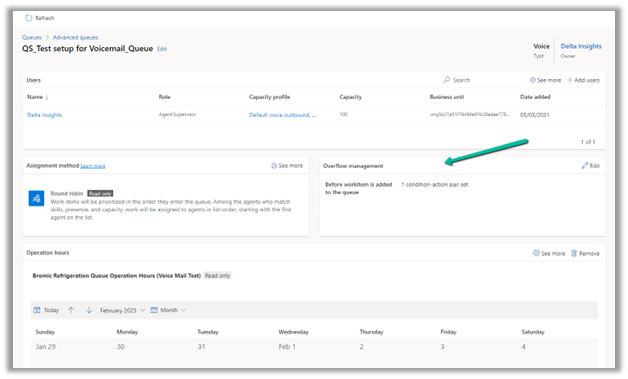
Basically if a customer calls out of operation hours, it should go to voicemail.
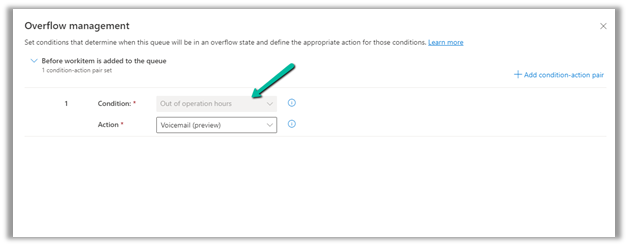
Here we can specify multiple condition-action pairs.
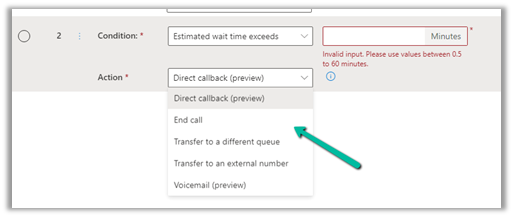
Conditions –
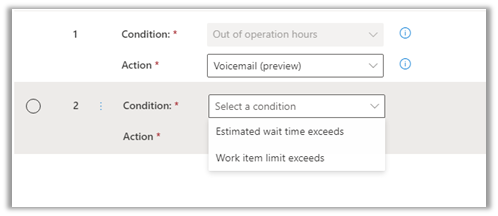
Actions –
Next, we created a workstream of the type voice channel, which routes to the above queue.
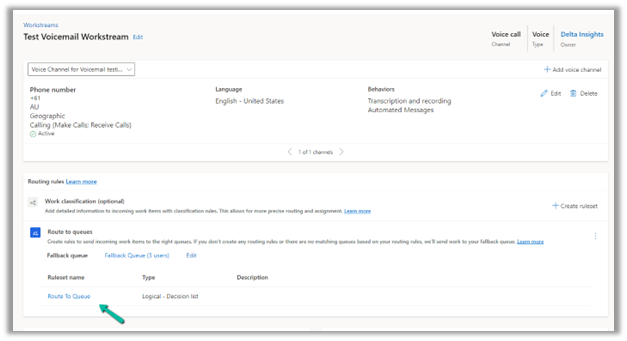
Now as soon as the customer calls the number, it goes to the queue with the overflow conditions, and if the agent is not logged in/out of operation hour condition is fulfilled, the customer is informed to record the message.
When the agent logs in to the CSW app, he can see a voice mail record created and assigned to the Default Group Voicemail Queue.
In short –
|
Enable
|
Unified Routing
|
|
Configure
|
Agent Experience Profile for the agent.
Enable Inbox.
Specify a view for Voicemail
|
|
2 Queues
|
Individual / Personal Phone Numbers
Group / Queue
|
|
2 Workstreams (type – Record)
(Voicemail)
|
Individual Workstream – Push Based.
Group / Queue Workstream – Pick Based.
|
|
2 Record Routing Rules (Voicemail)
|
Route – Voicemail type Individual to Individual Queue
Route – Voicemail type Group to Group Queue
|
|
Individual Call
|
Specify the Phone Number for the agent in the Omnichannel Tab – System User record
|
|
Group Call
|
Create a workstream and specify an overflow condition.
|
For configuring Call Recording please refer – https://nishantrana.me/2022/12/20/configure-azure-event-grid-system-topic-and-subscription-to-enable-call-recording-and-sms-in-dynamics-365-omnichannel-voice/
Get all the details – Configure Voicemail
Must read – https://neilparkhurst.com/2022/11/08/omnichannel-for-customer-service-voicemail/
Hope it helps..

















 Nishant Rana's Weblog