In the earlier posts we saw how synchronization works for different activities type and how to work with user as well as system filters.
- https://nishantrana.me/2022/03/22/how-to-synchronize-appointments-between-dynamics-365-and-outlook-using-server-side-synchronization/
- https://nishantrana.me/2022/03/23/how-are-tasks-letters-fax-phone-call-synchronized-between-dynamics-365-and-outlook/
- https://nishantrana.me/2022/03/24/define-system-filters-for-synchronization-using-savedquery-in-dynamics-365-crm/
In this post, we will how to use the wonderful Sync Filter Manager (XrmToolBox Plugin) for managing the outlook filters.
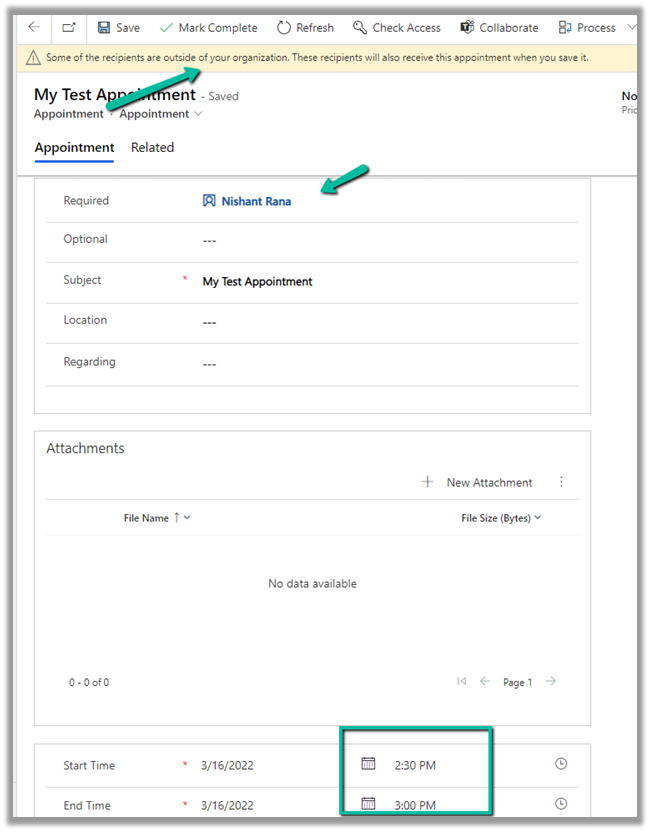
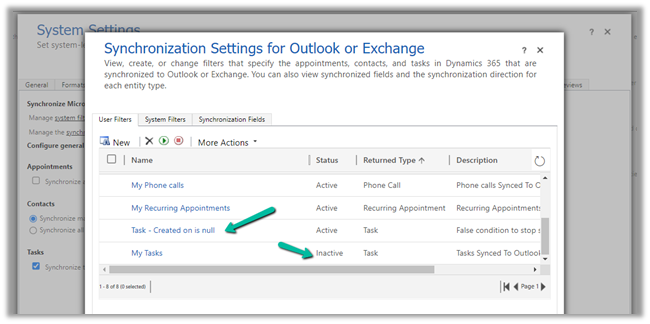
Suppose we don’t want Tasks to be synced for some of the users.
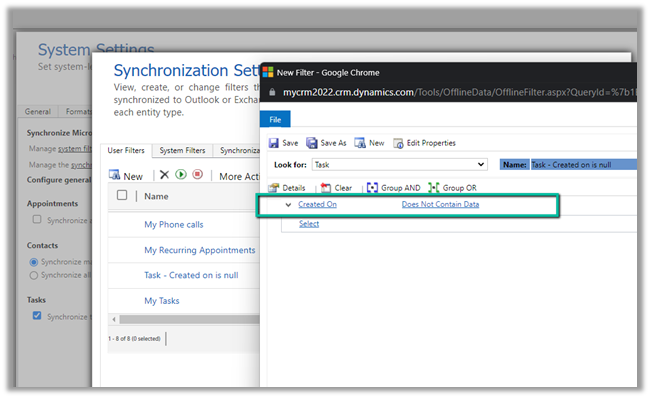
Here we already have a custom user filter (Task- Created on is null) defined for one of the users, specifying the condition which will always be false.
We have also disabled the default filter on tasks – My Tasks for that user.
For that particular user, now we do not see any tasks getting synced.
Now to apply the same setting to the others users, we can use the wonderful Sync Filter Manager – XrmToolBox plugin.
To know more about the tool –
http://mscrmtools.blogspot.com/2013/12/introducing-new-tool-sync-filter-manager.html
https://www.slideshare.net/jukkan/control-outlook-synchronization-settings-for-dynamics-crm-users
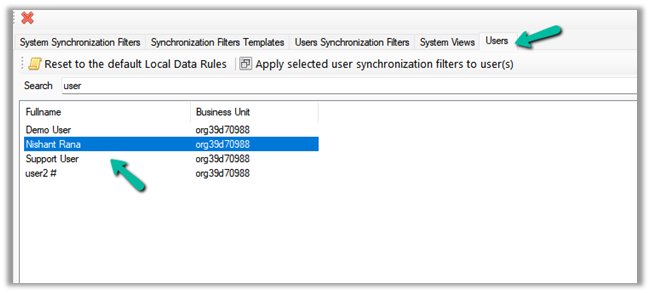
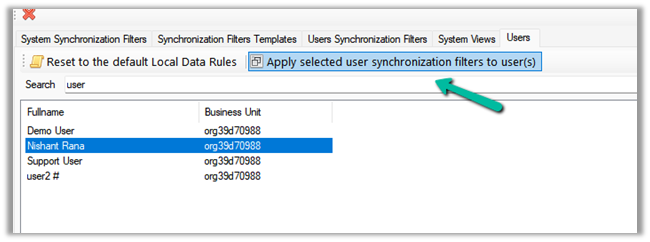
Navigate to the Users tab, search for the user whose setting we want to apply to other users, and select it.
Here we have selected the source user record
Click on Apply selected user synchronization filer to user(s) button.
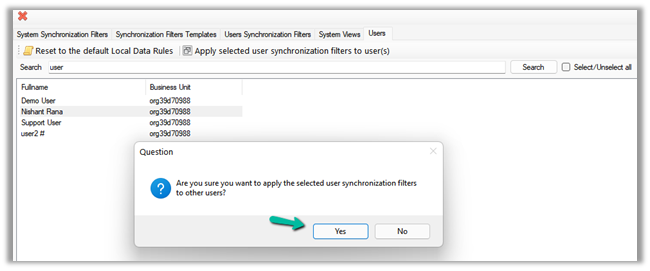
For Question Dialog Box – “Are you sure want to apply the selected user synchronization filters to other users ?” – select Yes
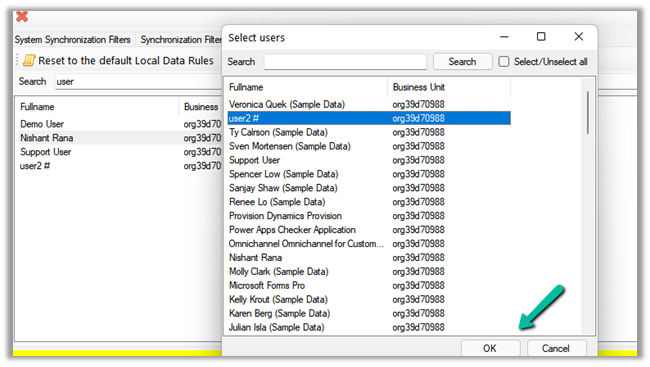
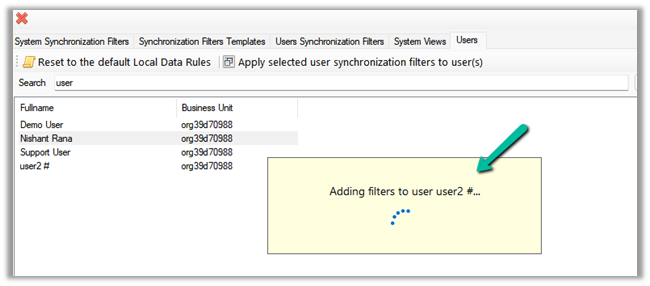
For now, we have selected only User 2. We can select multiple users or select / unselect all the users.
It will remove the default / or existing filters from users. User 2 in our case.
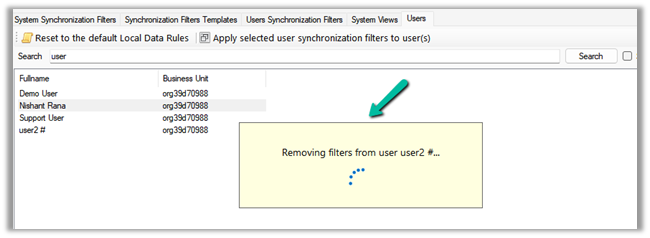
And will add the filters from the selected user to it.
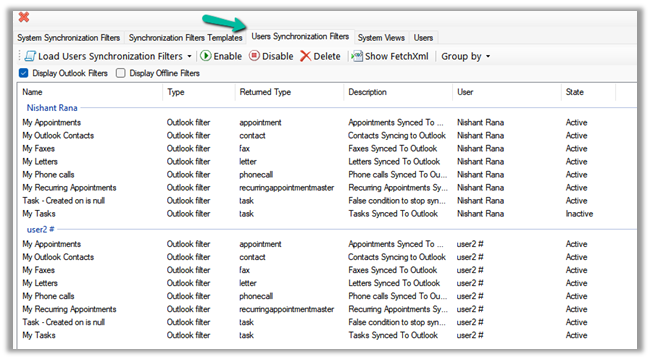
After some time, we can see the filters updated for User 2, with the Task – Created on is null filter added.

We can also verify it from the User Synchronization Filters tab, where we can load the synchronization filters for all the users.
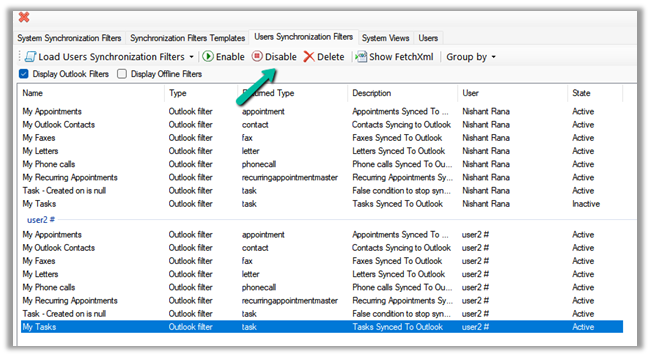
As a last step we just need to deactivate/delete the default My Tasks filter for User 2 also(or all the other users for who we want to disable task sync) and we are done.
Hope it helps..


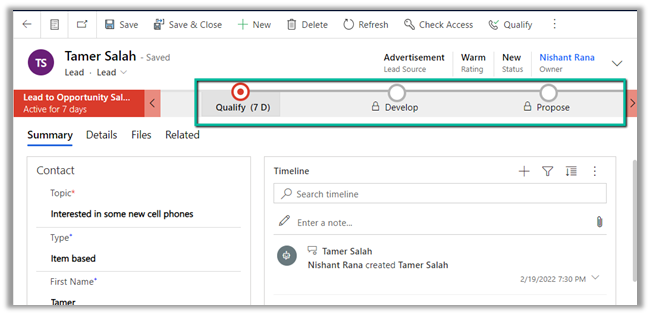

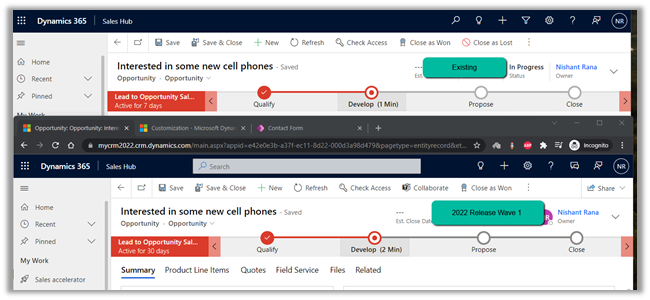
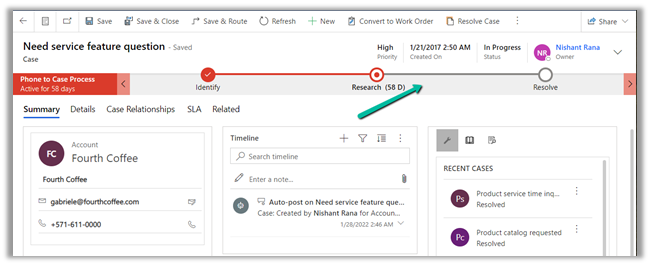 making it easy for an agent to understand the stages to be followed in the business process flow.