Dynamics 365 Sales mobile app (preview)


The new Dynamics 365 Sales mobile app (preview), has been introduced specifically for the field sellers who need quick access and intuitive management of the customer information on the go while travelling / meeting the customers.

Check other posts on 2020 Release Wave 2

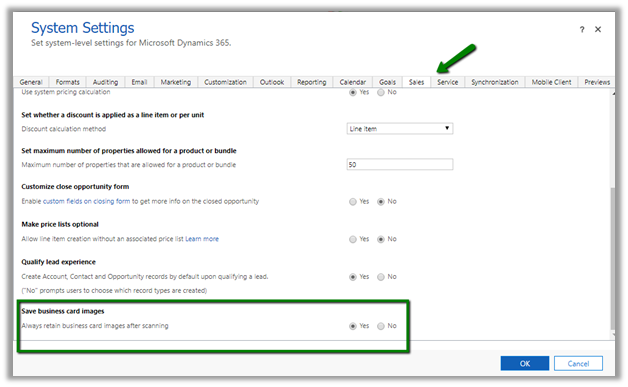
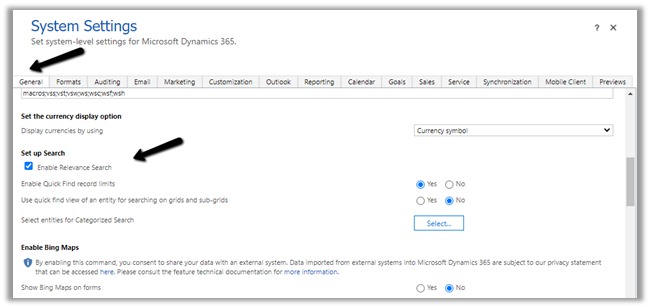
To enable the App, navigate to Advanced Settings from the Sales Hub and then to Administration > System Settings > Mobile Client tab
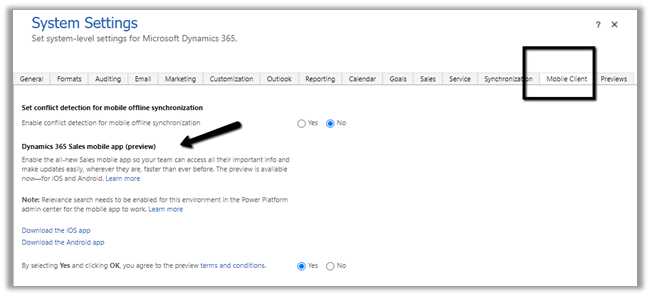
We also need to enable Relevance search on the environment for the mobile app’s search to work.

For iOS

https://go.microsoft.com/fwlink/p/?linkid=2151689
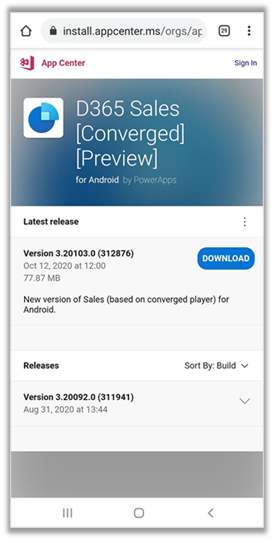
For Android

https://go.microsoft.com/fwlink/p/?linkid=2152008

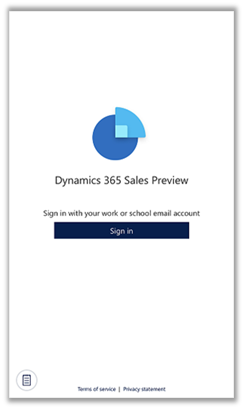
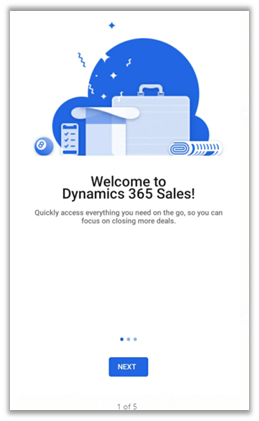
After installation open the app and sign in

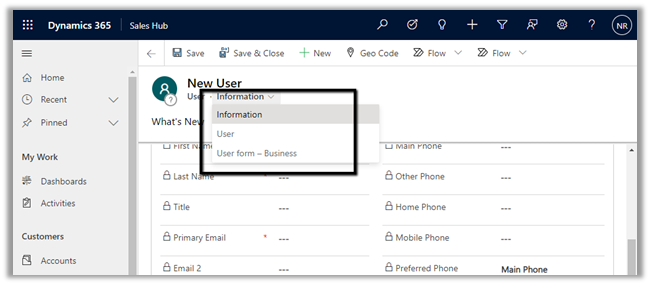
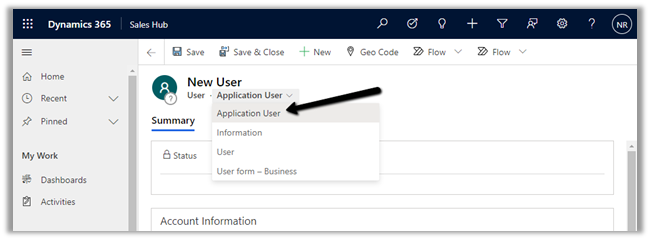
From the list of apps, select the App to be used. Here we clicked on the Sales Hub app.

Below is the home page of the app.

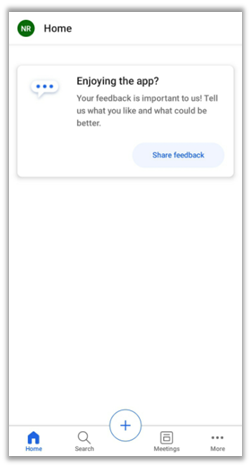
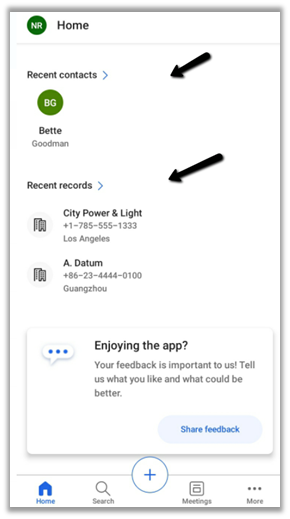
The home page provides quick access to recent contacts and recent records along with reminders and insights.

More on Assistant –

https://docs.microsoft.com/en-us/dynamics365/ai/sales/assistant

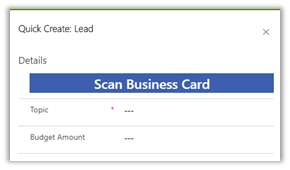
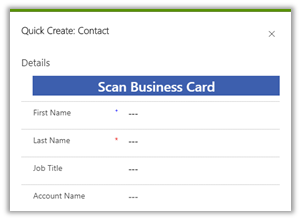
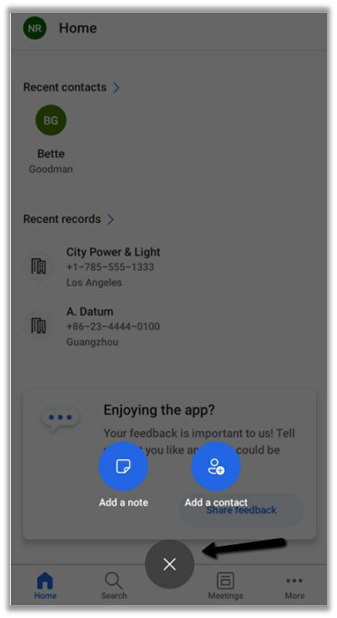
The + option allows for the quick creation of Note and Contact records.

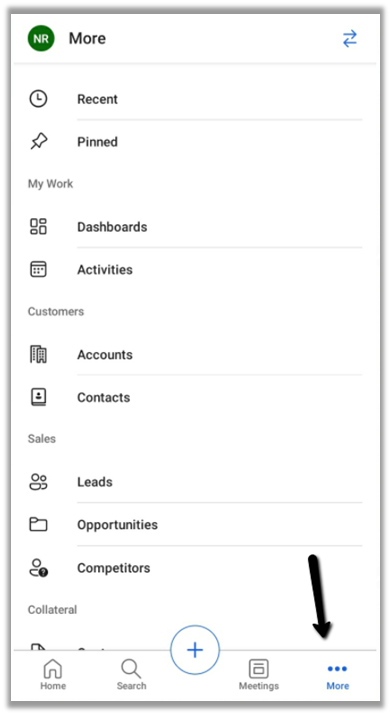
The more options allow access to the navigate to other part of the apps – dashboard and the other entities.

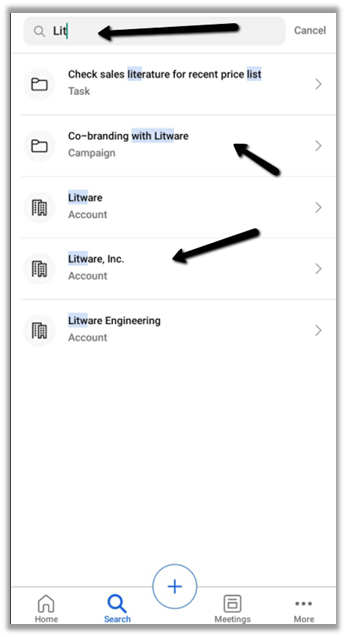
Search suggestions provide results while we are typing and grouping of search results to quickly find the information needed.

Other sub grid and form tab improvements in the app –

https://nishantrana.me/2020/09/28/sub-grid-and-form-tabs-improvements-in-power-apps-mobile-app/

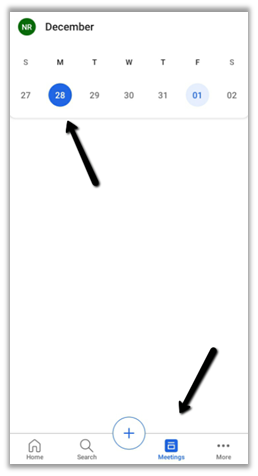
The meetings option shows the calendar view and the meetings that are scheduled in the outlook.

We cannot create meetings from the Sales Mobile app.

Get all the details here –

Overview of the Dynamics 365 Sales mobile app

Blog posts on 2021 Release Wave 1 – Dynamics 365

Hope it helps..


Recent Posts – 

Something went wrong. Please refresh the page and/or try again.

Application User Form missing in Dynamics 365


Recently while trying to create a new application user, we could not find the application user form for the system user entity in the web application.

Within the maker portal, we can see the form available and enabled for everyone.

It was inside our classic administration settings; we saw it listed as Inactive Forms

Activating and publishing the solution fixed the issue.

Hope it helps..

How to – Consume Dynamics 365 Web API using MSAL.NET


Sharing a sample code to consume Dynamics 365 Web API using MSAL.NET

Create a console application and add the following NuGet Package

  • Microsoft.Identity.Client

More on Microsoft identity platform

https://docs.microsoft.com/en-us/azure/active-directory/develop/

We are using ConfidentialClientApplicationBuilder create method.

https://docs.microsoft.com/en-gb/azure/active-directory/develop/msal-net-initializing-client-applications

The sample code –

using Microsoft.Identity.Client;
using System;
using System.Net.Http;
using System.Net.Http.Headers;
using System.Threading.Tasks;

namespace CrmAppMSAL
{
class Program
{
static async Task Main(string[] args)
{

string clientId = "fc34502a-74db-4977-8c83-***********";
string secret = "5~mByJeQ8dDO2LZP_H_J2**********";
string[] scope = new string[] { "https://orgname.crm15.dynamics.com/.default" };
string webAPI = "https://[org].crm15.dynamics.com//api/data/v9.0/leads";
string authority = "https://login.microsoftonline.com/7bc93881-0733-48ab-baa1-ee3ed7717633";

var clientApp = ConfidentialClientApplicationBuilder.Create(clientId: clientId)
.WithClientSecret(clientSecret: secret)
.WithAuthority(new Uri(authority))
.Build();

try
{
AuthenticationResult authResult = await clientApp.AcquireTokenForClient(scope).ExecuteAsync();

var httpClient = new HttpClient();
httpClient.DefaultRequestHeaders.Add("OData-MaxVersion", "4.0");
httpClient.DefaultRequestHeaders.Add("OData-Version", "4.0");
httpClient.DefaultRequestHeaders.Accept.Add(new MediaTypeWithQualityHeaderValue("application/json"));
httpClient.DefaultRequestHeaders.Authorization = new AuthenticationHeaderValue("Bearer", authResult.AccessToken);

httpClient.BaseAddress = new Uri(webAPI);

var response = httpClient.GetAsync("WhoAmI").Result;

if (response.IsSuccessStatusCode)
{
var userDetails = response.Content.ReadAsStringAsync().Result;
Console.WriteLine(userDetails);
Console.WriteLine(authResult.AccessToken);
Console.WriteLine(authResult.ExpiresOn);
Console.ReadLine();
}

}
catch (Exception ex)
{
string errorMessage = ex.Message;
}
}
}
}

Result –

Reference –

https://medium.com/capgemini-microsoft-team/access-tokens-for-dynamics-365-using-microsoft-authentication-library-2b16c9f794b

Sample Code – Dynamics 365 Web API / Organization Service

Hope it helps..

Advertisements

Power Platform for Admins connector (preview) in Power Automate


The Power Platform for Admins connector (preview)

let’s us perform following Actions


The connector allows us to access the Business Applications Platform (BAP) API.

Below is the example of the Create Environment action, followed by Create CDS Database.

Here we are creating a trial environment in Asia region followed by a CDS database in it with base language – Hindi and currency code as INR

Let us run the flow and see the results

In Power Platform admin center can see the environment created along with the database specified.

All the key URL(s) for Power Platform Admin

Get all the details below –

Power Platform for Admins (Preview)

Power Apps and Power Automate Administration and Governance – Tools and Labs

Hope it helps..

Scan business cards in Dynamics 365 for Sales – 2019 Release Wave 2 (Unified Interface)


The scan business card feature added as part of release wave 2, allows salespeople to quickly scan business cards using the Quick Create Form. The scanner reads the information from the card and populates the corresponding mapped fields in the record.

Out of the box, it is available in quick create form of lead and contact entity.

To specify the mapping for the business card control fields, navigate to Settings – Customizations and open the Quick Create form and select the Business Card Control and go to the Controls tab for its properties.

Click on the edit icon for the field and specify the mapping.

To enable for entities other than lead and contact, open the quick create form of that entity for customization and select either single or multiple lines of text field as a placeholder and add the business card control to it.

Followed by appropriate mapping of properties to the fields of that entity.

To see it in action let us create a new lead record using it’s quick create form. On click on the Scan Business Card button and selecting an image we get the values populated on the form.

Make sure to enable the free trial of AI Builder.

We can see the business card attached/saved with the record.

This behaviour can be configured.

Navigate to Sales Tab of System Settings

Few points to consider here

  • This feature is only available in North America and the EMEA region for now.
  • The mapping of address fields is not supported currently.
  • The users need to have a Common Data Service User role to use the control.

Hope it helps..

Synchronize (Bi-Directional) Dynamics 365 CRM Cloud data with SQL Azure using Skyvia’s Synchronization Package


Continuing our previous post where we used the replication package

https://nishantrana.me/2019/11/13/easily-set-up-dynamics-365-ce-crm-replication-incremental-to-azure-sql-sql-on-premise-using-skyvias-data-integration-services/

here we will see how we can use the synchronization service for bi-directional sync.

Below of the prerequisites of synchronization package to perform bi-directional sync –

  • We need to use the created on and modified on fields of the Entity
  • The synchronized tables to have an auto-generated primary key.

So here we need to alter the SQL Azure’s Contact table that was auto-created earlier by the Replication package to have the auto-generated primary key.

Connect to the SQL Azure database using Skyvia’s Query service and perform the alter operation

Or use the Query Editor (preview) of Azure

With necessary changes made, let us create a new Synchronization package

Specify the connection and click on Add Task to create the synchronization task.

We have specified contact entity from Dynamics CRM Source and contact table in SQL Azure which was earlier created for us by the replication package.

It automatically maps all the columns here based on the column name.

We can also manually specify mapping here for both Source To Target and Target to Source fields to be used for sync.

Click on Finish once done with the mapping.

Similarly to replication packages, the synchronization packages can be scheduled.

Click on Save to create the Task.

Click on Run

The run history shows the 220 records synced from Dynamics CRM to SQL Azure.

We can see the 220 records created in our SQL Azure DB

Now let us update a record in SQL Azure and run the package again.

We can see the record updated in Dynamics CRM

Now let us delete a few records from Azure SQL and run the package

We can see the records delete from Dynamics CRM

Similarly, let us delete a couple of records from Dynamics CRM and run the package

We can see the 8 records deleted in the destination SQL Azure

Thus, we saw how easy it is to do bi-directional sync using Skyvia’s Synchronization package.

Hope it helps..