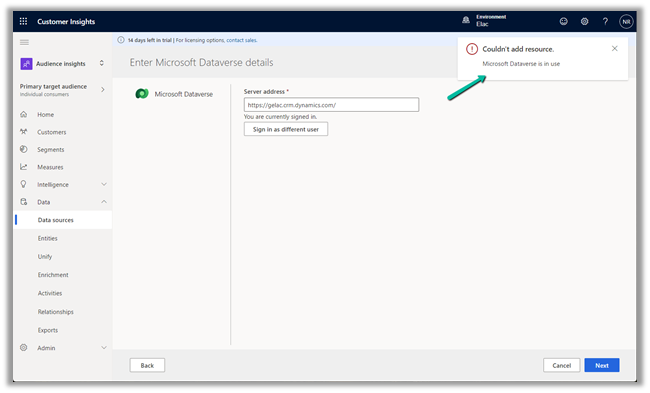
While trying to delete a data source we might below error if we have already used it for Match and Merge for defining the customer profile.
“Couldn’t delete data source. To process, remove its entities from: Match, Merge.”

Click on Enrichment
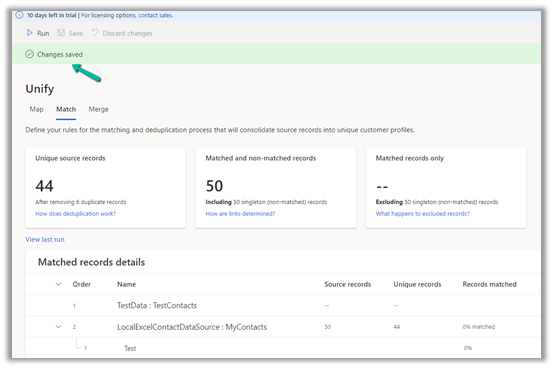
Navigate to Match.

Here also we cannot remove the entities in Unify as we have already used them in Merge.

So let us navigate to Merge.
Select all the fields from the DataSource (CRMDataSource in our case) which we want to delete, and click on Exclude.

Save the changes.

Now navigate back to Match and we will get the option to remove the CRMDataSource. 
However, we will still not see the option to save the change as we just have 2 entities there.

Here we can add a different data source’s entity, e.g. we added the contact from our test data source.

And saved the changes.
Now as the last step we need to remove the entity from the Map also.
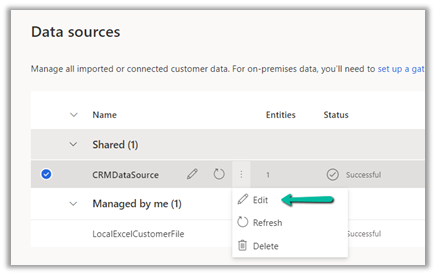
Click on Edit fields and unselect the entity, followed by Apply.

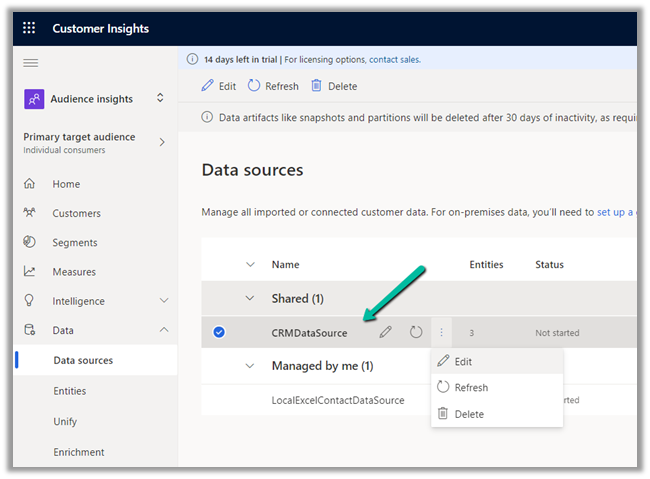
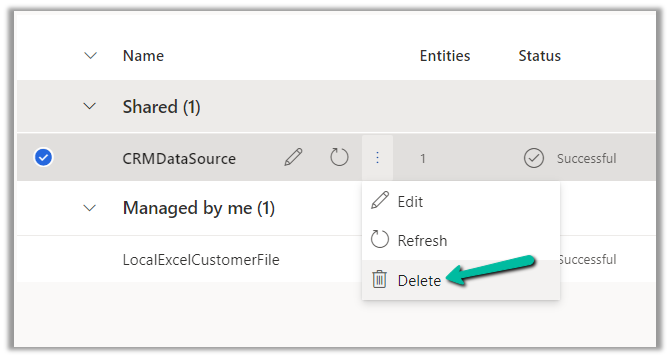
Navigating back to Data Sources, we were able to delete the Data Source successfully now.


So in short, if we need to delete a data source, which we have configured for customer profile, we need to first remove its references from Merge, Match and than Map.
Hope it helps..