A few weeks back had posted on how to upload files to the File Column type field using KingswaySoft’ s Integration Toolkit and Premium Flat File Source and Premium Derived column which are part of the SSIS Productivity Pack of KingswaySoft
Here we will see an example of achieving the same without using the KingswaySoft Productivity Pack’s Premium Flat File Source and Derived column. (although would recommend using it as it includes over 300 premium components making it easier to rapidly build efficient solutions for different scenarios)
https://www.kingswaysoft.com/products/ssis-productivity-pack
Here we will be using Script Component to read the file from the path and convert it to DT_IMAGE.
Below is our source file

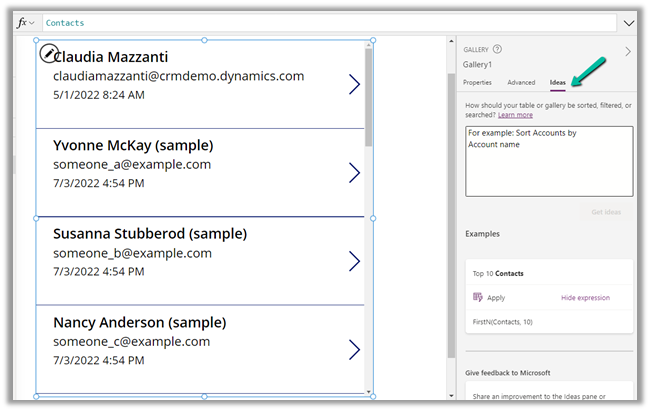
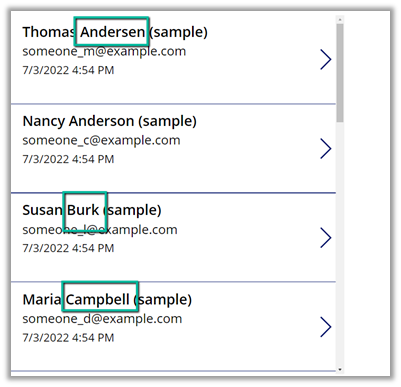
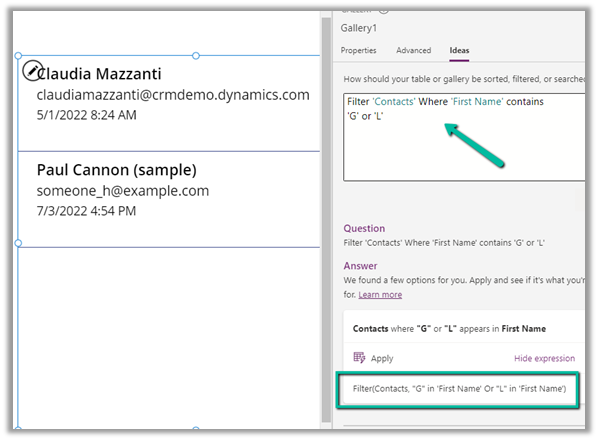
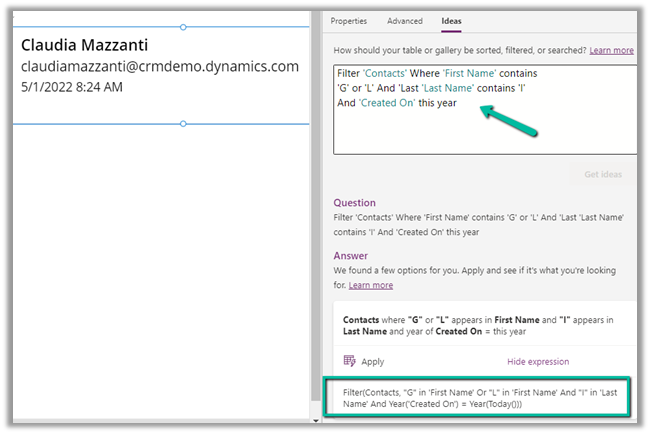
The contact records in CRM

Below is how the package looks like
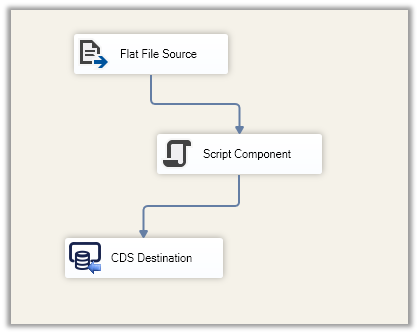
The Flat File Source points to the location where we have the source CSV file containing email, file path, and file name.

Script Component has File Path and File Name as the input.

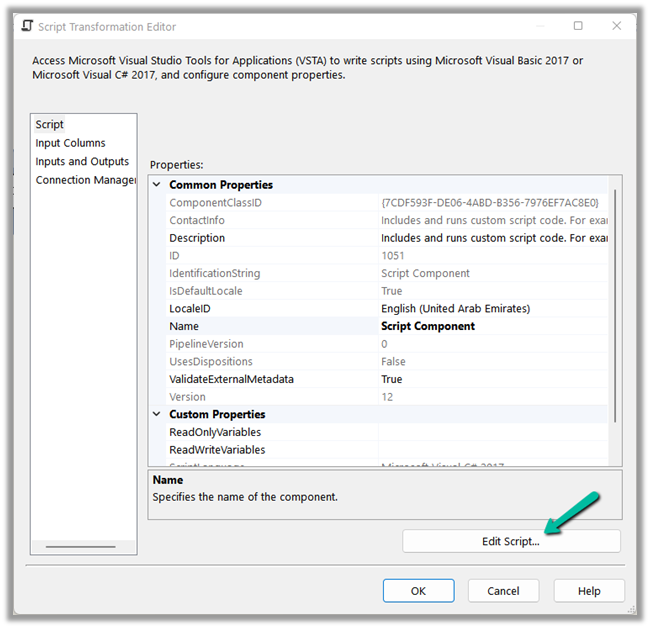
Add a column using Add Column in the Output Columns, with Data Type as image [DT_IMAGE]

Click on Edit Script..
Add the below code to read the bytes from the file path and add it to the output column.

Finally, in the CDS / CRM Destination Component, we are performing an upsert using the Email id as a match.

Here we have mapped the output column of the Import Column i.e. DerviedFileContent to the binary content field of the file type attribute of the CRM.

Let us now run the package.

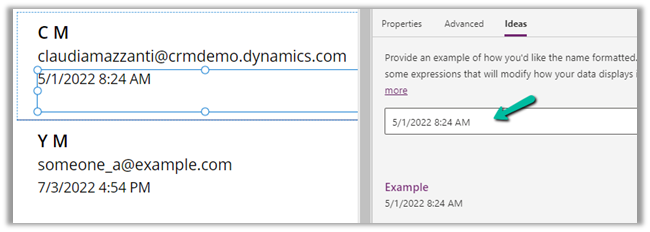
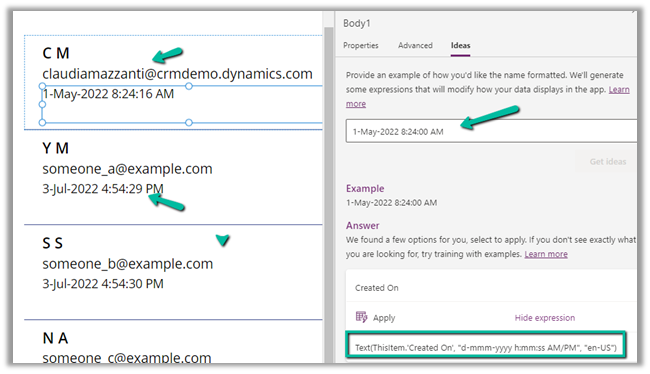
Let us now open the records and check.
As expected we can see the file uploaded.


Also, check out –
To extract attachments from notes-https://nishantrana.me/2021/02/10/extracting-attachments-from-notes-in-dynamics-365-dataverse/
To download files using Download Block Request –https://nishantrana.me/2022/03/14/how-to-download-file-from-file-column-using-initializefileblocksdownload-and-downloadblock-request-dynamics-365-crm-dataverse/
To upload files using Upload Block Request –https://nishantrana.me/2022/03/15/how-to-upload-file-to-file-column-using-initializefileblocksupload-and-uploadblock-request-dynamics-365-crm/
Understand File and Image Data Type –https://nishantrana.me/2021/10/01/using-file-and-image-data-type-in-dataverse-dynamics-365/
Try out the wonderful, feature-rich, and powerful SSIS Integration Toolkit for Dynamics 365 by KingswaySoft –https://www.kingswaysoft.com/products/ssis-integration-toolkit-for-microsoft-dynamics-365/download
Check other articles on SSIS plus CRM – https://nishantrana.me/2018/11/26/ssis-and-microsoft-dynamics-365/
Hope it helps..


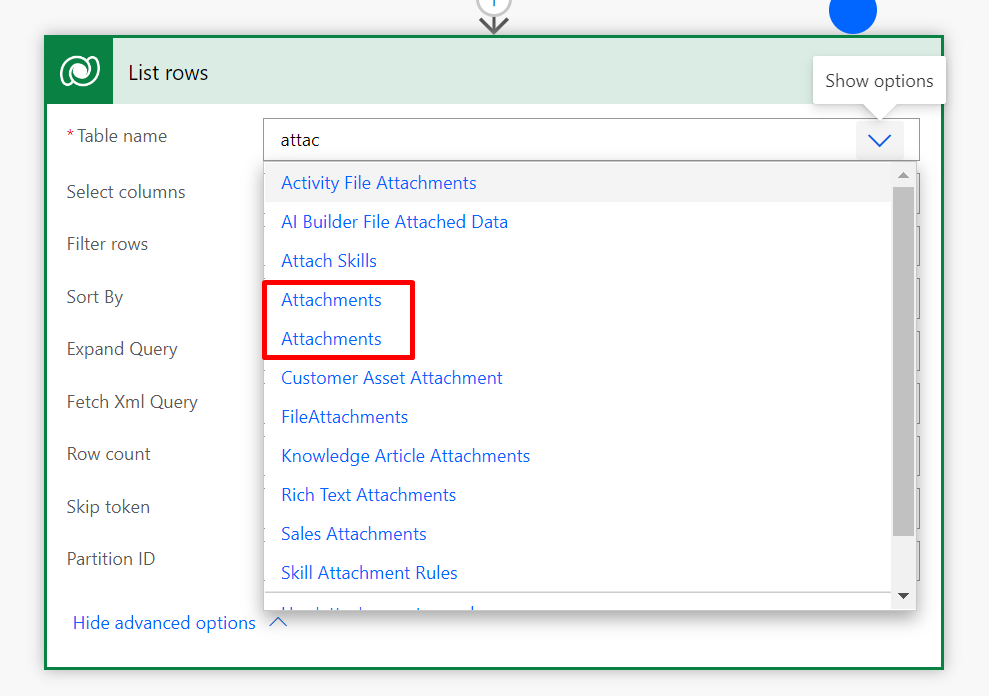
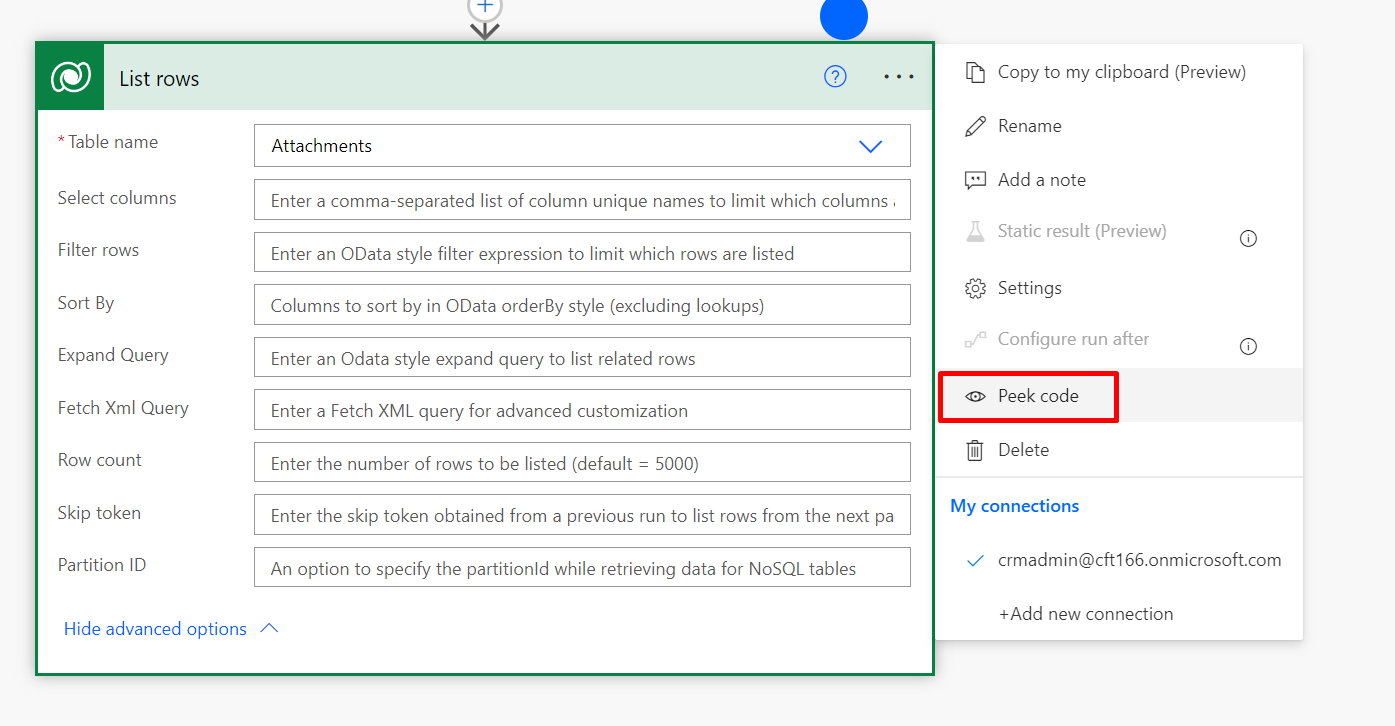
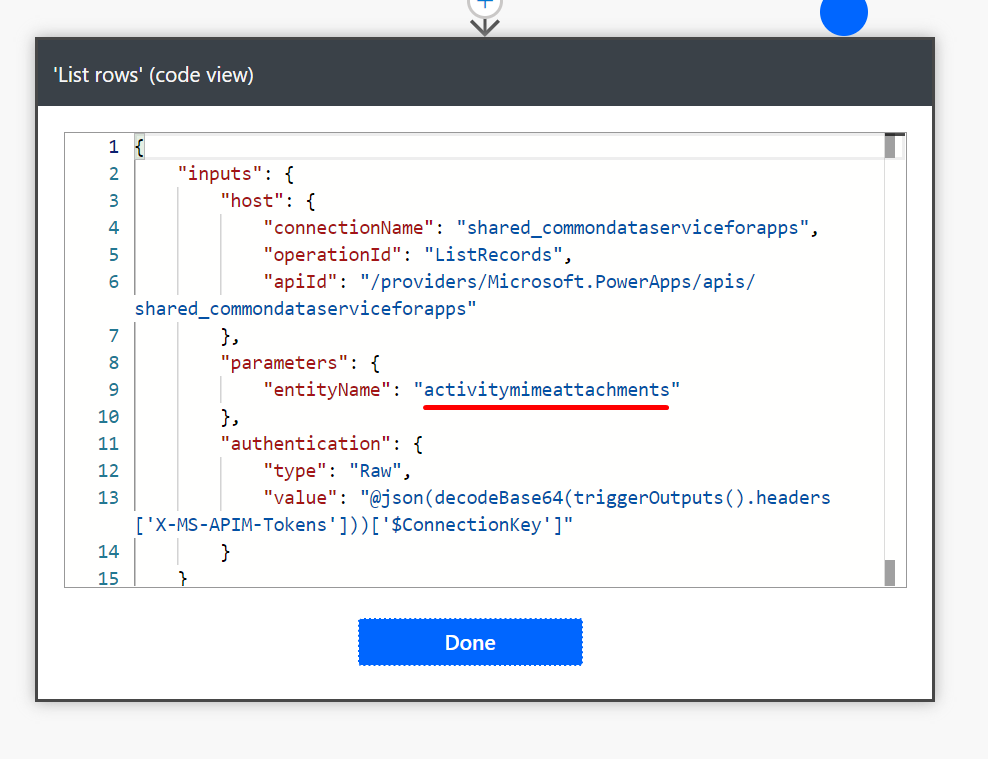
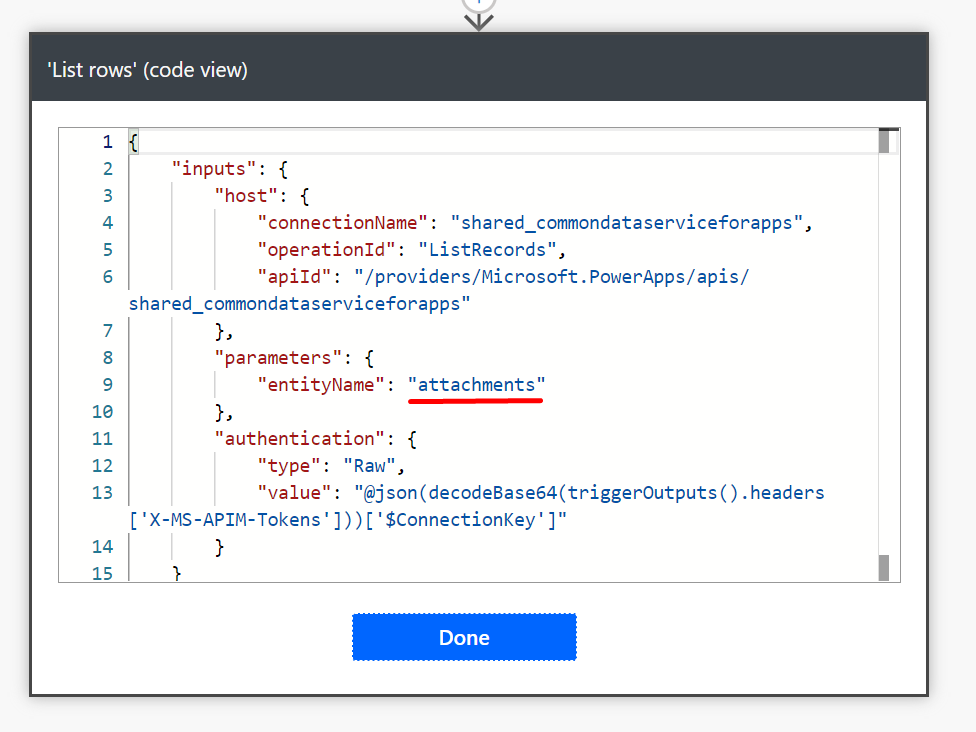
![Identify entities with same names in Dataverse Power Automate connector | [Quick Tip]](https://nishantrana.me/wp-content/uploads/2022/07/samename.png?w=989)