We had earlier configured Voice Channel in our Dev environment using ACS Direct Routing.
Please refer to this blog post on how to set up a voice channel using a new ACS. https://nishantrana.me/2022/10/17/how-to-set-up-omnichannel-voice-using-azure-communication-service-acs/
Recently while configuring the UAT environment, we thought of reusing the same ACS resource configured earlier.
Highlighting the key steps required for it –
The first step is to install the Voice Channel in the new environment
Followed by registering a new App in Azure Active Directory.
This will be required while connecting to the Azure Communication Services.
Enter the details of existing ACS, like name, ID, and Connection String.
And the App ID and App Tenant Id while connecting to ACS in the new environment.

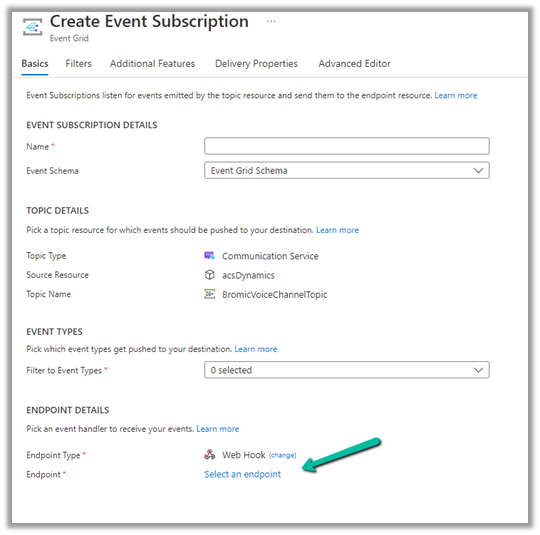
Now if we want to use the feature of Call recording, we can reuse the existing Event Grid System Topics created for the Dev environment, by simply creating a new Event Subscription for it.

Copy and specify the webhook endpoint from the UAT / New environment
Select Manage for Channels >> Phone numbers

Select Advanced

Copy the Webhook endpoint for the new event subscription from the UAT / New env.

For the exact steps refer – https://nishantrana.me/2022/12/20/configure-azure-event-grid-system-topic-and-subscription-to-enable-call-recording-and-sms-in-dynamics-365-omnichannel-voice/
The next step would be to configure a new phone number, voice channel, workstream, etc.
So basically we can have multiple environments using the same ACS Resource using different numbers and with call recording for this we need to
- Create / Register a new Azure AD app for each environment.
- New Event Subscription for the existing Event Grid System Topics.
Get all the details here – Connect to ACS
Hope it helps..