Recently we were exploring the possibility of creating a marketing form submission record through flow/custom code. Here simply creating the marketing form submission record is not enough, for it to be processed by the platform, we need to call the bound action – msdyncrm_UpdateMarketingFormSubmission with Step = Retry. (And it’s all not an officially supported scenario, so be careful)
Below is how the flow looks like

First, we create a form submission record – 
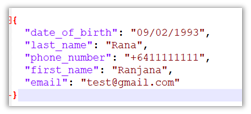
After creating the form submission record, we are creating and associating the marketing field submission records with the values that we want to pass for the form – email, first name, and last name in this case.

And then eventually calling the action –msdyncrm_UpdateMarketingFormSubmission to trigger the submission (resubmit) of the form submission record.
 On running the flow, we can see the record created with the status as pending.
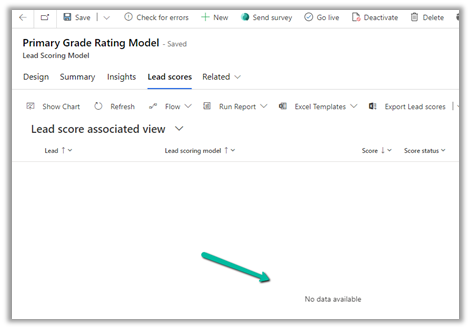
Within a few seconds, if the input is correct, we can see the status updated as success

and the corresponding contact/lead created or updated.
Hope it helps..