Recently while configuring Azure Synapse Link for Dataverse, for exporting data to Azure Data Lake we got the below error –
{“code”:”AuthorizationFailed”,”message”:”The client ‘abc’ with object id ‘d56d5fbb-0d46-4814-afaa-e429e5f252c8’ does not have authorization to perform action ‘Microsoft.Authorization/roleAssignments/write’ over scope ‘/subscriptions/30ed4d5c-4377-4df1-a341-8f801a7943ad/resourceGroups/RG/providers/Microsoft.Storage/storageAccounts/saazuredatalakecrm/providers/Microsoft.Authorization/roleAssignments/2eb81813-3b38-4b2e-bc14-f649263b5fcf’ or the scope is invalid. If access was recently granted, please refresh your credentials.”}

As well as the below error –

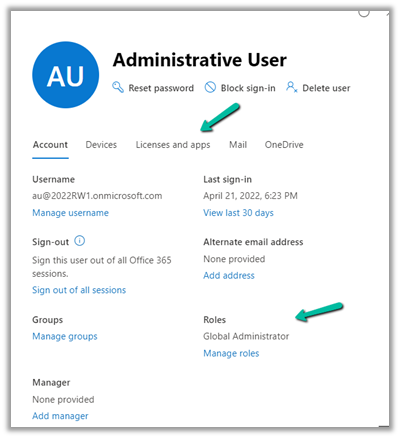
As the error suggests the error was because the user account used was not having the appropriate role(s) assigned.
The user needs to have the Owner as well as Blob Storage Data Contributor role on the Azure Data Lake Storage Gen2 account.
Also check –
Hope it helps..