Let us take a simple example, to see the steps involved.
Here we will be manually triggering a flow, getting the token, and calling the WhoAmI request in Microsoft Dataverse / Dynamics 365.
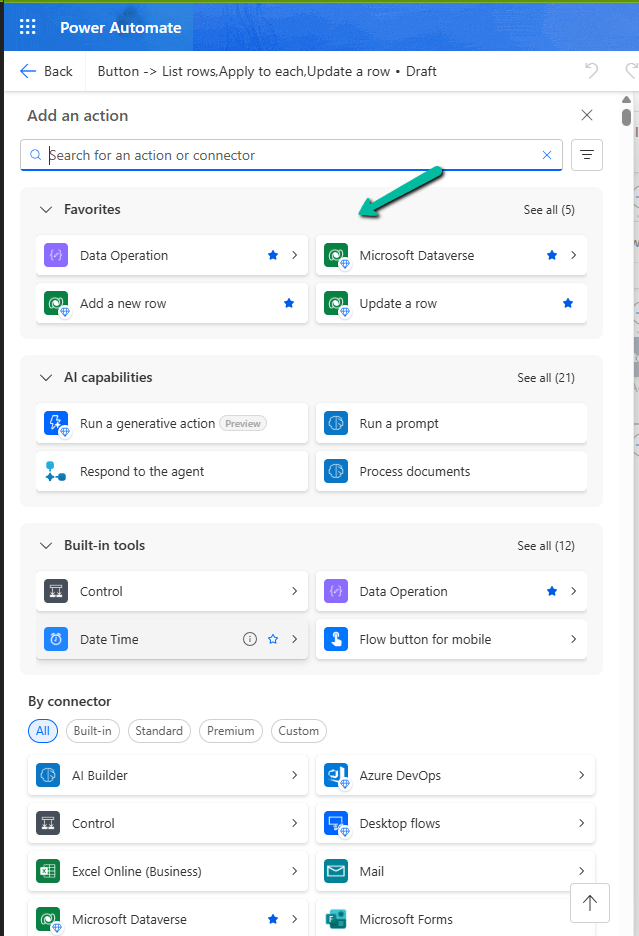
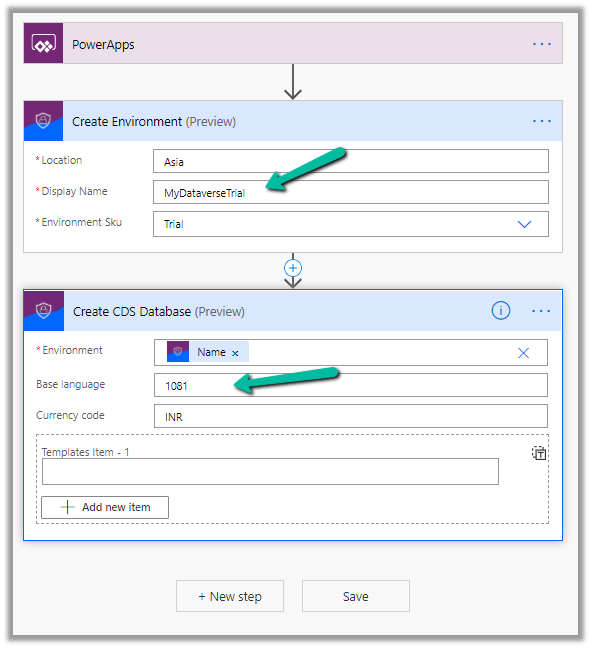
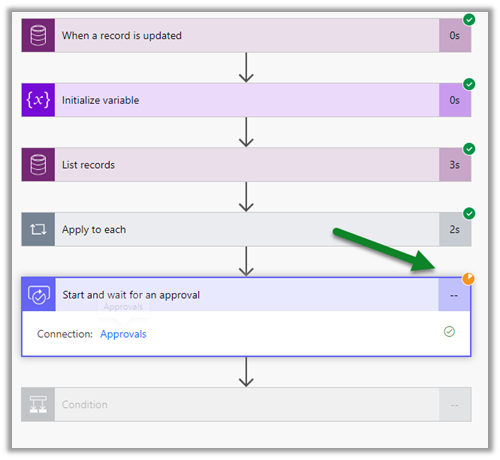
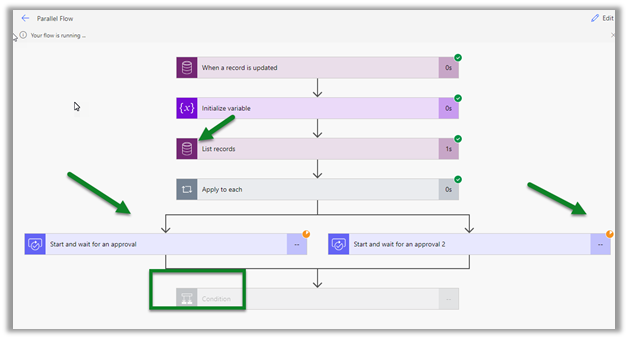
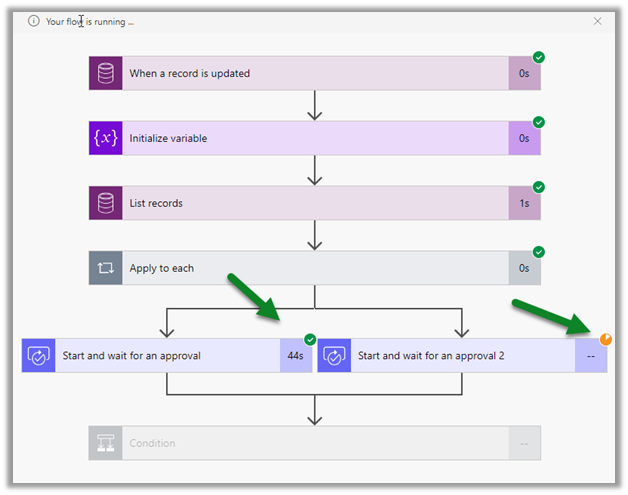
This is how our final Flow looks like.

Inside the first HTTP action, we are calling OAuth 2.0 token endpoint v1. We have MyCrmApp registered in Azure AD and have generated the client secret for it.
Also we have created an Application User using the above application details and have given the appropriate security role.

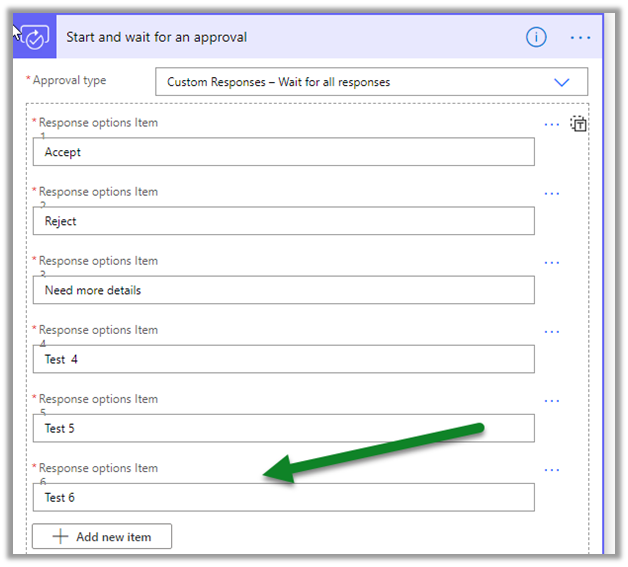
Below is how our HTTP request looks like.

|
Method |
POST |
|
URI |
https://login.microsoftonline.com/489f9a0f-1326-42ae-a00c-0dd3cd16e6e9/oauth2/token |
|
Headers |
|
|
Content-Type |
application/x-www-form-urlencoded |
|
Body |
grant_type=client_credentials& client_id=ad7a1cc4-123f-4270-9c11-29eb1686e203& client_secret=m7.xyzsdfsdfe.jZ0odh-C-85qg70QPfnsI& resource=https://[orgname].crm.dynamics.com/ |
Next, we have added the Compose action to get the token from the output of the HTTP request.


Inputs (Expression) = outputs(‘HTTP’).body.access_token
Next, we have added the HTTP action again to calls the WhoAmI request using the above token.

|
Method |
GET |
|
URI |
|
|
Headers |
|
|
Content-Type |
application/json |
|
Authorization |
Bearer [Output of the previous step] |
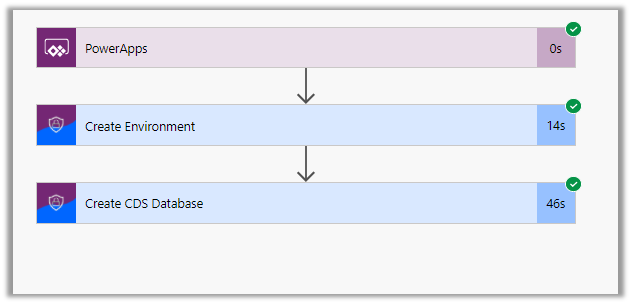
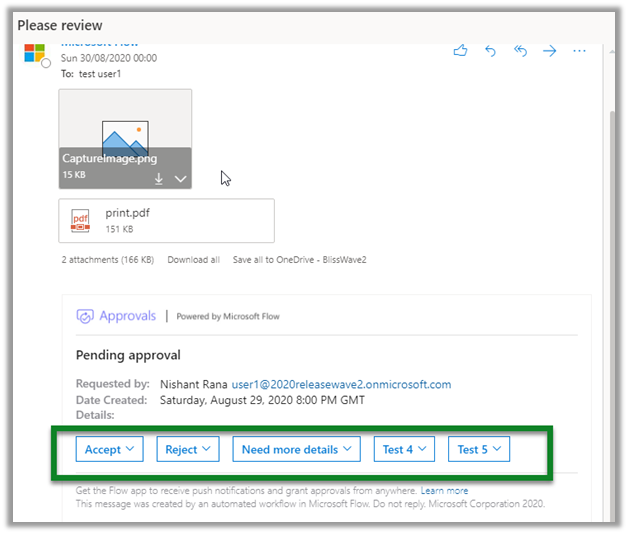
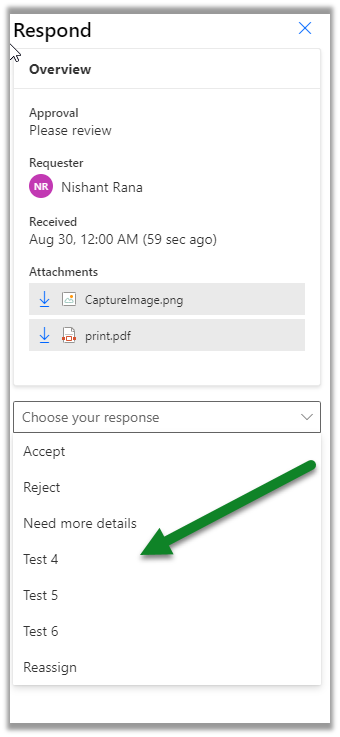
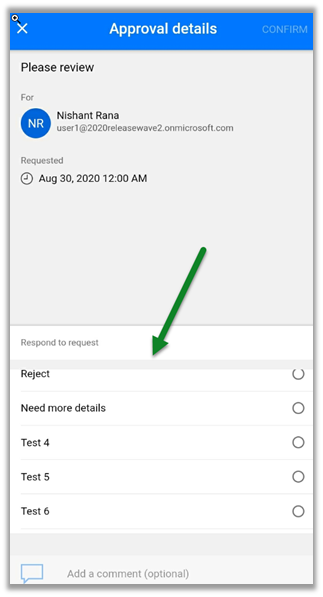
On triggering our Flow succeeds as shown below.

The output of the first HTTP request.

Compose step has the access token

And the final step has the result of the HTTP Get request to WhoAmI

The helpful post –
https://sharepointmadeeasy.blogspot.com/2018/02/microsoft-flow-http-rest-api-invalid.html
Hope it helps..
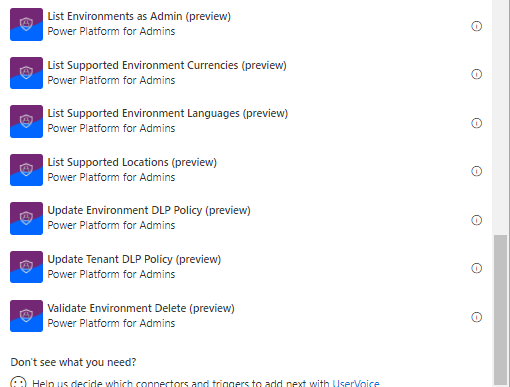
Check other posts on Power Automate –