-
Configure Product Recommendations using Recommendations API in Dynamics 365
-
Configure Automatically suggest knowledge articles using Cognitive Services Text Analytics (Preview) in Dynamics 365 (online)
-
Configure Document Suggestions using Cognitive Services Text Analytics (Preview) in Dynamics 365 (online)
-
Configure Similar Record Suggestion using Cognitive Services Text Analytics (Preview) in Dynamics 365 (online)
-
Configure Case Topic Analysis using Cognitive Services Text Analytics (Preview) in Dynamics 365 (online))
- Configure Dynamics 365 and Azure Service Bus Integration ( Using Queue and Queue Client)
-
Configure Dynamics 365 and Azure Service Bus Integration (using TwoWay relay, Azure Aware Plugin and listener)
-
Configure Dynamics 365 and Azure Service Bus Integration (using OneWay relay and listener)
-
Dynamics CRM, Web Job and Azure scheduler
-
Scheduling a Web Job (console application) using Azure Scheduler
-
Step by Step – Configure CRM Plugin and Azure Service Bus in CRM 2015
Tag: Microsoft Dynamics CRM
Configure Automatically suggest knowledge articles using Cognitive Services Text Analytics (Preview) in Dynamics 365 (online)
As a first step, we need to set up Text Analytics Service and connect it to our CRM Online. Follow the below post for that
Next, we need to set up Knowledge Search field settings
For this go to Settings – Service Management and click on Knowledge Search field Settings

There click on New to create a new Search Model record.
Below we have specified case as our source entity. Click on Save.

Next, we need to define Keyword fields for our model, click on + to create a new text analytics entity mapping record.
To keep things simple, we have selected entity as Case and Field as Case Title based on which suggestions will be made. Save the record.

Click on Activate to activate the model.

Next, we need to modify the Case form to include knowledge base suggestions

Open the Conversation Tabs, go to Knowledge Base Search and select Text Analytics for Give Knowledge base suggestions as described below and publish the form

Open any of the case record, go to KB Records. Here based on the Case Title, the text analytics picks up the keyword “Delay” and shows/suggests the corresponding KB Articles matching that keyword.

Get all the details here
https://technet.microsoft.com/en-us/library/mt703319.aspx
Hope it helps..
Configure Document Suggestions using Cognitive Services Text Analytics (Preview) in Dynamics 365 (online)
Let us take a simple example to understand how to configure Document Suggestion preview feature.
To do so first we need to enable Text Analytics Service, Connect it to our CRM Online and configure similar record suggestions. Please follow the below post for all the details.
Go to Settings – Document Management – Manage Document Suggetions

Select the entity for which we want to enable it, as we had our similar record suggestions enabled for Case we select the Case entity here.

Click on Apply.

Now as we already have Similar Record Suggestions configured for Case entity, for a case record with Delay keyword in its title we get the below suggestions

So, for Delay in Dispatch record we are getting Delay in service, delivery and shipment as suggestions as similar cases.
Now what we have done over here next is that we have attached document(s) to each of these case records.
For Delay in Dispatch case record –

For Delay in Service case record –

For Delay in Shipment record we have 2 document attached.

For Dispatch in Delivery case record we do not have any document attached yet.
Now let us open case with title “Dispatch in Delivery” and go to its Documents related records and click on Show Suggestions button

A dialog opens which list all the documents that are associated to the case records similar to the Delay in Delivery record i.e. all the remaining case records having delay keyword in its title.

Select documents and click on Copy.


Documents Copied to the Delay in Delivery record.

Hope it helps..
Configure Case Topic Analysis using Cognitive Services Text Analytics (Preview) in Dynamics 365 (online)
“Update – The Cognitive Services Text Analytics Topic Detection API required for this feature will be removed as of August 24, which means this feature will no longer work after that date and a topic analysis run will return an error.”
https://technet.microsoft.com/en-us/library/mt752501.aspx
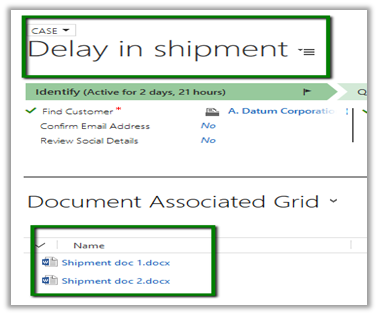
Text Analytics Preview feature is currently available for instances in US region. Topic analysis can be used to automatically identify topics that occurs in cases.
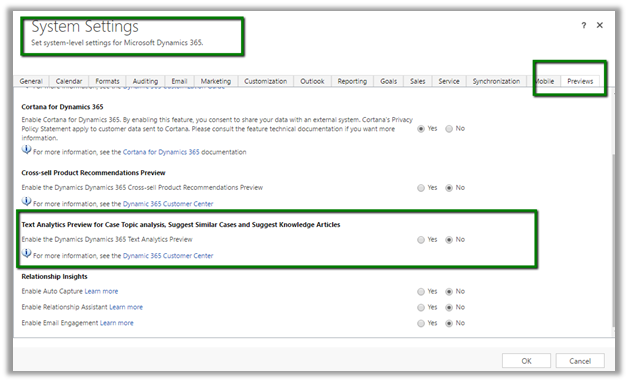
To enable the preview, go to System Settings – Preview tab and select Yes for Text Analytics Preview.

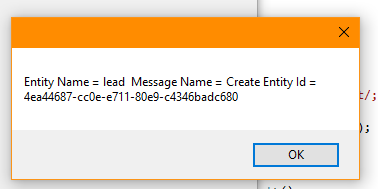
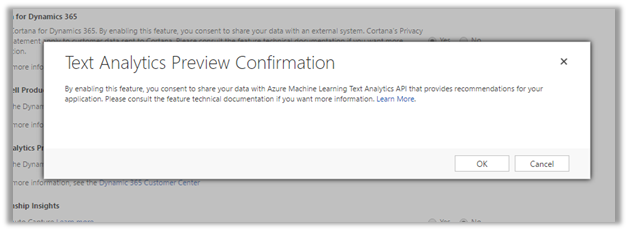
Click OK to confirm.

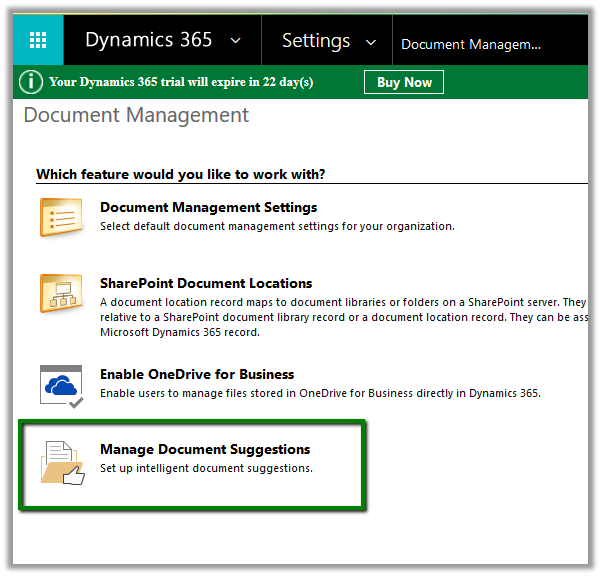
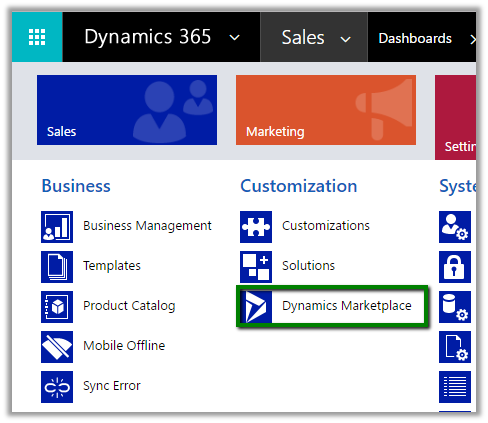
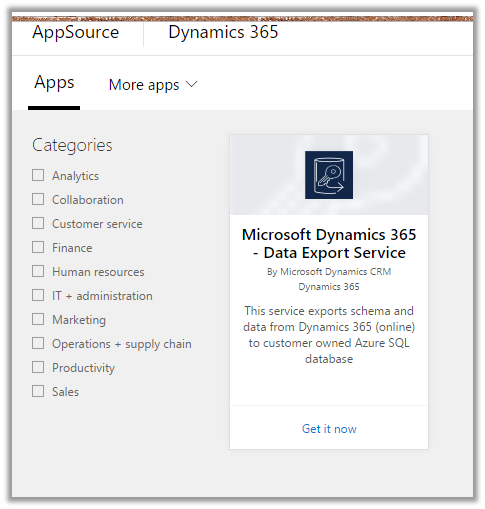
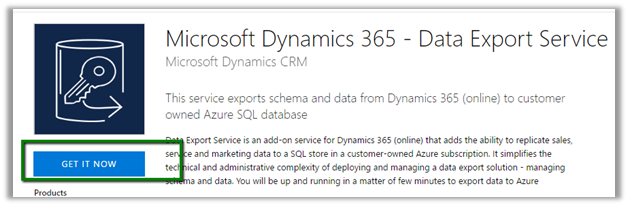
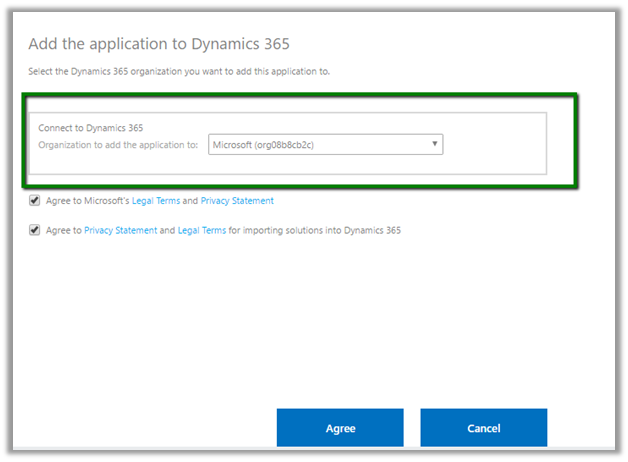
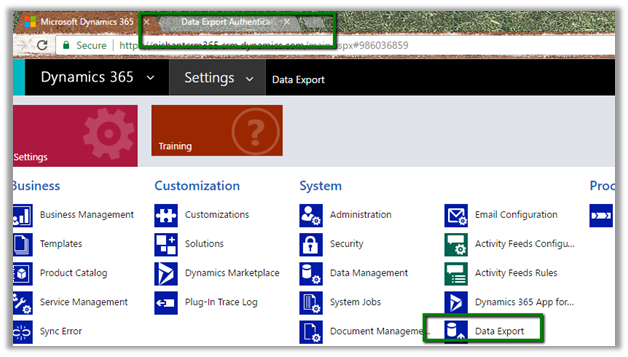
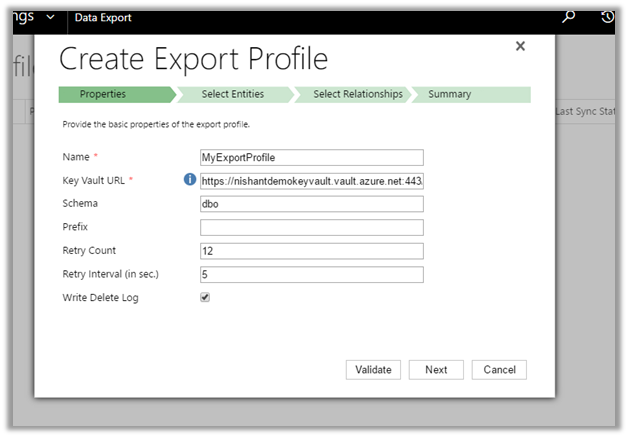
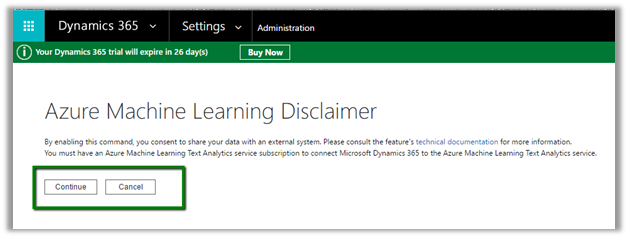
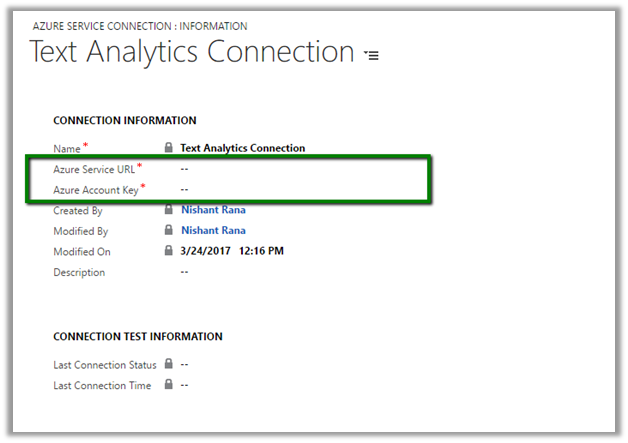
Next go to Administration and click on Azure Machine Learning Text Analytics Service configuration to configure the service.


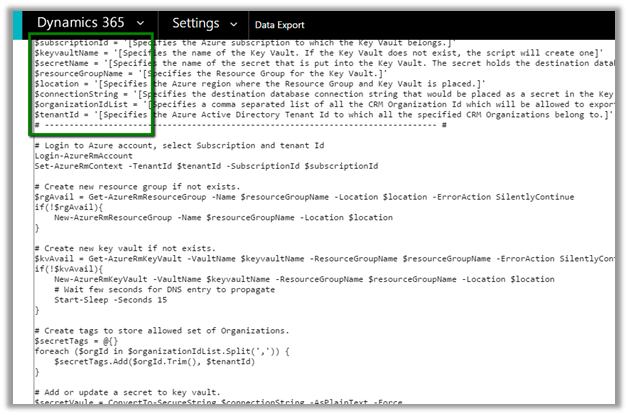
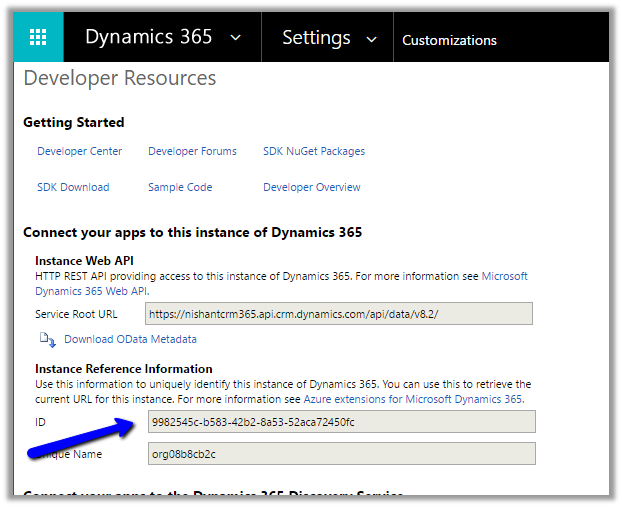
Here we would need the Azure service URL and the Azure Account Key to configure it.

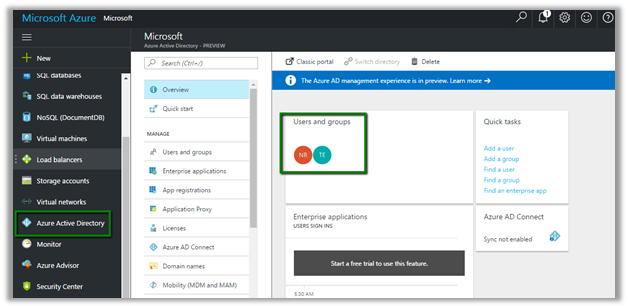
To do so, go to Azure Portal
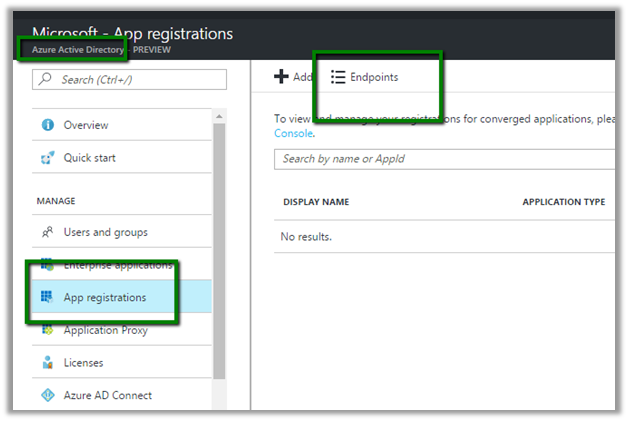
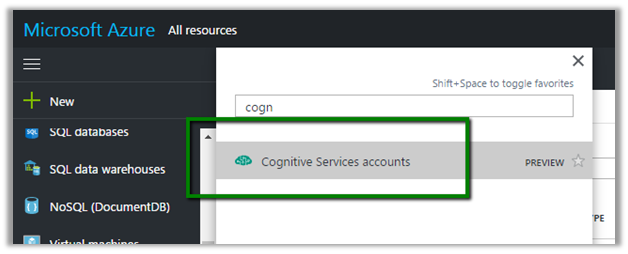
Search for Cognitive Service Accounts

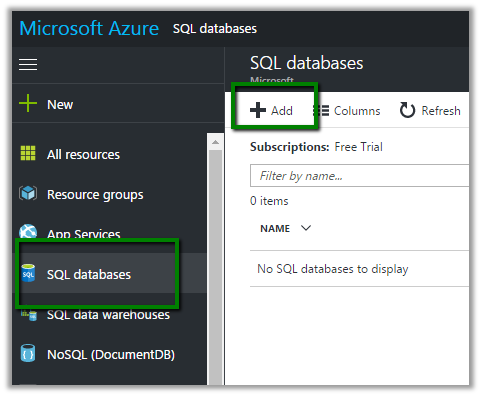
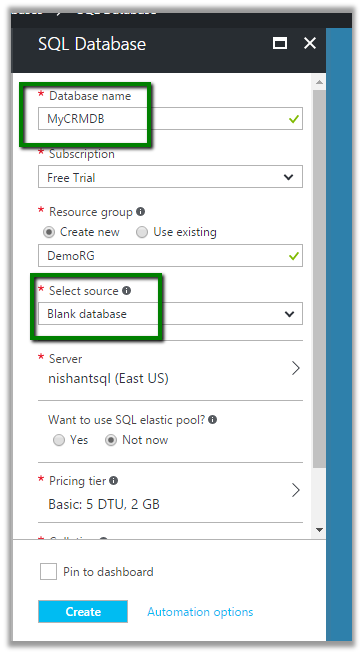
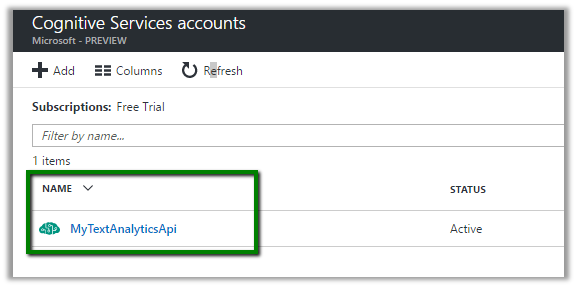
Click on Add and Specify required information.
Select Text Analytics API as API Type.
Click on create to create the service account.


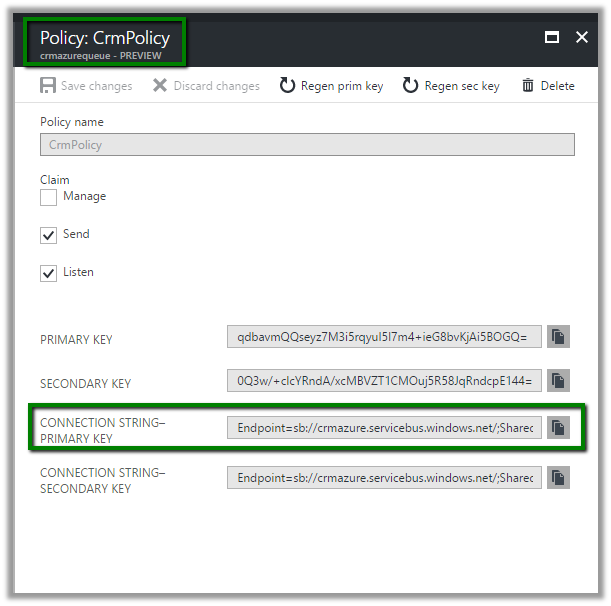
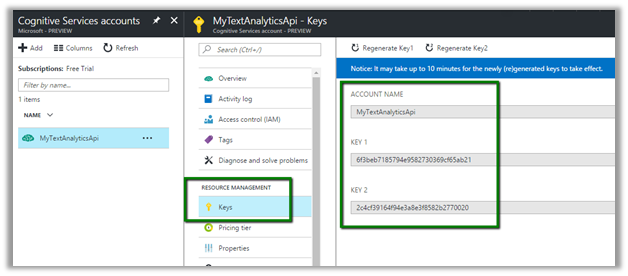
Copy the Endpoint of the created Cognitive service account which will be used as Azure Service URL in CRM.

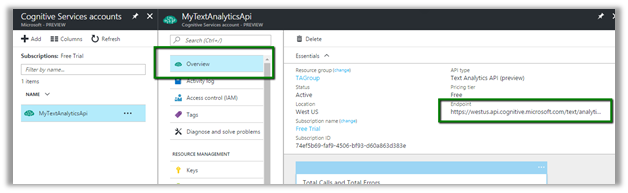
Similarly select Keys, and copy one of the Key which will be used as Azure Service Key in CRM.

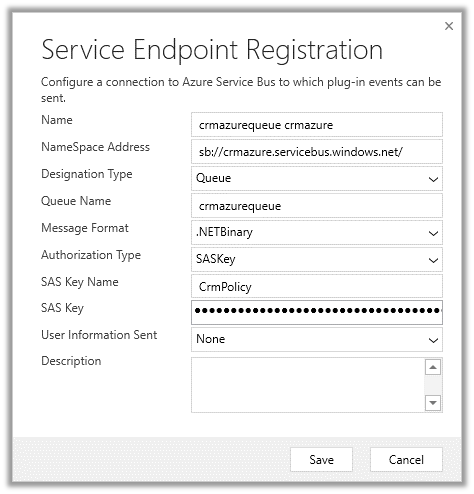
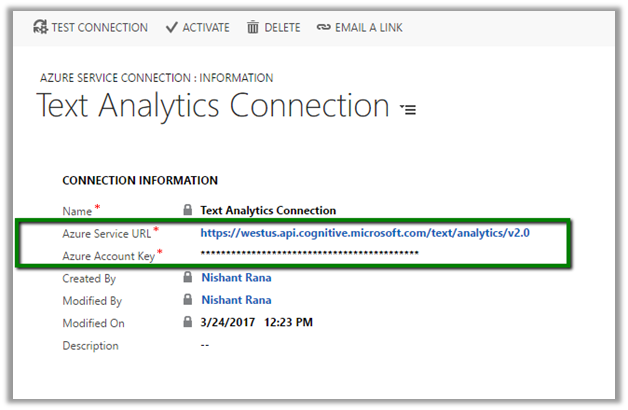
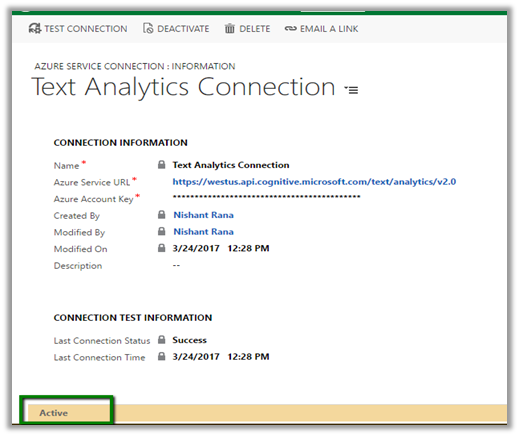
Specify the values in the Text Analytics Connection record.

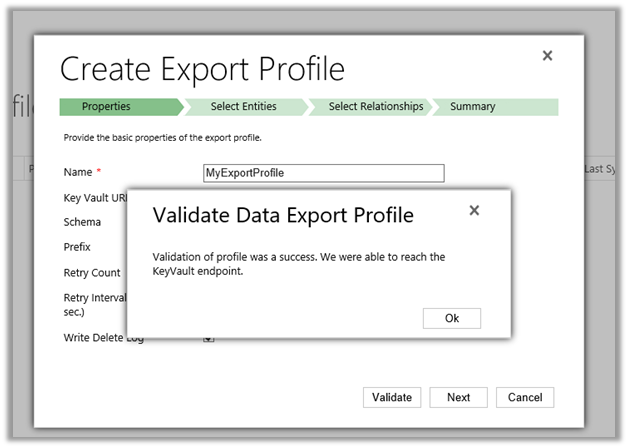
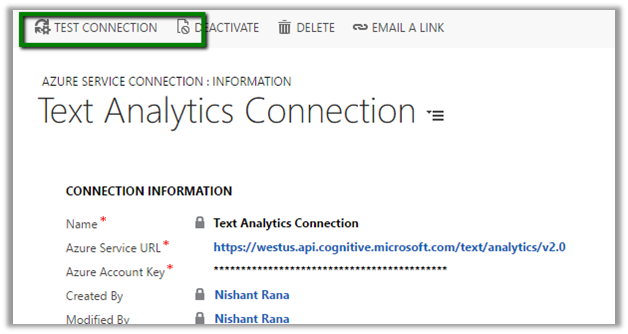
Click on Test Connection to test the connection.

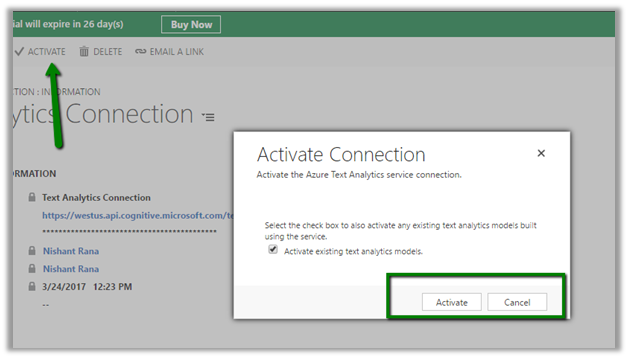
After successful test, click on Activate to activate the connection.


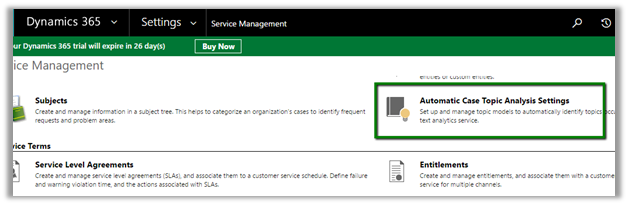
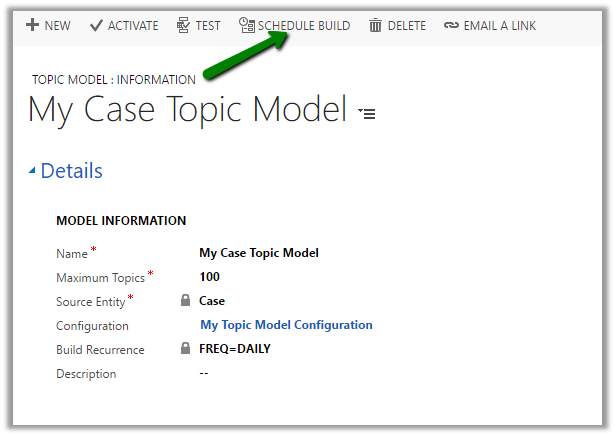
Next let us create a Topic Model which will be used to identify topics occurring in the cases.
Go to Service Management – Automatic Case Topics Analysis Settings

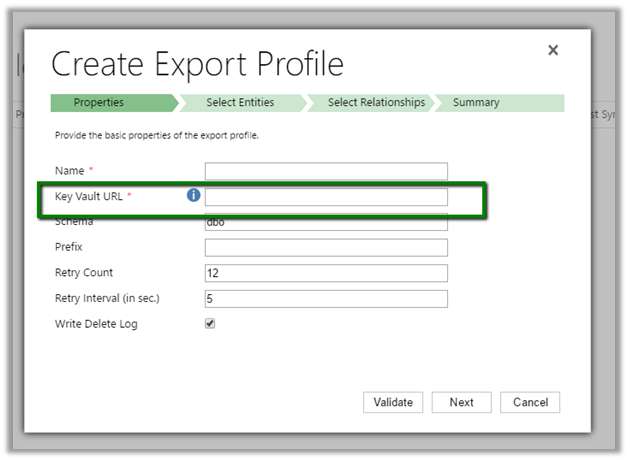
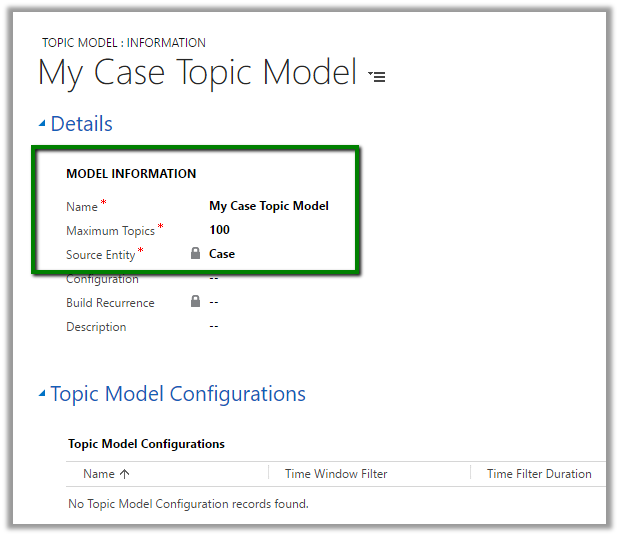
Create a new Topic model record

Create a related Topic Model Configuration record.
It auto populates the Topic Determination Fields which we can edit\add.

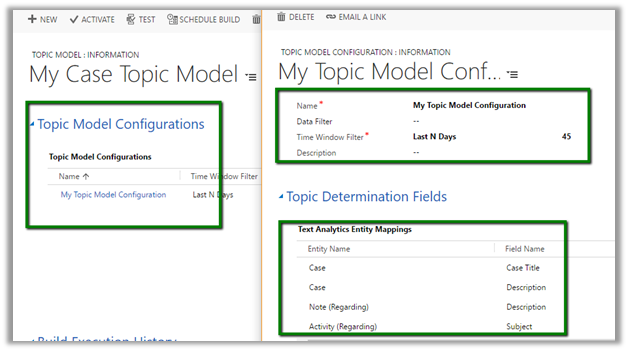
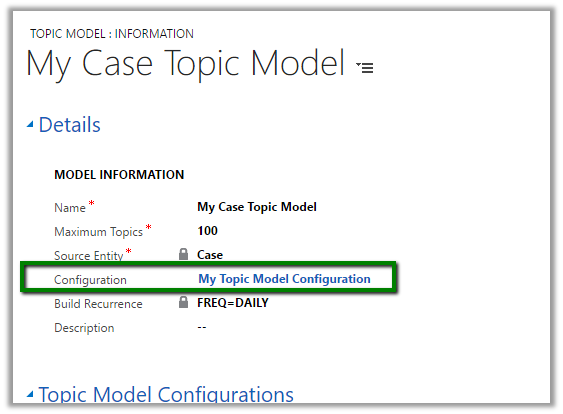
Specify the configuration record created in the Configuration lookup of Topic model record.

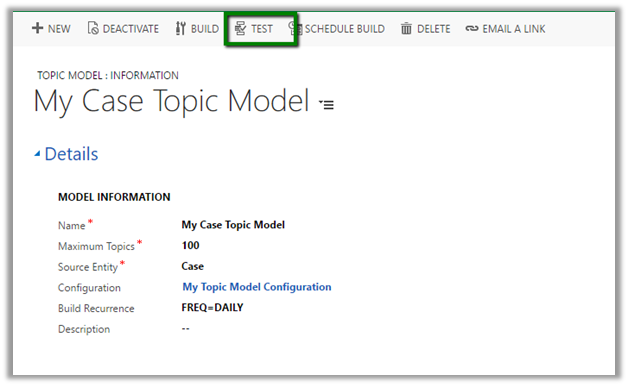
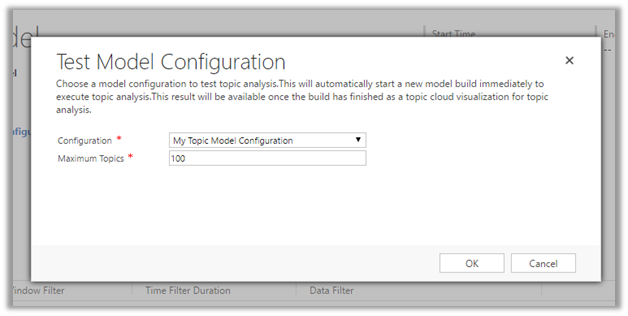
Click on Test to the configuration.


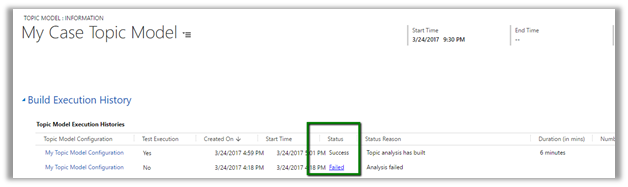
Build Execution History tab shows the status of the test run.

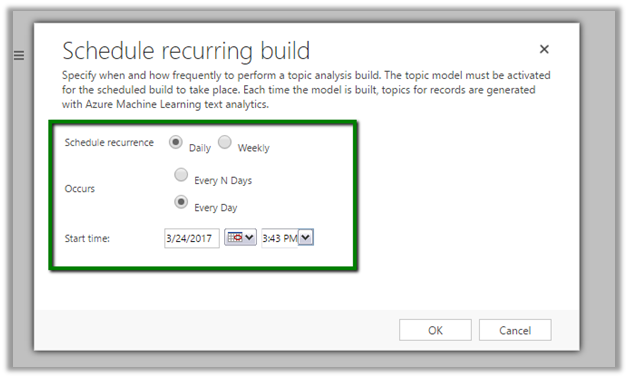
The build can be scheduled.


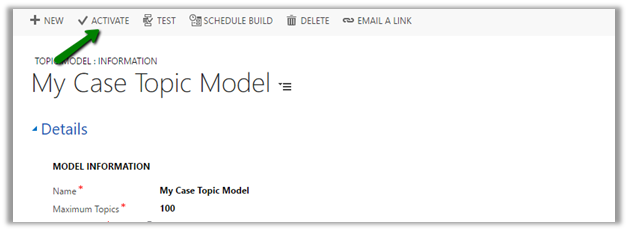
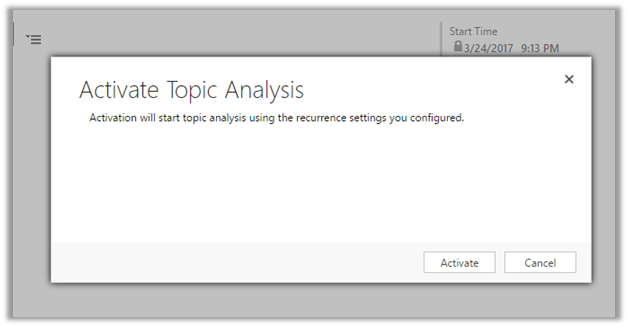
Once we have tested the configuration we can then activate the model.


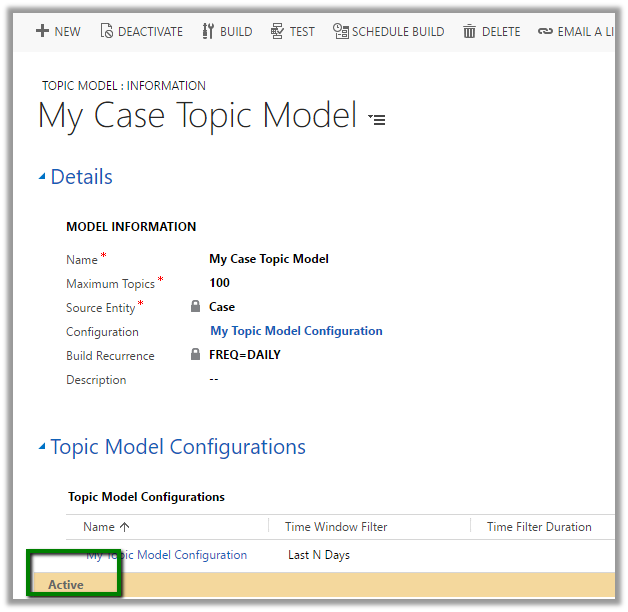
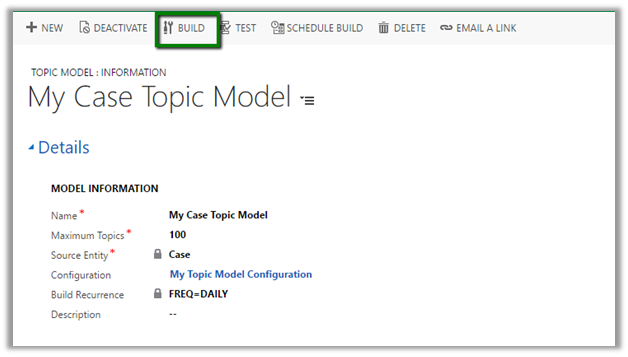
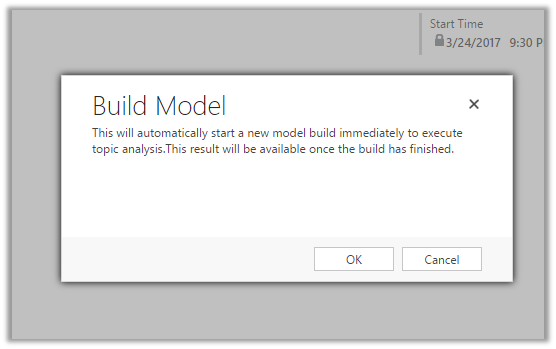
Once Activated, we can them manually trigger the build using Build button


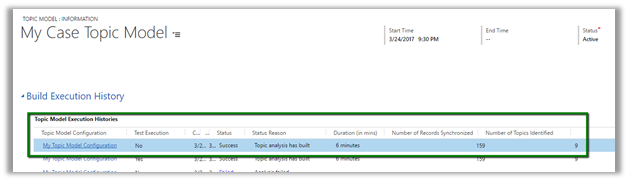
We can check the status of the build in the build execution history tab. Below record shows the build to be succeeded, duration it took i.e. 6 minutes, number of records it synchronized i.e. 159 and topics identified as 9.

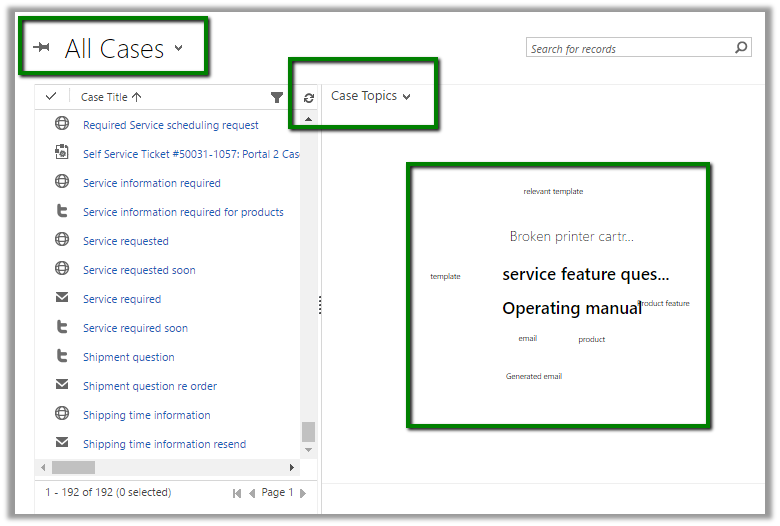
To see it in action, go to Active Cases view and select Case Topics chart which lists the topics.

Hope it helps..
Configure Dynamics 365 and Azure Service Bus Integration (through Queue and QueueClient)
Let us configure Dynamics 365 and Azure Service Bus integration.
Here we would implement a basic scenario, every time a lead is created in CRM we’d pass this execution context information to the queue. The app then reads and shows the information.
As a first step, we need to register a service end point through plugin registration tool.

Here we need to provide the connection string 
So, let us create SAS configured Azure service bus namespace and a queue in it.
Go to portal
Search for Service Bus, provide the required details and click on Create.

Next, we’d create a queue. Inside Service Bus go to Queues and click on plus button create a Queue


Next inside the queue we need to go to Shared Access Policy settings and click on Add button to add a new SAS Key

Next click on connection strings, followed by Add button to add a new SAS Key.

This creates the key. Now copy the connection string.

Paste the connection string in the Plugin Registration tool

It will auto populate all the details. Now click on Save.

This adds a new service end point

Now register a new step – Entity – Lead and Message – Create.

Now to trigger it let us create a lead record in CRM.

A corresponding System Job will have the status.

Back in our queue we can see 1 new message added to it.

To read the message, let us create a simple windows application.
Install the WindowsAzure.ServiceBus package.

The source code for the queue. Here the connection string will be the same which we had specified in the plugin registration tool. The message body is of type RemoteExecutionContext.

The output.

Hope it helps..
How to -Configure Data Export Service in Microsoft Dynamics 365
*Updated 19 Sep – 2018 : Check out this powerful tool DBSync’s CRM connector, which could be used for bi-directional seamless integration of all the popular Application and Database with Microsoft Dynamcis 365- https://www.mydbsync.com/product/microsoft-dynamics-365-crm-integration
Data Export Service is an add-on that allows replicating CRM Online Data to Azure SQL Database.
The below video by expert Scott Durow is the best resource to learn about it
https://www.youtube.com/watch?v=txms2Yvn6Vc
Below are the steps we need to follow to configure it.
- Go to Settings – Dynamics Marketplace

- Search for Dynamics 365 Export Service

- Click on GET IT NOW

- Click on Agree

- This will install the Data Export Service solution

- Back in CRM – Go to Settings – Data Export. (Pop up window will open up a page for Data Export Authentication, so we need to enable pop up)

- Click on New to create a new Data Export File.

Basically, here we need the Key Vault URL here which stores the database connection string securely.

Clicking on the information icon opens up the dialog box with the below PowerShell script, which needs value for variables like subscription id, key vault name, secret name, tenant id etc.

i.e.

So as a first step here we need to configure Azure Active Directory (if Office 365 and Azure Tenant are separate)
https://docs.microsoft.com/en-us/azure/billing/billing-add-office-365-tenant-to-azure-subscription

- Next step is to create Azure SQL database. Search for SQL databases in All Resources and click on Add

- Specify the required information and click Create.


Next we need to create a User that will be used to configure Data Export Service and has appropriate rights in the database

Here the user has been assigned db owner role

For the minimum rights required check the below article
https://technet.microsoft.com/en-us/library/mt744592.aspx

Now let us replace the below placeholders one by one

- Subscription ID –

- Key Vault Name – NishantDemoKeyVault
- Secret Name – DataExport
- Resource Group – DemoRG
- Location – East US
- Connection String –


- Organization ID List –

-
Tenant Id –


- Get the GUID part – 8e6d9cc0-cd4d-472e-98ab-088b1a6a1233
- Now let us run the PowerShell Script and copy the Connection Key Vault
URL

KeyVault record created in Azure à

- Going back to our Export Profile wizard, we need to paste the Key Vault URL

- Click on Validate

- Select the entity or entities for which profile needs to be created

- Select any relationships

- Next click on Create and Activate


This creates the profile record in CRM


- Once Initial Sync Status shows as completed we can see the tables created in the Azure Database.

The records synchronized –


Let us delete the below selected lead records –

Delete Log table will hold the information of the deleted lead records

To create export profile for a custom entity, (say for e.g. entity named Test in our case)

We need to enable Change Tracking in it.


Get all the details here
http://develop1.net/public/post/Dynamic365-Data-Export-Service.aspx
https://technet.microsoft.com/library/a70feedc-12b9-4a2d-baf0-f489cdcc177d
Hope this helps..
