Sharing a sample code, we can use to upload a file to the File Column
Also read –
https://nishantrana.me/2021/10/01/using-file-and-image-data-type-in-dataverse-dynamics-365/
Here we would upload the below file to one of the contact records.

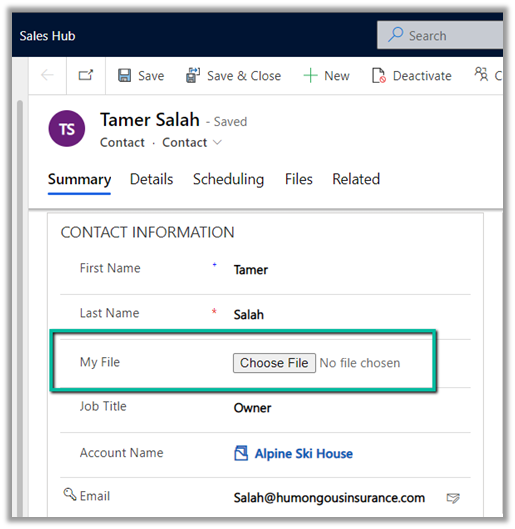
For file size more than 4 MB we need to implement chunking and combine the data before committing.

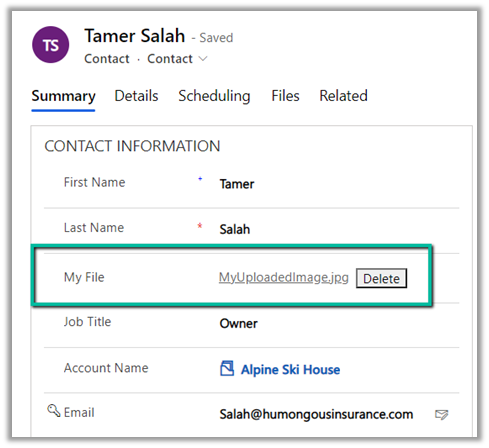
On calling the method –

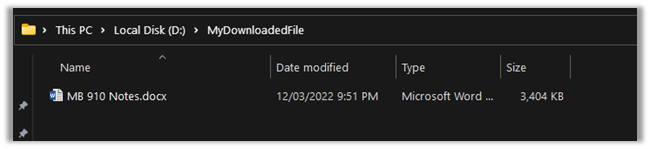
We can see the file uploaded to the contact record.
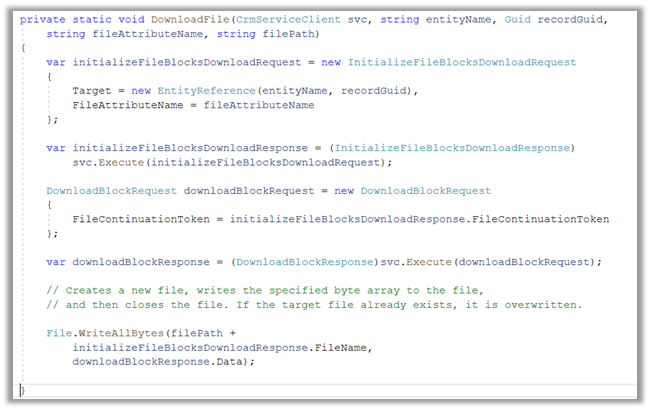
The restriction of using chunked upload for files greater than 16 MB has been removed, see the below code for full file upload. The chunking APIs are still kept for backward compatibility.
Example – .NET C# code for full file upload. (recommended way of uploading)
Hope it helps..
  private static void UploadFile(CrmServiceClient svc, string entityName, Guid recordGuid,
           string fileAttributeName, string filePath, string fileName)
        {
            // get the file content in byte array
            var fileContentByteArray = File.ReadAllBytes(filePath);

            var initializeFileBlocksUploadRequest = new InitializeFileBlocksUploadRequest()
            {
                Target = new EntityReference(entityName, recordGuid),
                FileAttributeName = fileAttributeName,
                FileName = fileName
            };

            var initializeFileBlocksUploadResponse = (InitializeFileBlocksUploadResponse)
                svc.Execute(initializeFileBlocksUploadRequest);

            // to store different block id in case of chunking
            var lstBlock = new List<string>();

            // 4194304 = 4 MB
            for (int i = 0; i < fileContentByteArray.Length / 4194304  ; i++)
            {
                var blockId = Convert.ToBase64String(Encoding.UTF8.GetBytes(Guid.NewGuid().ToString()));
                lstBlock.Add(blockId);

                var uploadBlockRequest = new UploadBlockRequest()
                {
                    BlockId = blockId,
                    BlockData = fileContentByteArray.Skip(i * 4194304).Take(4194304).ToArray(),
                    FileContinuationToken = initializeFileBlocksUploadResponse.FileContinuationToken
                };

                var uploadBlockResponse = (UploadBlockResponse)svc.Execute(uploadBlockRequest);
            }

            var commitFileBlocksUploadRequest = new CommitFileBlocksUploadRequest
            {
                FileContinuationToken = initializeFileBlocksUploadResponse.FileContinuationToken,
                FileName = fileName,
                MimeType = System.Web.MimeMapping.GetMimeMapping(fileName),
                BlockList = lstBlock.ToArray()

            };

            var commitFileBlocksUploadResponse = (CommitFileBlocksUploadResponse)svc.Execute(commitFileBlocksUploadRequest);
        }
Advertisements