Below are the quick steps to create a copilot with Dataverse as the Knowledge source and Teams as the channel
Open the Microsoft Copilot Studio site https://www.microsoft.com/en-us/microsoft-copilot/microsoft-copilot-studio
Select the Try free option to get started.

Select the appropriate environment and click on New copilot option (Create+)

Select Create
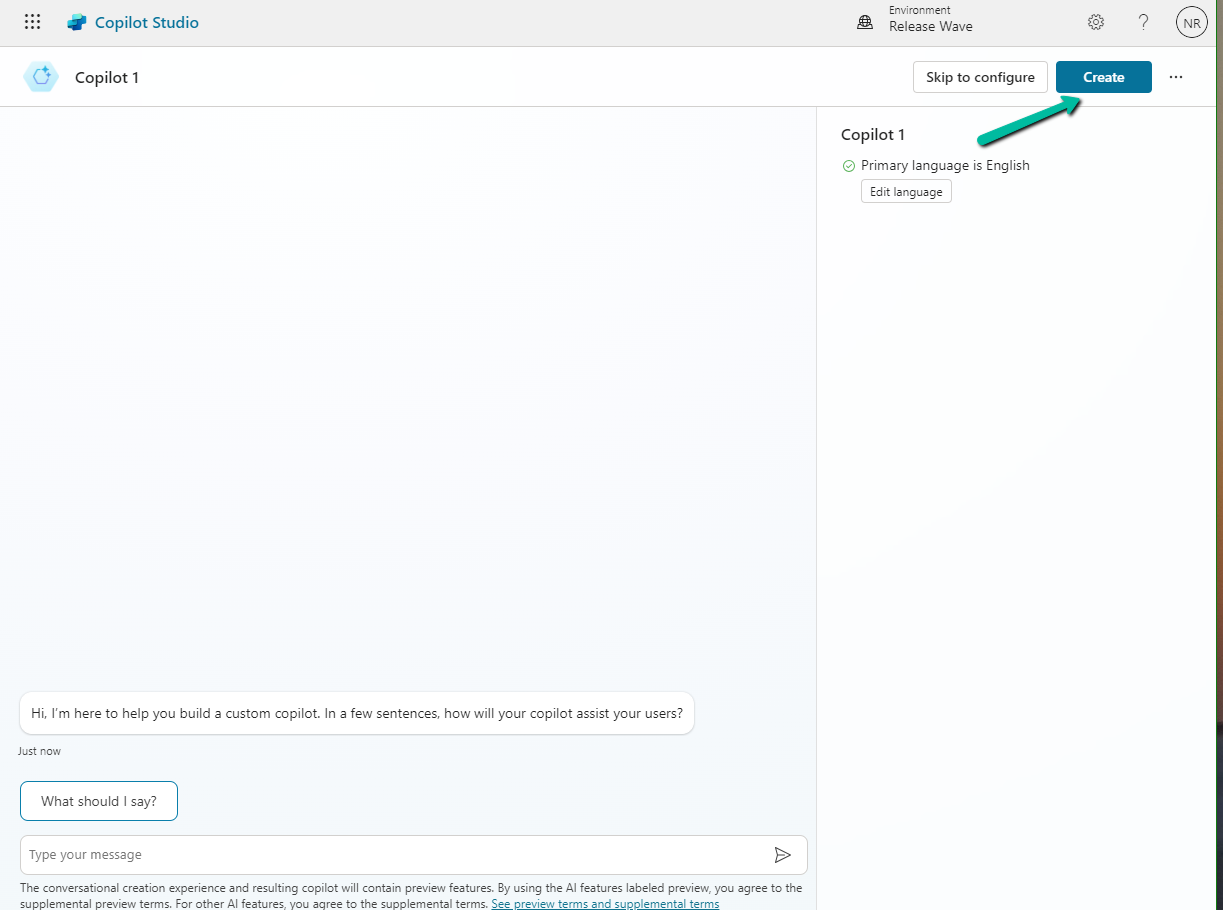
Here we have renamed the Copilot, next click on Add knowledge to add Dataverse as the source.

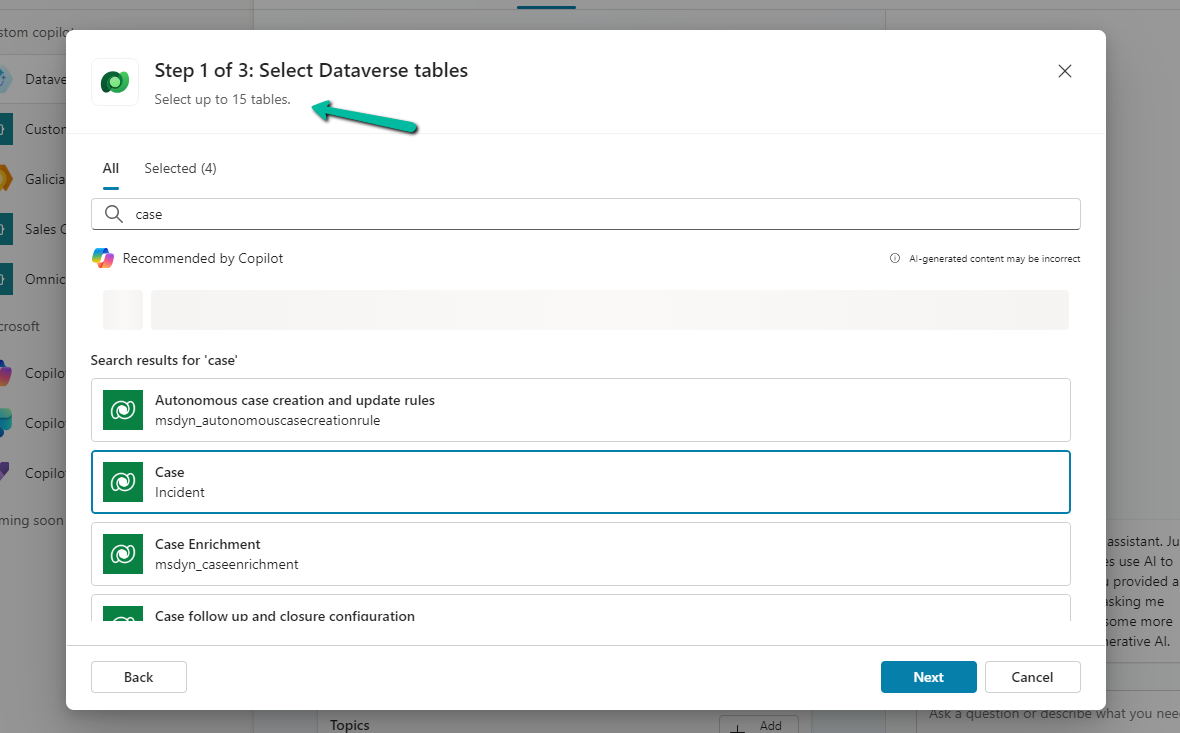
Add Dataverse

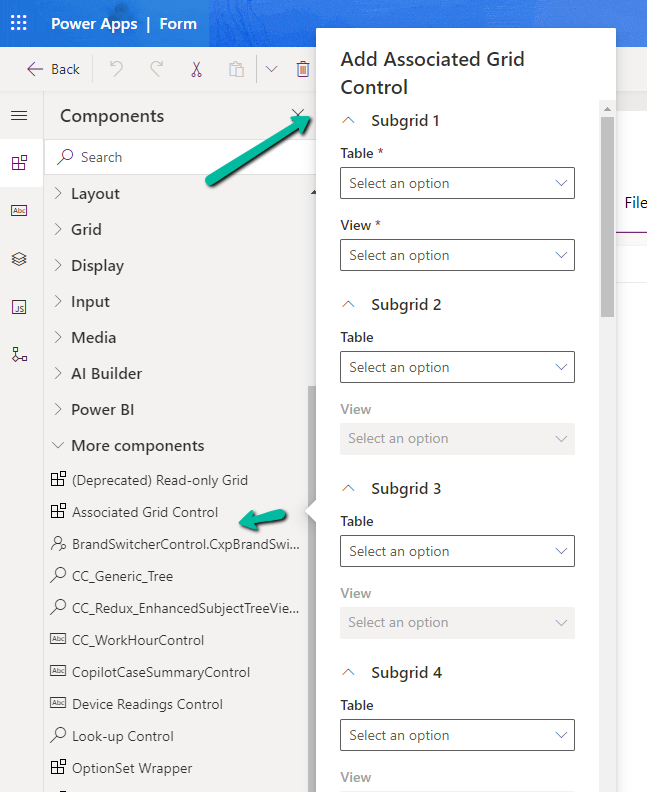
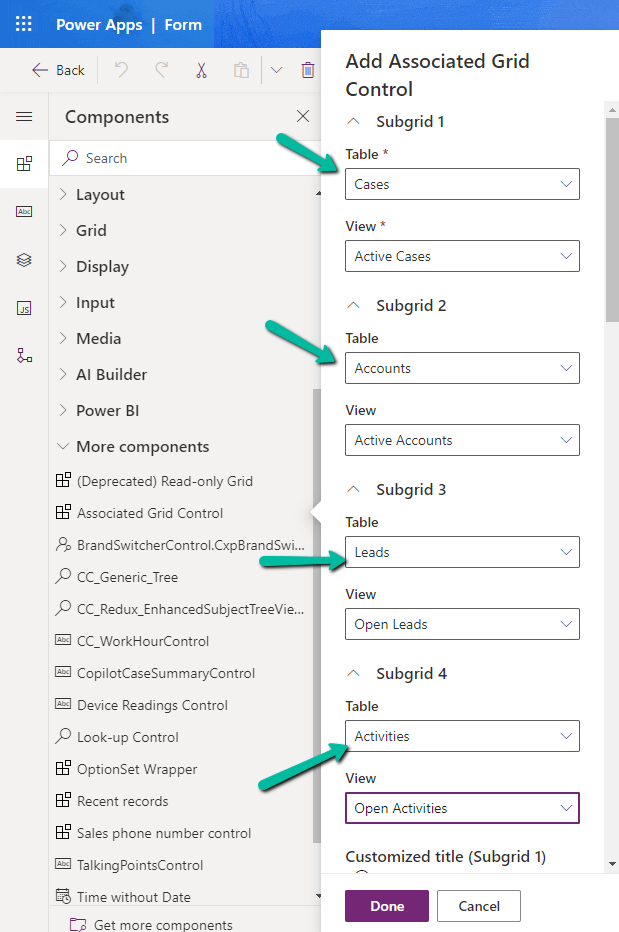
We can select up to 15 tables, and we have specified lead, contact, account, and case for now.
Next, we get the option to review the data for the tables selected.

In the last step, we get the option to review it. Here we can add/ edit the synonyms and glossaries that would make it easier for the copilot to understand and fetch the data. We’d skip it just to see how it works without configuring them.
Our copilot is ready now. The other things that we can do are to add actions, build topics, and publish which we’d leave as it is for now.

Click on the Knowledge tab. In a short time, we’d see the status changed to In Progress
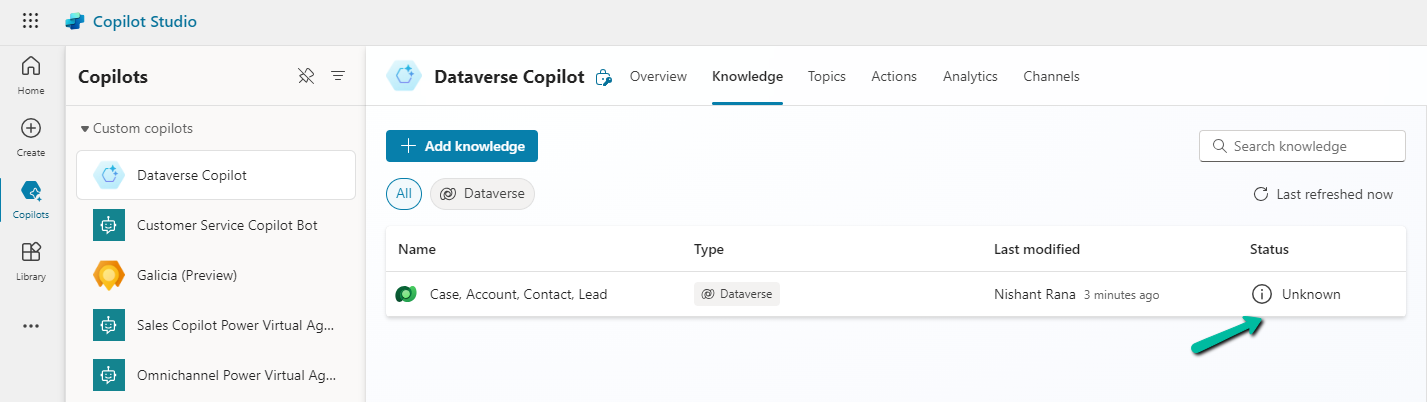
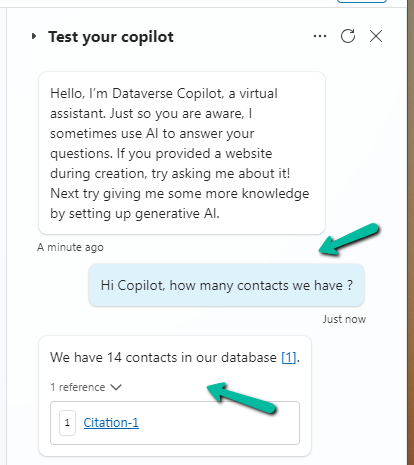
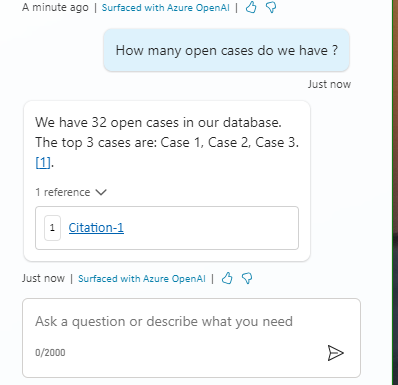
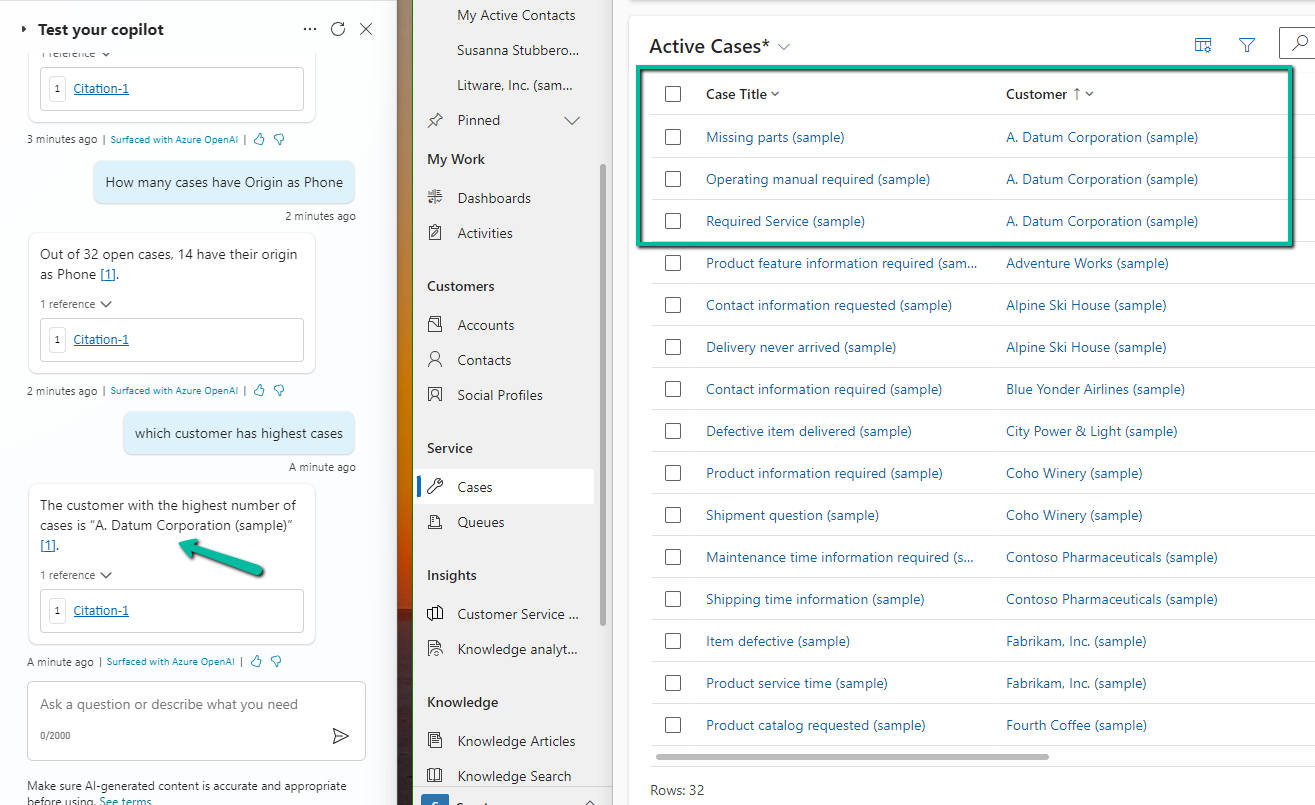
Meanwhile, we can still go ahead and test it.

As we are done with the testing let us try publishing it, before that let us check the authentication for it.
Navigate to Settings >> Security >> Authentication, here we can see Authenticate with Microsoft selected. We’d leave it like that.

Based on the Authentication mode selected, we will have different channels enabled / disabled.
Let us select the Microsoft Teams channel for our copilot.

Select Turn on Teams
Select Edit details

Add / Edit the details and click on Save.

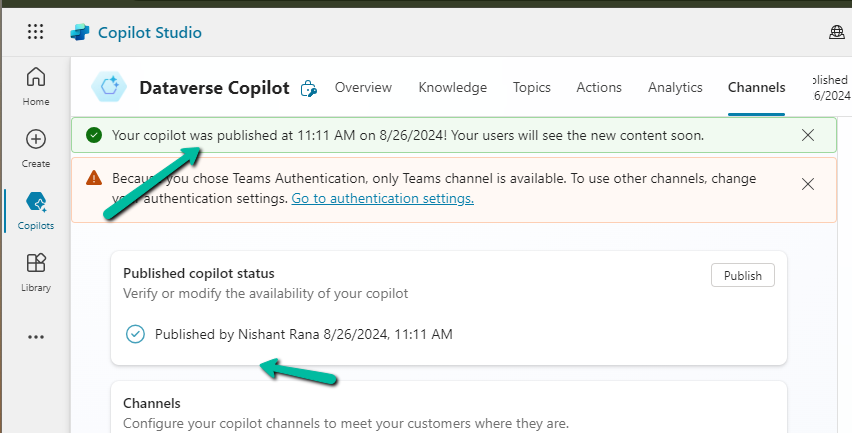
Now time to Publish our copilot.


We can now again open the Microsoft Teams channel and select the Availability options.

Here we can see multiple options, one is to share the link, upload the zip, and show it in the teams store.
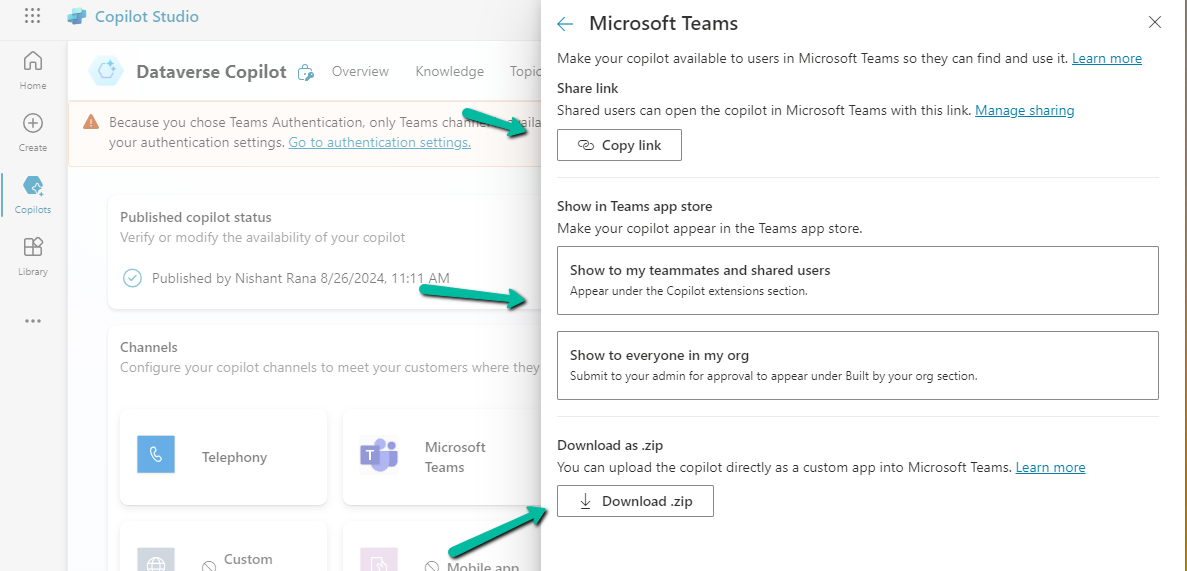
We selected the Show to my teammates and shared users option. We can add search and add users to share it with them.

The other option is to Copy link and share the link.
On opening the link, we get the option to add the app.
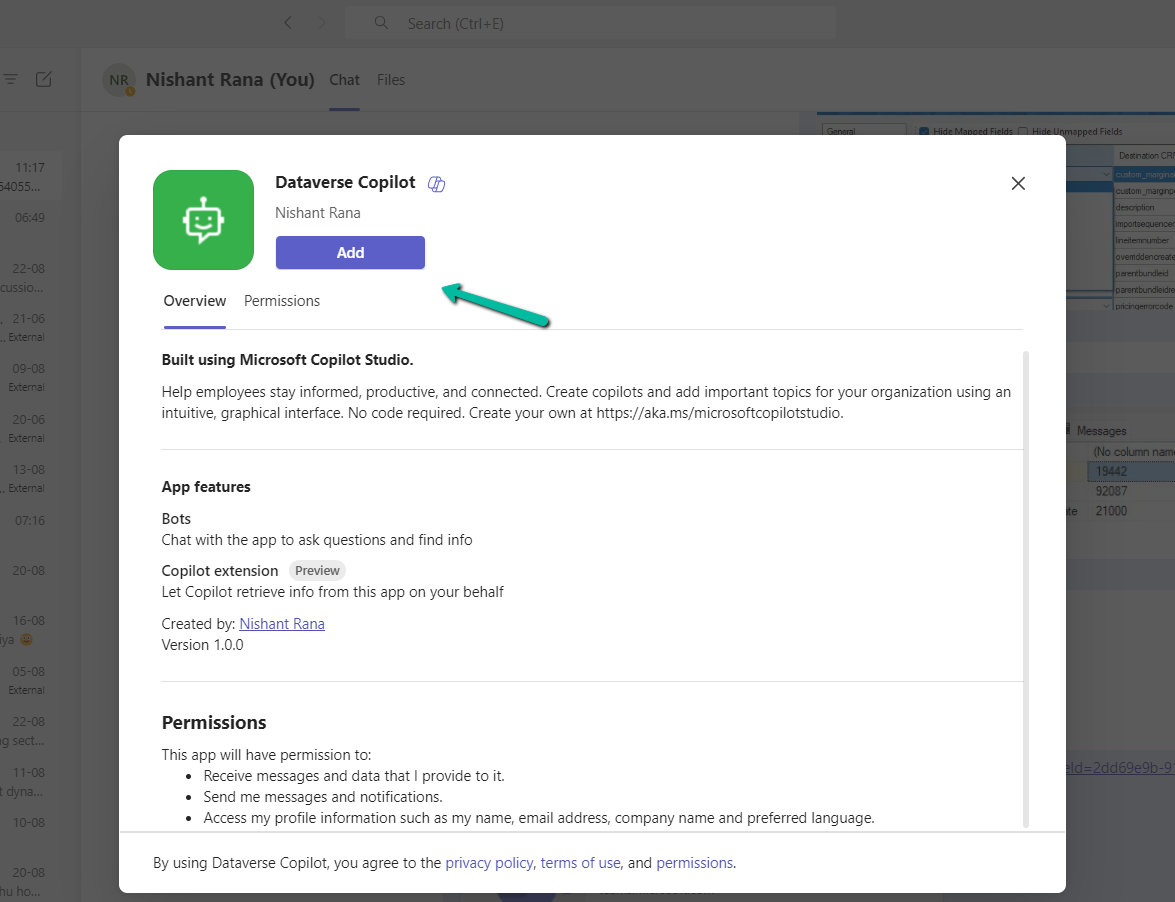
We can see our app added in the Manage your apps section in Teams.

Finally now we can start interacting with our copilot.

Get all the details –
https://learn.microsoft.com/en-us/microsoft-copilot-studio/
Hope it helps..