Filter rows and Trigger Conditions can be used to specify the condition on which the trigger should fire. This makes sure that we do not exceed flow execution limits.
Power Automate Licensing – Power Platform Requests
Power Automate Limits and Configuration
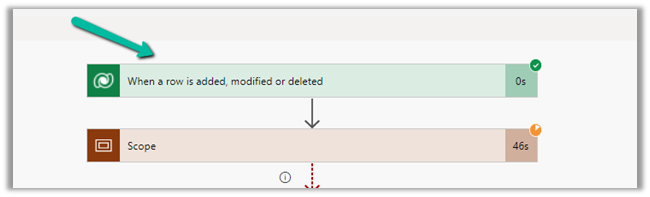
In the case of our Dataverse trigger “When a row is added, modified or deleted” we can make use of either Filter rows or Trigger Conditions, as we have both options available.
We’d be using Trigger Conditions for those triggers where we do not have additional property to specify the filter condition.
E.g. we want the flow to run only on a specific file in a library or based on the extension of the file as nicely explained here
https://tomriha.com/trigger-power-automate-flow-only-on-specific-file-in-a-library/
https://www.enjoysharepoint.com/trigger-conditions-in-power-automate/
Now out of curiosity, we tried specifying both Filter rows and Trigger conditions to see how it behaves.
Here for the same trigger we have specified Filter Rows as below
address1_city eq ‘Ahmedabad’

And Trigger Conditions as below
@equals(triggerOutputs()?[‘body/companyname’], ‘MS’)
During our test, we observed that the trigger is firing only when both the conditions or expressions, specified in Filter Rows as well as Trigger Conditions are true.
So basically it will only fire for those rows or records having Company as MS and City equal to Ahmedabad.

It will not fire if either of Filter Rows or Trigger Conditions expression evaluate to be false.
Hope it helps..