Queues are containers to store, organize, prioritize and monitor the progress of work items or queue items.
- Which entity/table can be enabled for the queues?
All customizable entities can be enabled for queues.
Below we are enabling it for the lead entity.

Enabling it for the lead now allows lead records to be added to the queue.
- By default, which entities are enabled for Queue? Appointment, Campaignactivity, CampaignResponse, Email, Fax, Incident. Letter, PhoneCall, RecurringAppointmentMaster, ServiceAppointment, SocialActivity, Task
- How do we create a Queue?
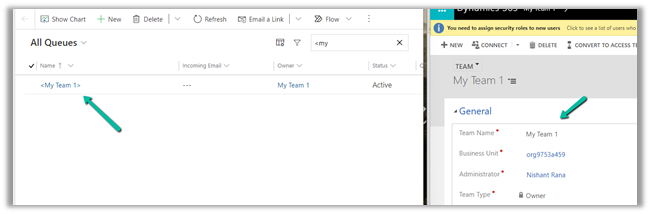
A queue is automatically created for each user and team. They can also be referred to as system queues as they are created by the system.
Below is the Queue created for each of the users.
User Queue –

Team Queue –
The Team queue will have the same members as in the team.
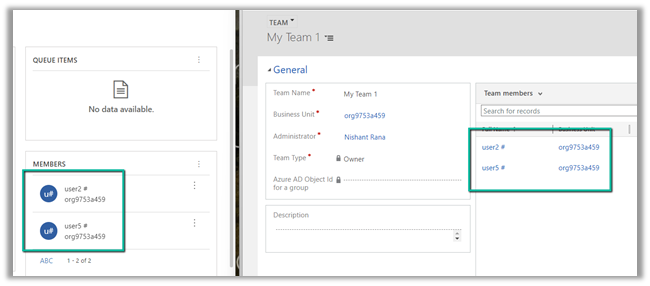
Adding and removing the members from the Team will add and remove the members from the Queue also.
However it is not vice versa, that is, adding or removing members from the queue will not remove it from the team.
Here we are removing User 5 from Team’s queue –

On removing the member from the queue, the member is still there in the Team.

Adding user 6 in the Team will add it to the queue’s member.
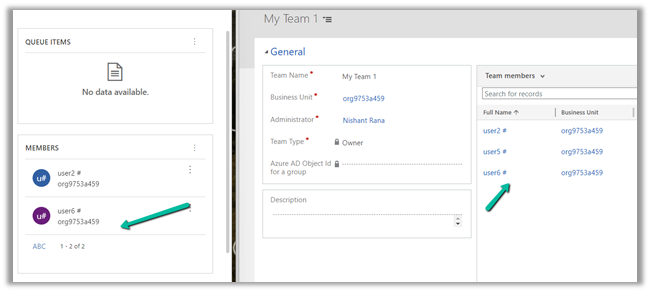
The above automatically created queue is of type Private.

The private queue for the user is only available to the user and the private team queues are visible to only the team owner and members of that team.
- What are the different types of queues?
The queue can be either of type private or public.
Public queues are available across the application and are created when you need work to be acted upon across the different users, unlike Private queues whose queue items are only accessible to the members of that queue.
E.g. one public queue can be created for high-priority cases, others could be for lesser priority items or there could be different public queues based on geography or product.
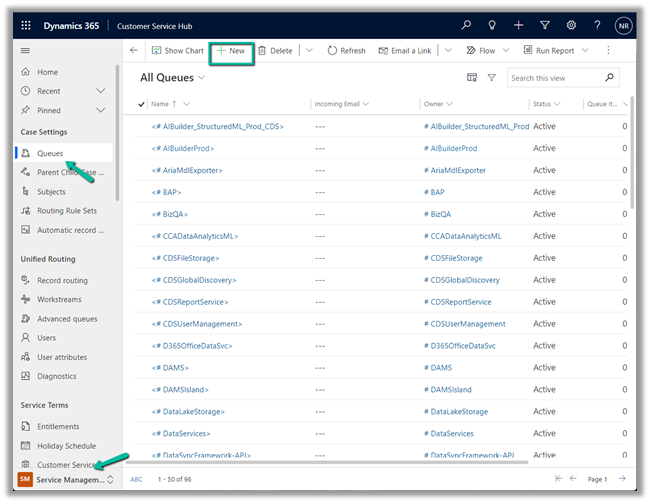
To create Queues, navigate to Service Management >> Queues in Customer Service.
Select New.
Below we have created a Public Queue.
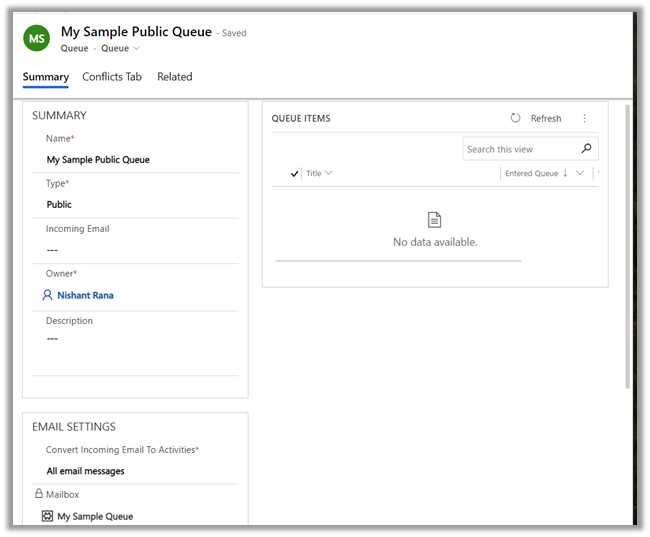
Notice that we do not have the option to add members to a public queue, unlike a private queue.
Also, incoming email value can be specified for the queue, and based on the email settings – queue items would be created for the mail received.
Check below article for more details on the same –
https://crmkeeper.com/2020/04/20/dynamics-365-queue-setup-with-shared-mailbox/
https://nishantrana.me/2017/07/26/using-shared-mailbox-and-queue-in-crm-for-implementing-generic-email-address-in-dynamics-365-and-exchange-online/
https://nishantrana.me/2021/09/28/tracking-email-and-automatic-record-creation-personal-options-in-dynamics-365/
- Now with the queue created private and public both, how do we add records/items to it?
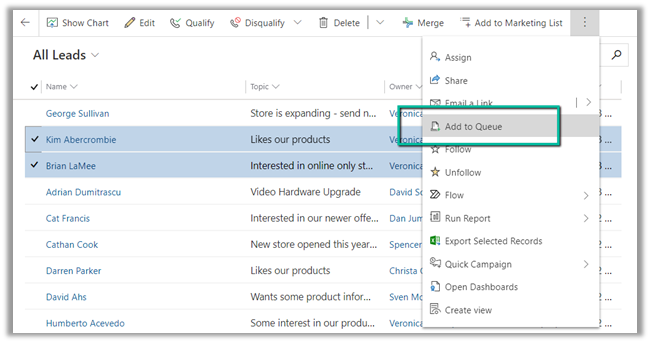
Say we want to add a particular lead record, here we can navigate to view for the lead or open an individual lead record and select the option Add to Queue
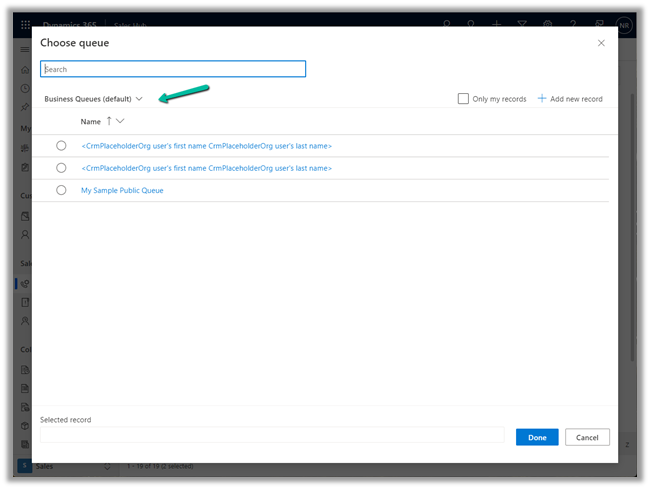
By default, it loads the Business Queues –
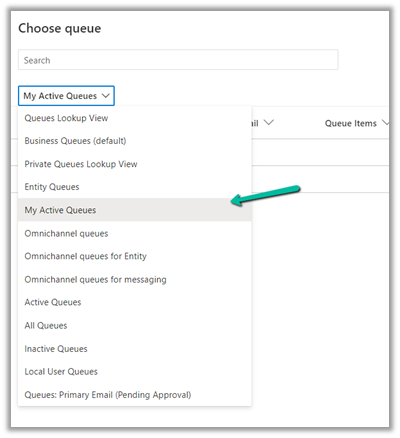
Below are the other Lookup Views available –
Let us assign it to the My Sample Public Queue we created earlier.

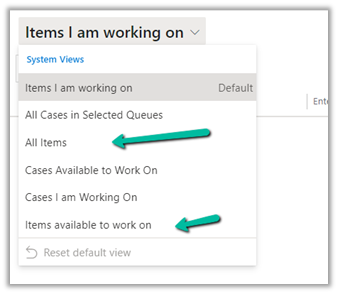
Back in the Queues area, we will have Items I am working on System View and Queues I’m a member of filter set by default.
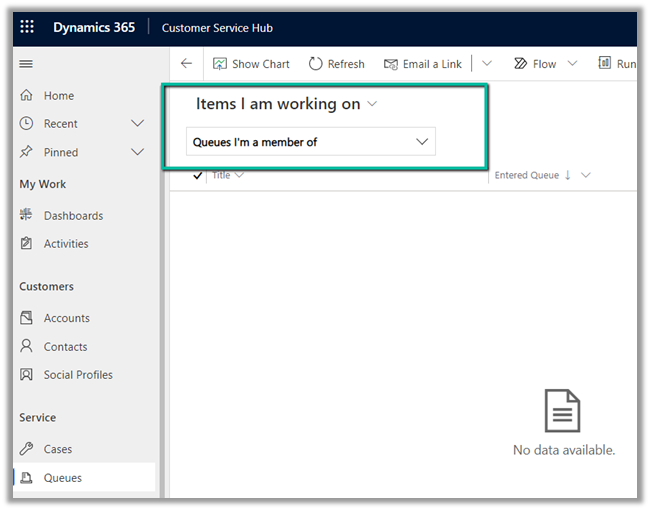
As those are lead records are not yet picked for working on them, they are not available in the above view.
Let us change it to either All Items or Items available to work on and filter to either My Sample Public Queue, All Queues, or All Public Queues for the lead records / queue item to show up.
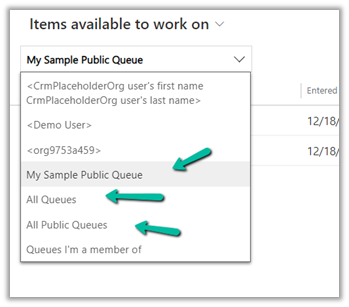
We can see the queue items (lead records) available to work on.

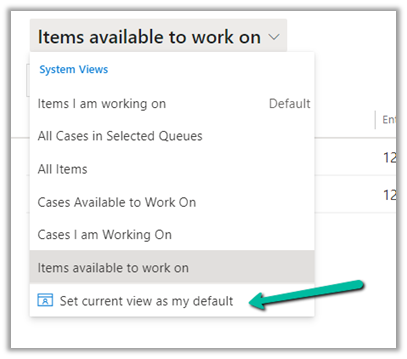
- How can we change the default view for the Queue Items?
By using the Set current view as my default option.
- Can we create more system views or hide the existing ones?
Yes navigate to View (Queue Items) inside the customization area, from there we can create new views, edit, activate, deactivate existing views.

E.g. we can create a new public view, that has filter criteria to show only the records of type lead.


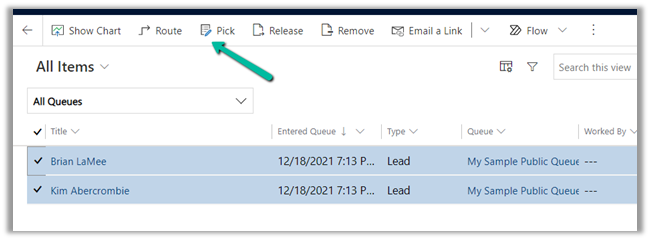
- How do we pick the items from the queue to work on?
Using the Pick command.
- What happens when we pick a record from the queue?
A dialog box appears which informs that the item will be assigned to you and also the option to remove the item(s) from the queue.
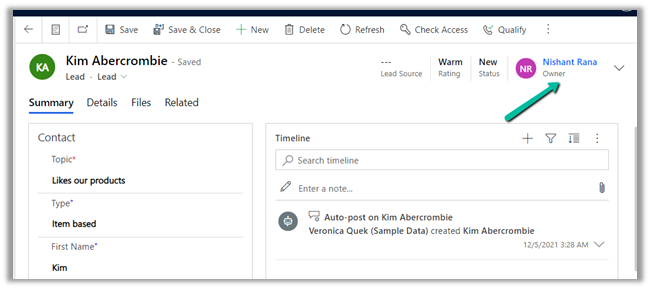
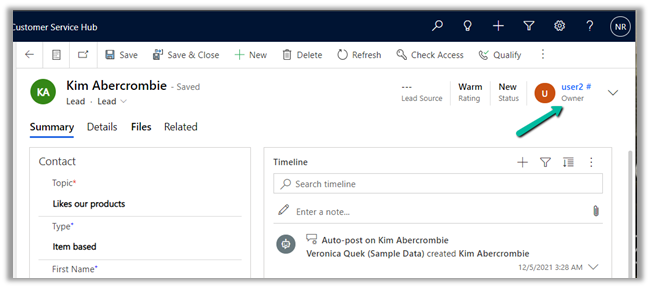
Here we have selected the lead record with Title – Kim Abercrombie.

Let us leave it at No and click on Pick.
We can see the owner getting updated.
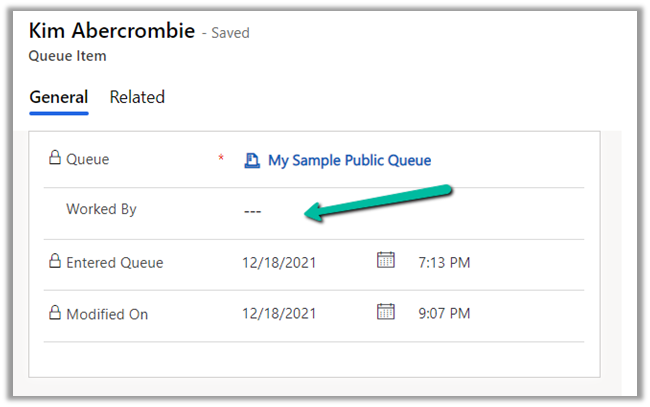
And the below details in the queue item record.

Worked by, Entered Queue and Modified on details updated.
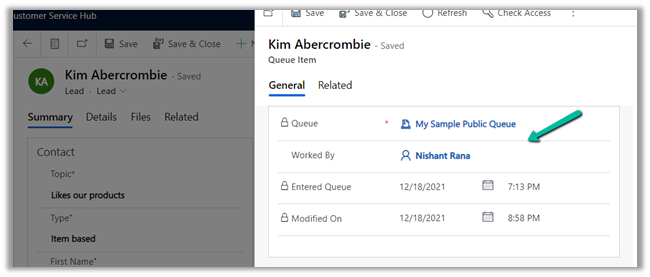
And also as we had opted No for Remove the item from the Queue.
The item will be available on All Items view, but won’t be available on Items available to work on.


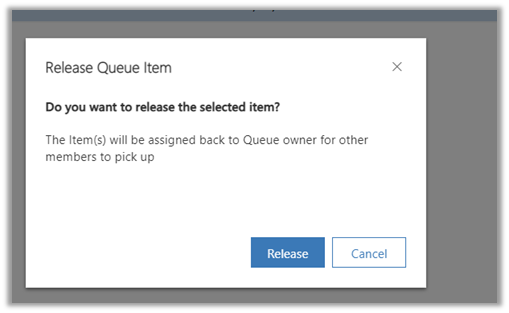
- What happens when we Release the Item?
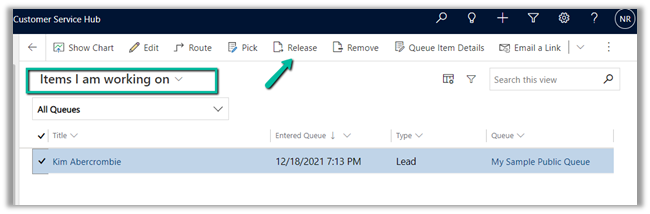
A dialog box appears that informs that the item will be assigned back to the queue’s owner and other members can pick up.
As expected the Item is added back to the queue.

And the Worked By field is set as blank for the queue item.
Also, the owner of the record is set to the queue owner.
- What happens when we Remove the record instead of the Release command?
Now let us pick the same lead record again, and this time we will Remove it instead of Release.
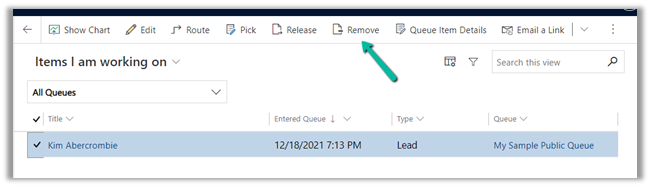
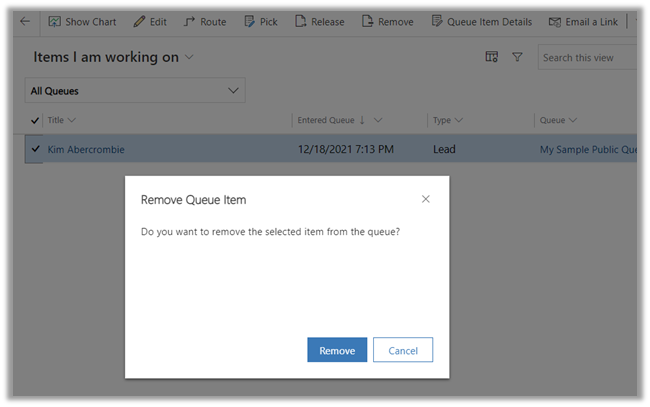
This Remove option removes the Queue Item (a lead record) from the Queue. (My Sample Public Queue) in this case.

On checking the Queue Item Details for the record, we will get the below message.
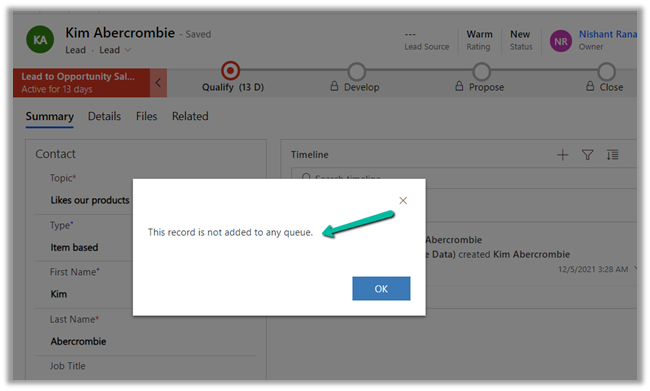
Get all the details here –
https://docs.microsoft.com/en-us/dynamics365/customer-service/work-with-queues
https://neilparkhurst.com/2021/06/02/mb-230-microsoft-dynamics-365-customer-service-queues/
Also check –
https://nishantrana.me/2020/09/18/queue-item-details-change-in-dynamics-365-2020-release-wave-2/
Hope it helps..