Recently we had a requirement to remove an existing plugin, as that was no more required.
Of course, we can simply disable the step here, but then going forward we might end up with too many such plugins and we will always have an overhead to make sure those steps are disabled, whenever we deploy the plugin to other environments,
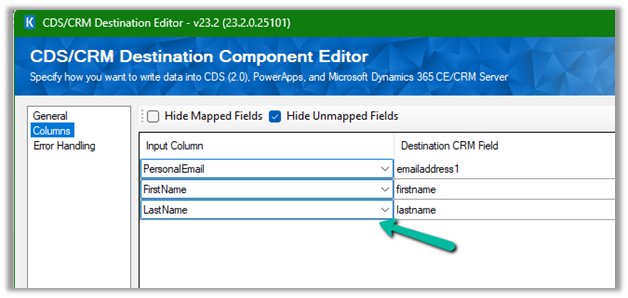
As a first step, we can remove the plugin class from the project, either exclude or delete

Here, if we try to update the assembly we will get the error about the missing Plugin Type.
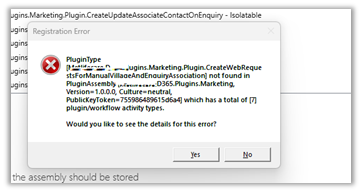
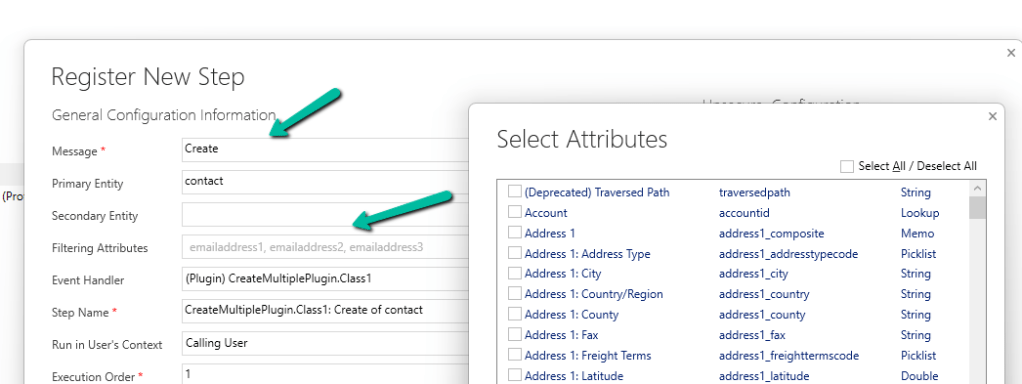
So as a next step, we need to Unregister the plugin from the Assembly through the Plugin Registration Tool.

Now we will be able to update our Plugin Assembly successfully.

Lastly, when we have to move the Solution having this plugin assembly to another environment, we can first remove the same Plugin Type from that environment through the Plugin Registration tool, before importing the solution.
Please refer to the helpful post – https://d365demystified.com/2021/12/19/renaming-or-deleting-a-plugin-in-dynamics-365-crm/
Hope it helps..