2020 Release wave 2 bring the configurable PCF Control, which we can now use for our multiline text input field.
Enable early access to 2020 release wave 2
Check other posts on Release 2020 Wave 2
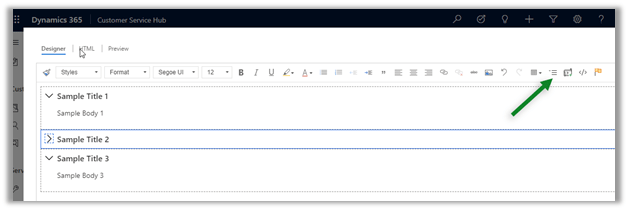
Below we have added the Rich Text Editor Control for the Description field in the Case Form.
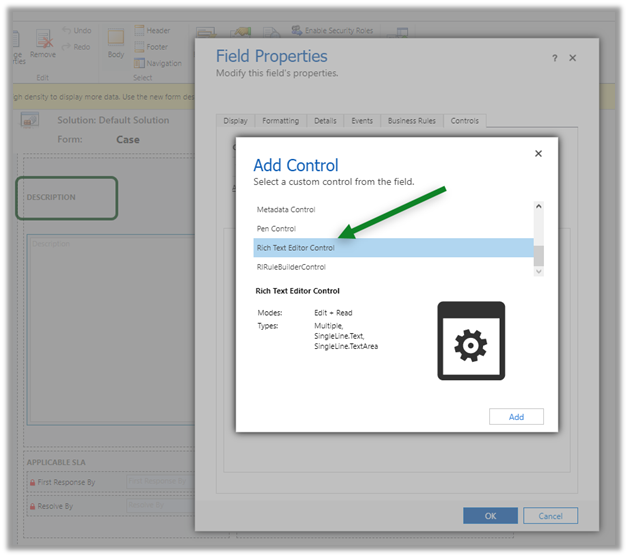
The field properties

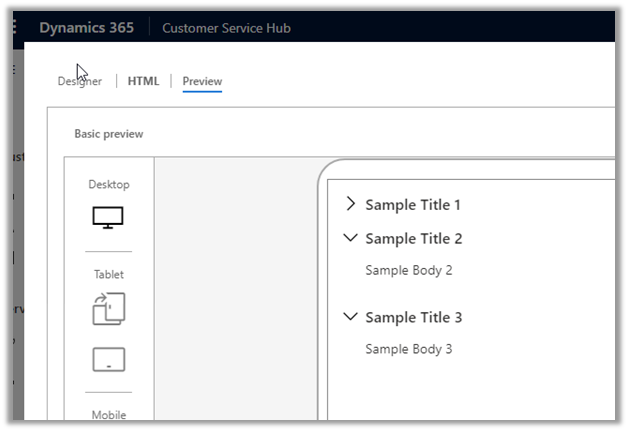
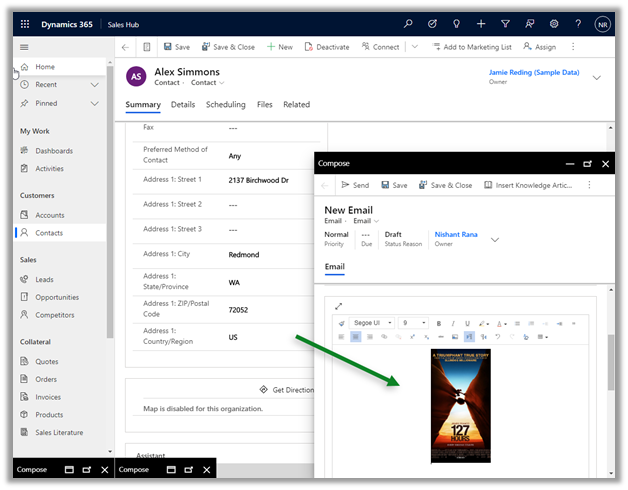
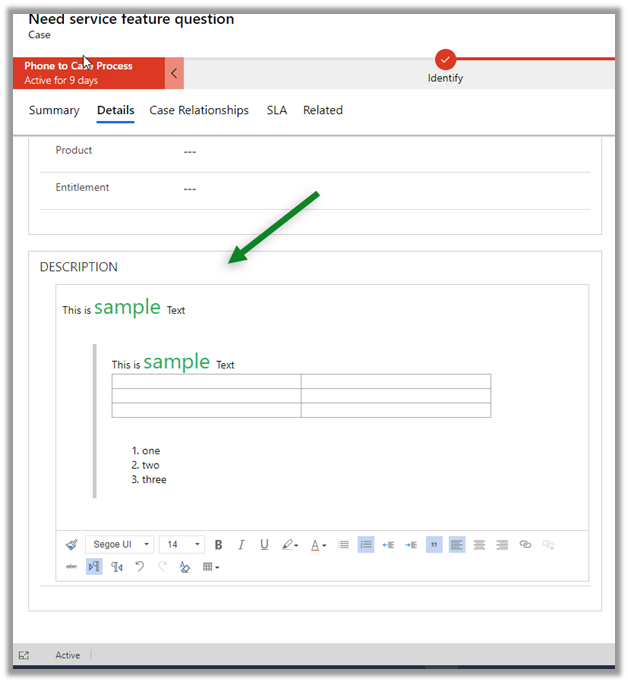
The control within the form with all the options.
We didn’t had the rich text editor control in 2020 Release wave 1.

Dynamics 365 2020 release wave 2 –https://docs.microsoft.com/en-us/dynamics365-release-plan/2020wave2/
Hope it helps..
Advertisements