Cancel Flow Run action which is part of the Power Automate Management connection be used to cancel a running flow along with Terminate.
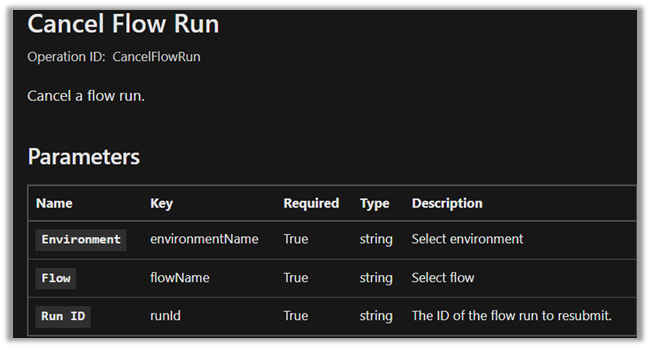
We can specify the below expressions for its parameters as below.
|
Environment |
workflow().tags.environmentName |
|
Flow |
workflow().name |
|
Run ID |
workflow().run.name |
The Cancel Flow Run can be used inside Do Until and Apply To Each control, unlike the Terminate.
If we try using Terminate inside Do Until we will get a similar error message as below.
Request to XRM API failed with error: ‘Message: Flow client error returned with status code “BadRequest” and details “{“error”:{“code”:”InvalidOpenApiFlow”,”message”:”Flow save failed with code ‘InvalidWorkflowRunAction’ and message ‘The workflow run action ‘Terminate’ has type ‘Terminate’ that is not allwed to be nested under an action of type ‘until’.’.”}}”. Code: 0x80060467 InnerError: ‘.

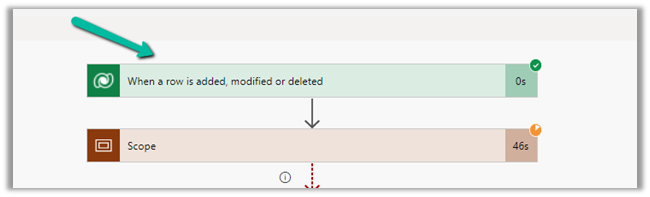
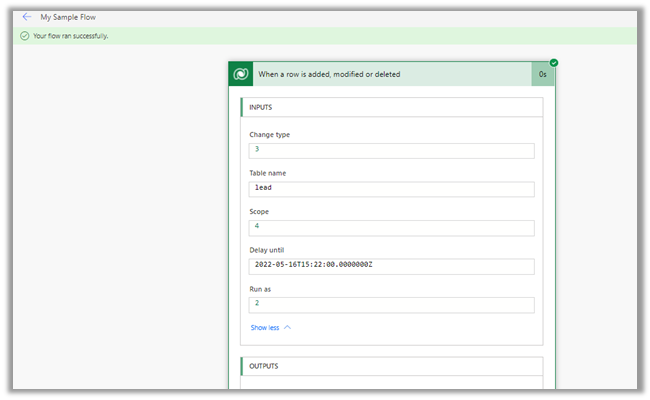
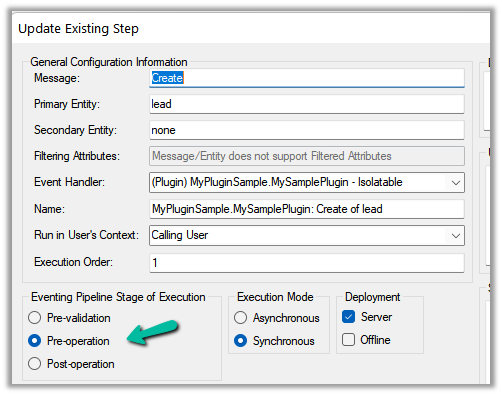
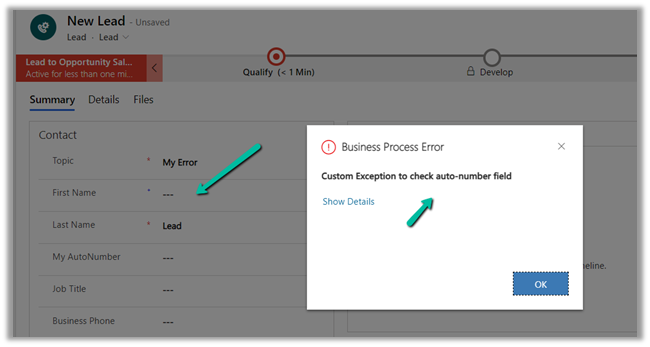
If we have implemented the Try, Catch and Finally block (scope), the Catch and Finally steps will be skipped as shown, on canceling the flow.
Interestingly the steps next to Cancel Flow Run still run.

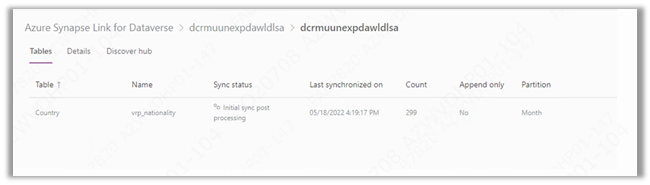
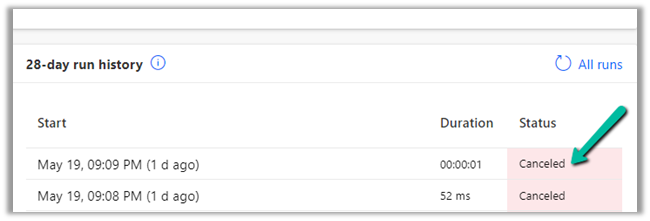
The status will show up as canceled for the flow in the flow history.
Now let us see what happens in the case of Terminate action.
In the case of setting the Terminate Status as Failed – we see the next step skipped along with Catch and Finally.


Let us see in the case of Status = Cancelled
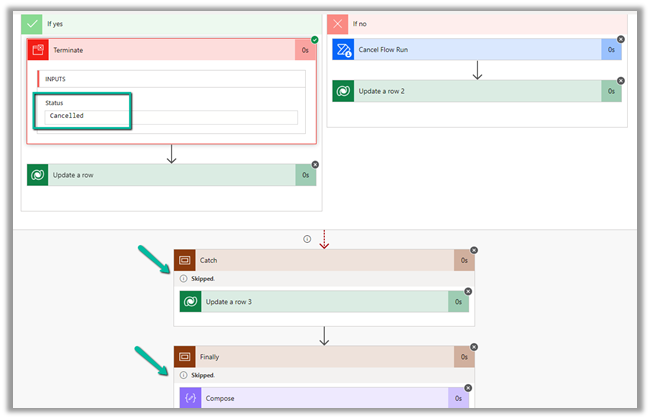
The status will be Canceled.

In the case of Status = Succeeded,

Here the status will be Succeeded.

Do check –
https://sharepains.com/2018/09/11/microsoft-flow-never-terminate-your-flows-unless-you-like-failure/
Hope it helps..