Manage Dynamics 365 Portal Instance


Suppose we have Community Portal configured in our Dynamics 365 Instance.

Now we would like to have Custom Portal instead of Community Portal associated to our instance.

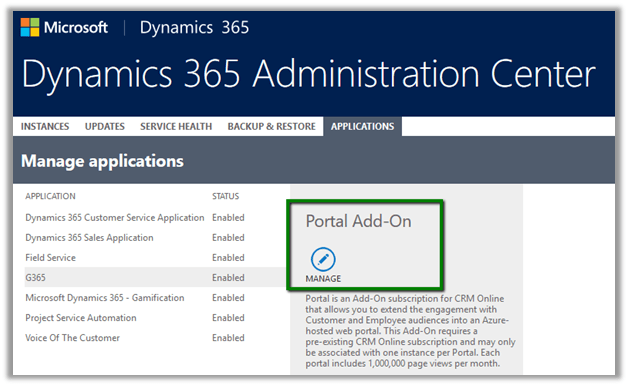
To configure this, we need go to Admin Centre à Select Portal and Click on Manage

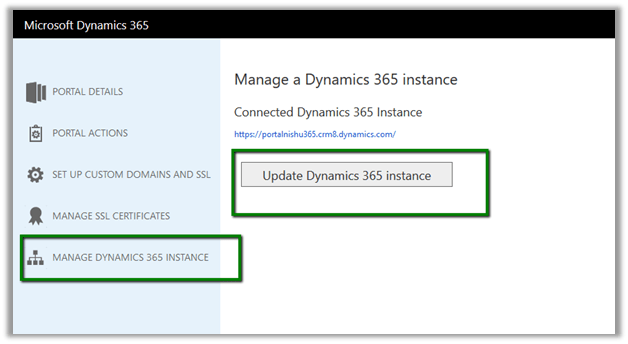
Then select Manage Dynamic 365 CRM Instance and then Update Dynamics 365 Instance

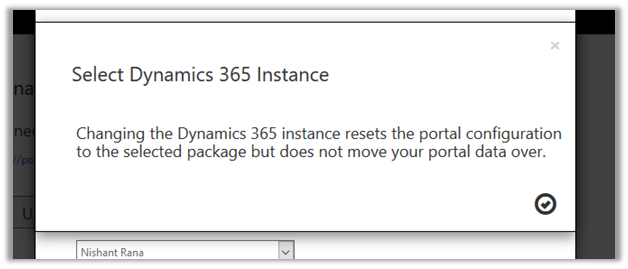
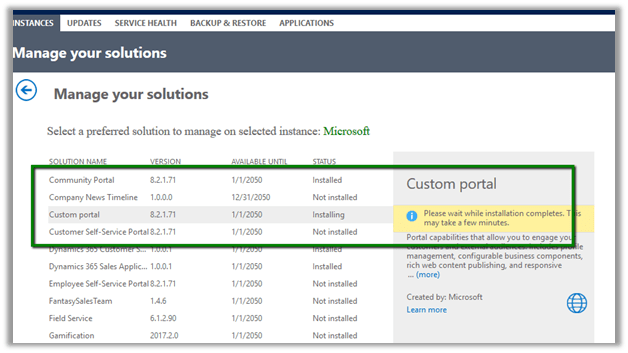
From there we can select the Portal Audience and corresponding Portal to be deployed.

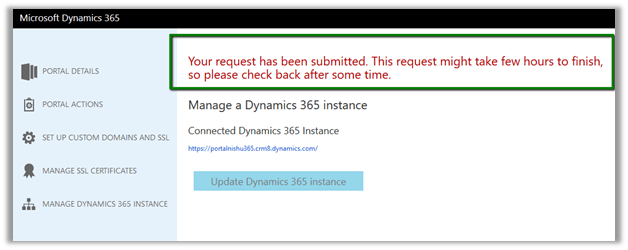
This will install the corresponding portal solution to our CRM Instance.

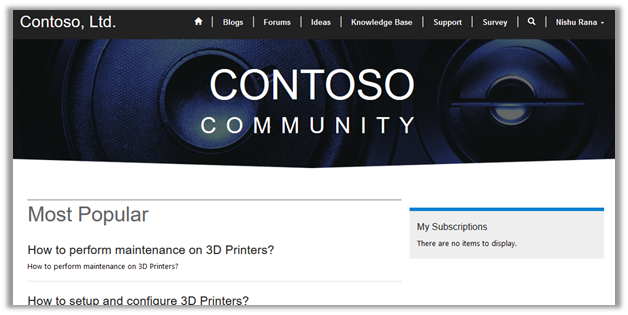
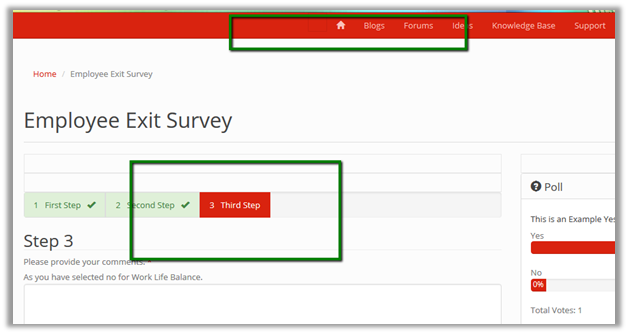
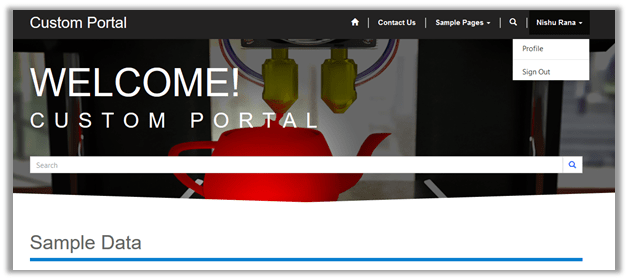
Now our portal URL will show up the Custom Portal instead of Community Portal.

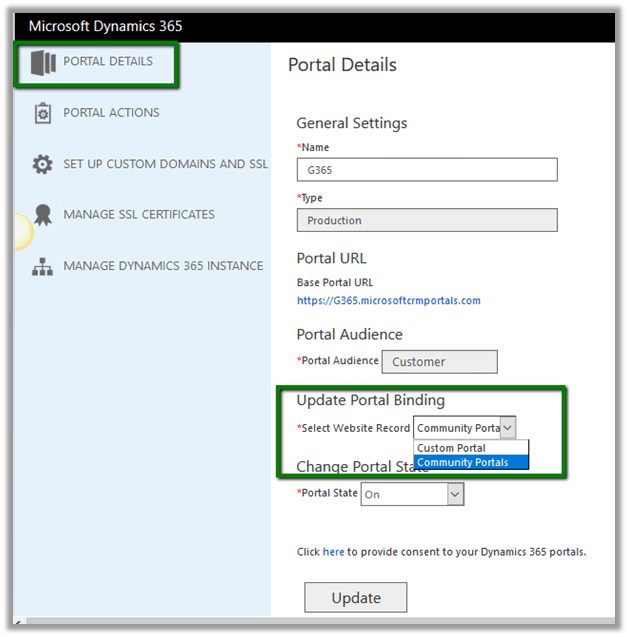
To switch back to community portal, we can select Portal Details and Update Portal Binding to point it to website we want it to bind to.

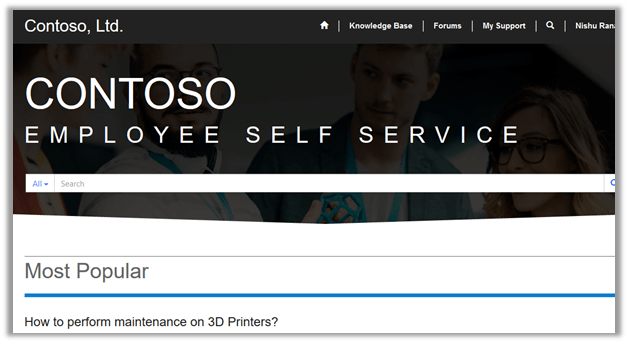
Suppose we have Employee self-service portal deployed to our instance and we would like to update binding to it.

Below we select Employee self-service as the web site record and click on Update.

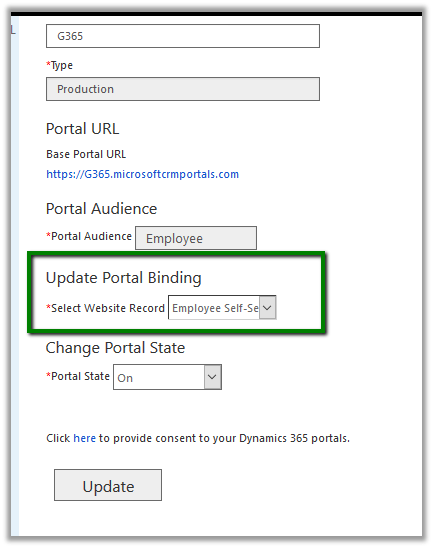
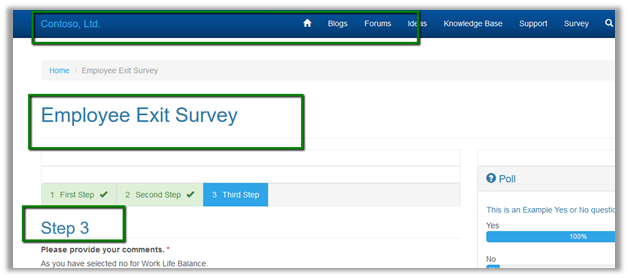
Once update is done, opening the Base Portal URL will open up Employee self-service portal instead of Custom Portal now.

Hope it helps..

Site Settings records specific to Registration in Portal (Dynamics 365)


In Portal, we have few Site Setting records that defines the registration behavior.

By default, if user clicks on Sign In page, we see the below options i.e. Sign In, Register and Redeem Invitation as well as Sign in with an external account.

If we want to disable Local Login then we can set the below Authentication/Registration/LocalLoginEnabled value as false.

This hides the Sign in with Local Account option.

For disabling the Registration option we can set the below site setting record as false.

This hides the Registration tabs from the sign in page

Setting both the above site settings as false, presents the user with the only option of using Azure AD for signing in to the portal.

Hope it helps..

A simple Web Template example in Portal (Dynamics 365)


Let us create a very simple web template that displays logged in user’s name and displays whether the user is in administrator role or not.

The template uses Liquid language

The Web template can be used to define Page Template.

Page template can be of type Web Template or Redirect. Redirect types would be pointing to actual physical aspx page inside the portal.

Now as we have our custom page template defined we can create a new child page in our portal using this new page template.

As we have Use Website Header and Footer checked the page takes it from the web site.

This is how the page renders with our new template

If we uncheck Use Website Header and Footer checkbox, the page renders with only the content (source) defined within the web template.

Apart from being used to define page template, web template can be inserted into the page through editing the copy of the page.

  • Click on Edit

  • Select Insert Template

  • Select the Hello World Template (it also displays the preview) and click Ok.

  • Click on Save

  • This adds our custom web template in the page.

This was a very basic example, please check the below link that contains all the details and real world examples.

https://community.adxstudio.com/products/adxstudio-portals/documentation/configuration-guide/liquid-templates/basics/web-template/

Hope it helps..

Advertisements

Using bootstrap classes and components in Portal (Dynamics 365)


As Portals are based on Bootstrap framework we can make use of classes, components etc. specified as part of the framework in our Portal.

Below we have created a new blank page to which we will add content.

Click on Edit in the content editor.

Click on Edit Source icon.

For reference go to the getbootstrap web site

Below are some of the classes that we will add

Lead Class –

Table table-striped class –

Badges Component

Breadcrumbs

Below is our sample source code

This is how it renders in the page.

Hope it helps..

Applying Theme in Portal in Dynamics 365


Suppose we have the below portal configured whose theme we would like to change.

As Portal is based on Bootstrap framework, we can apply any of free bootstrap themes to it.

Go to the below site which offers few free themes.

https://bootswatch.com/

Here we have download the Cerulean theme’s bootstrap.min.css file.

Now inside the portal home page, create a new child file

Name the file as bootstap.min.css

Basically, this creates a web file in CRM that has the bootstrap.min.css file associated as notes attachment to it. (with Home page as the parent page)

Refresh the portal to see the changes

Another way of doing the same is create a new web file or update the bootstrap file attached as attachment to notes in the existing web file.

Download a new theme file.

Delete the existing attachment and upload this newly downloaded theme file.

Refresh the portal.

The theme here gets applied to all the child pages of Home. If we want a different theme for any of the child pages, we can repeat the same step.

For e.g. we want a different theme to be applied to Blog and its child pages. For this we will create a new child file, upload the theme file.

On clicking on any of the child pages of the Blog we can see the new theme applied only to its child page.

Hope it helps..

Advertisements

Portal Blog Post List