Update -26 – Sep- 2018
https://nishantrana.me/2018/09/26/changing-the-target-runtime-version-of-azure-functions/
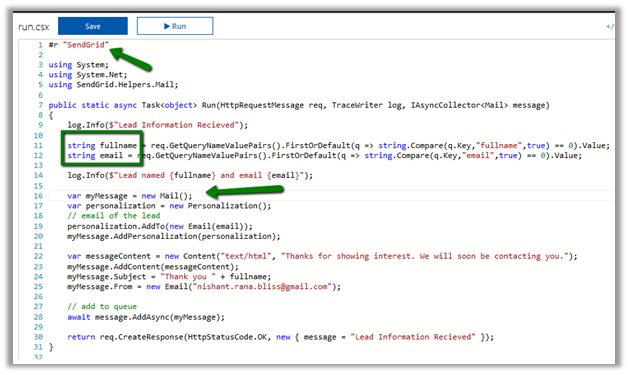
In our previous post we saw how we can invoke CRM from within the Azure Function.
https://nishantrana.me/2017/04/28/call-dynamics-crm-from-azure-functions/
Using that knowledge, let us now write an Azure Function that will run periodically.
Here we will take a simple example of creating a lead record every 2 minutes. Obviously real world scenario would involve much complex scenario like checking the status of all the open records and update them daily something of that sort.
Another way of writing a scheduled job is using Web Job I have written about it over here.
https://nishantrana.me/2017/03/21/dynamics-crm-web-job-and-azure-scheduler/
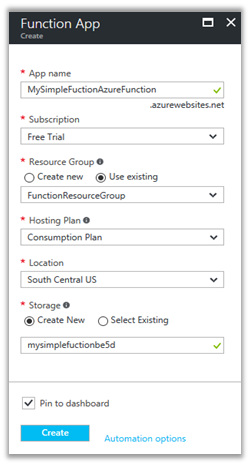
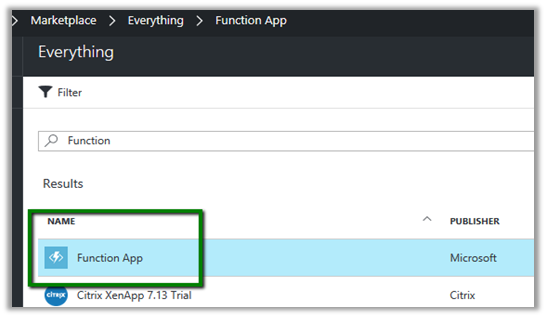
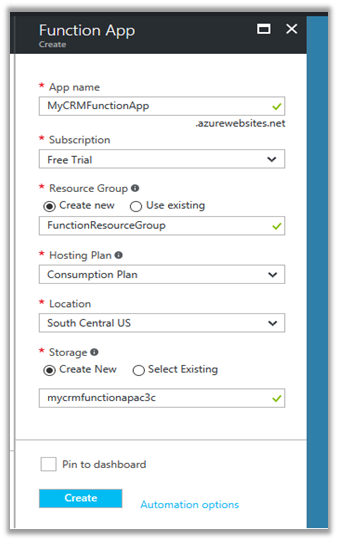
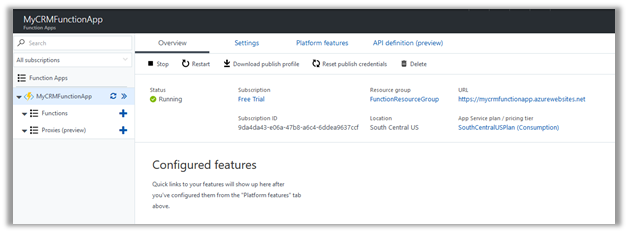
Login to Azure Portal and create a new Function App

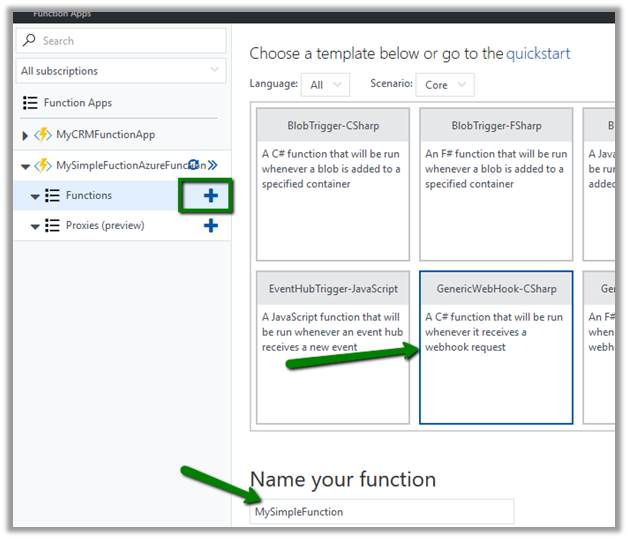
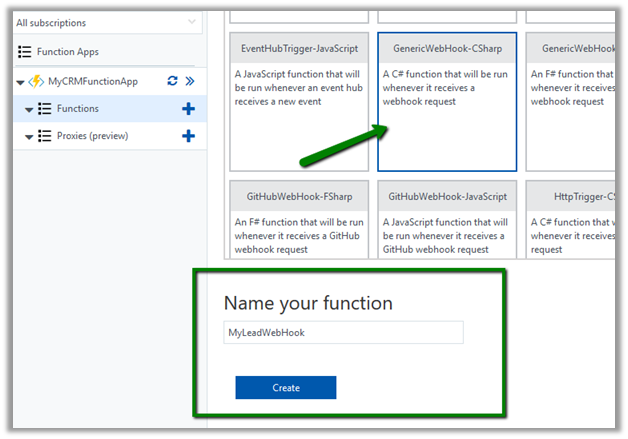
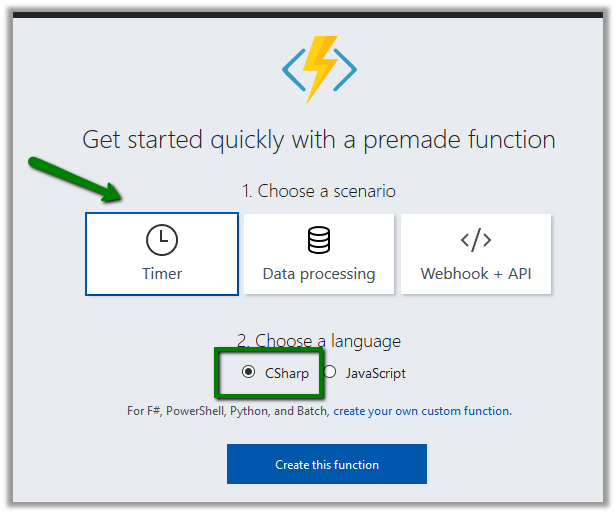
Create a new function with Timer and CSharp template.
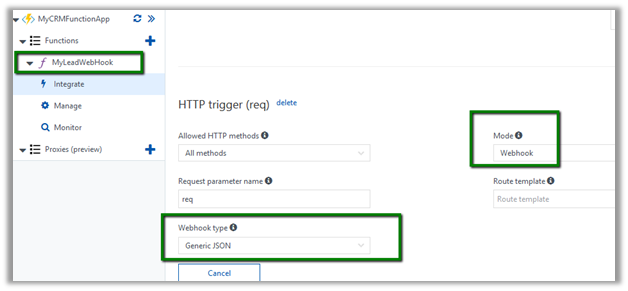
function.json bindings defines the schedule for the timer, it take a CRON expression for value schedule.
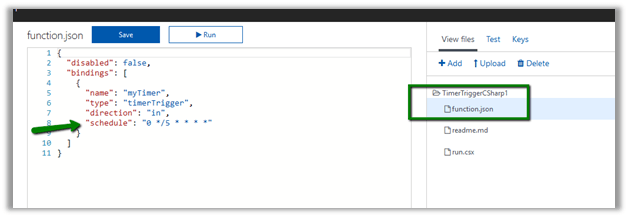
CRON Expression format: –

If we want it to run every 2 minute
 ‘
‘
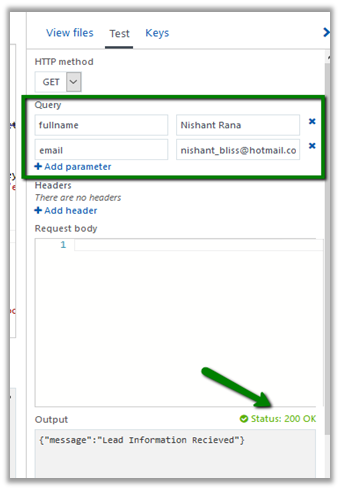
Back to our code let us click on Run and test it.

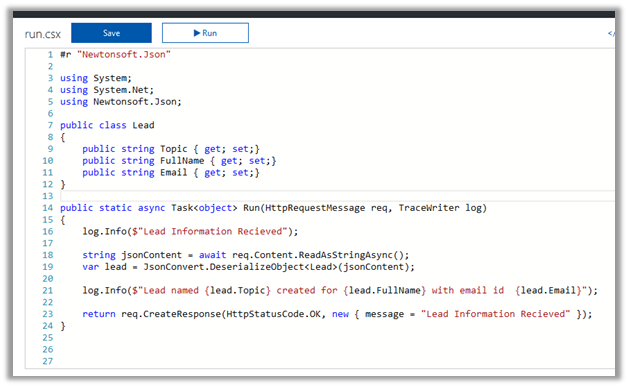
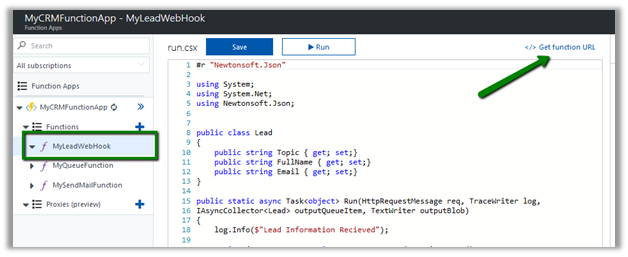
Now let us quickly plumb the code to create Lead in CRM.
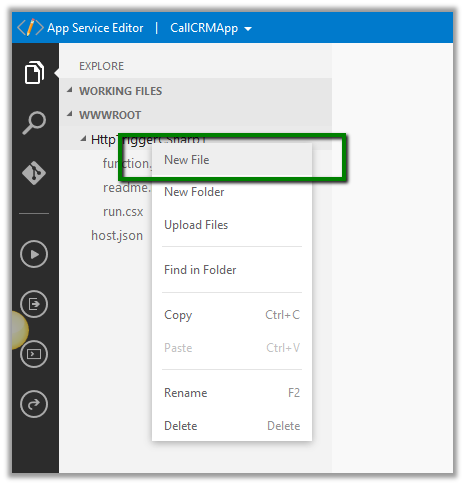
Go to App Service Editor for the Function App and add new a file named project.json which refers to the CRM Nuget Package.


Sample code that creates the lead record in CRM.
using System.Net;
using Microsoft.Xrm.Sdk;
using Microsoft.Xrm.Sdk.Client;

public static void Run(TimerInfo myTimer, TraceWriter log)
{
IServiceManagement orgServiceManagement = ServiceConfigurationFactory.CreateManagement(new Uri("https://nishutrial.crm.dynamics.com/XRMServices/2011/Organization.svc"));

AuthenticationCredentials authCredentials = new AuthenticationCredentials();
authCredentials.ClientCredentials.UserName.UserName = "test@test.onmicrosoft.com";
authCredentials.ClientCredentials.UserName.Password = "*******";
AuthenticationCredentials tokenCredentials = orgServiceManagement.Authenticate(authCredentials);

OrganizationServiceProxy organizationProxy = new OrganizationServiceProxy(orgServiceManagement, tokenCredentials.SecurityTokenResponse);
Entity lead = new Entity("lead");
lead.Attributes["subject"] = "Lead Created at" + DateTime.Now ;
organizationProxy.Create(lead);

log.Info($"C# Timer trigger function executed at: {DateTime.Now}");
}
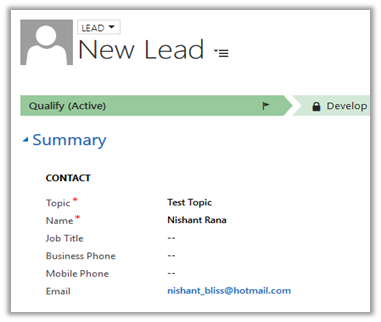
Inside CRM

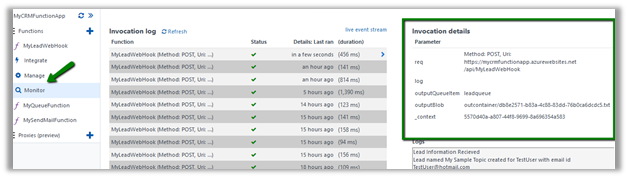
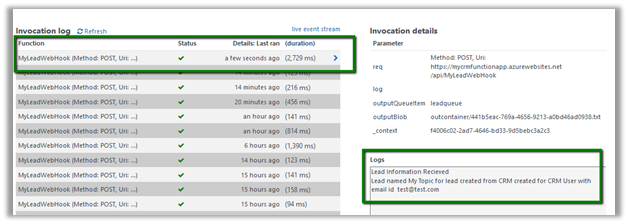
To monitor our Azure Function please select Monitor

Click on live event stream to monitor it real-time.
To stop or disable the function, select Manage and click on function state Disabled.


Hope it helps..