Using IntelliSense with Kupp Code Analytics


In the previous posts, we covered the Key Features and Capabilities of Kupp Code Analytics and the Installation and Setup of the Visual Studio Extension.

In this blog post, we’ll cover one of its key features – IntelliSense.

As we saw in the last post the Kupp Analytics tool will download and cache the Metadata of the environment it is configured to, which it uses for IntelliSense.

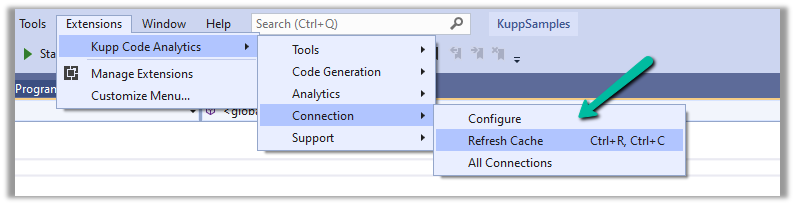
To refresh the Metadata cache, or configure and manage the connection, navigate to Extensions >> Kupp Code Analytics >> Connection

Let us look at different places where we get the IntelliSense.

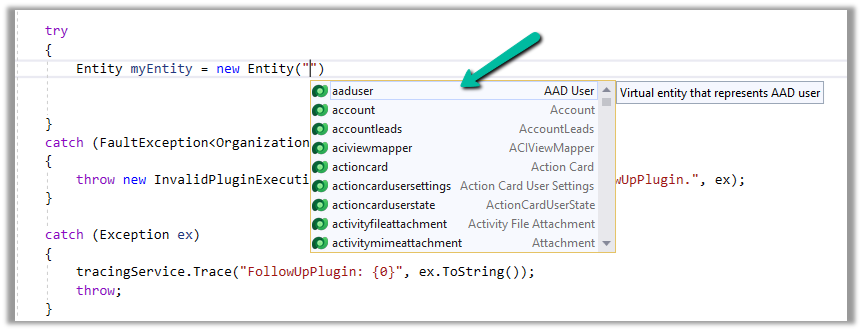
Starting with the entity or table, we can see it suggesting all the tables in that Environment.

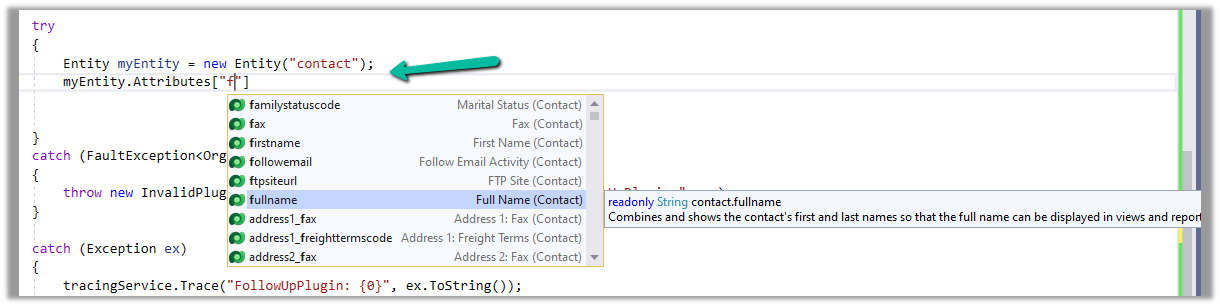
If we have specified the entity name, when it comes to attributes or columns, we can see it suggesting all the attributes specific to that table.

Getting attributes with specific type lists only attributes having the same type.

For EntityReference – we can see it suggesting all the lookup fields.

Same for Money

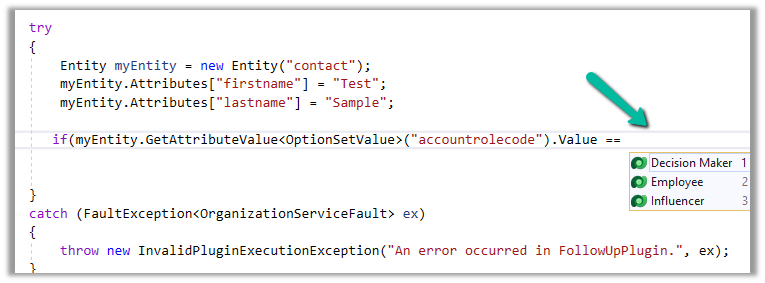
And for OptionSetValue

It also suggests the attribute’s value in the case of Option Sets

IntelliSense also applies to Relationships, we can see it suggesting only contact-related relationships.

Apart from our Plugin and Console Applications (C#), we have the Intellisense feature available for our client-side code as well (JS/TS).

To configure we can navigate to Options >> Kupp Code Analytics >> General

Currently, the IntelliSense support is limited to retrieve operation only.

It suggests,

the name of the entity –

different query options

attributes specific to the entity –

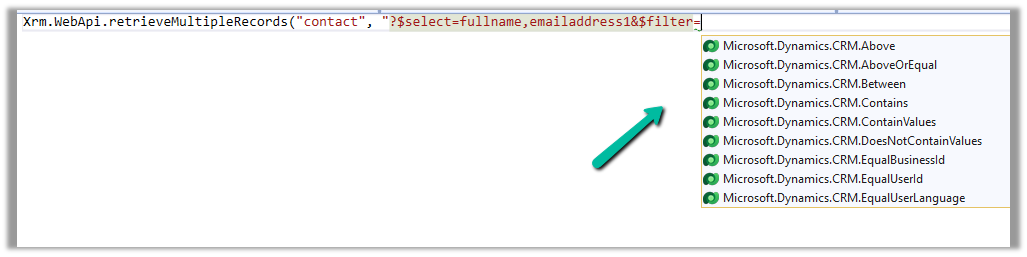
Filter
operators

Query
functions

Thus using the IntelliSense feature that provides real-time suggestions, the development team can code efficiently, reduce typing errors, develop faster, and maintain code consistency.

Get all the details here –

https://docs.kuppsoft.com/Kupp-Code-Analytics/CA-Reference/CA-IntelliSense-(.NET)

https://docs.kuppsoft.com/Kupp-Code-Analytics/CA-Reference/CA-OData-IntelliSense

Hope it helps..

Advertisements

Fixed – The ‘CreateMultiple’ method does not support entities of type ‘none’. MessageProcessorCache returned MessageProcessor.Empty in Dataverse / Dynamics 365


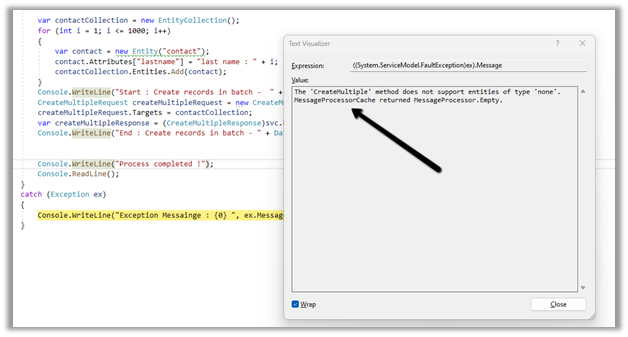
Recently while trying to use the new CreateMutipleRequest message we got the below error –

“The ‘CreateMultiple’ method does not support entities of type ‘none’. MessageProcessorCache returned MessageProcessor.Empty”

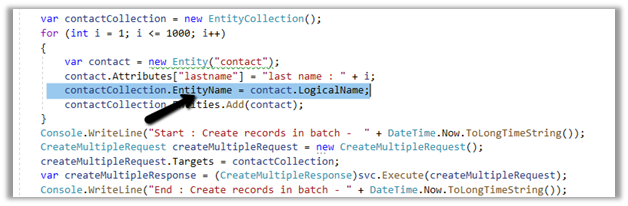
It was because we were not populating the EntityName property of EntityCollection class. Specifying it fixed the issue.

Hope it helps..

Advertisements

How to – Create an Automated low-code plug-in (Dataverse) (experimental)


In the previous post, where we installed the Dataverse Accelerator app and saw how to write basic low-code Instant Plugins.

Here we’d look at the Automated low-code Plugins.

Select the New Plugin option in the Dataverse Accelerator app to create Automate Plugins.

We get the option to select the table, the event, define the behavior of the plugin using Power FX, specify pre or post-operation, and the solution as shown below.

To keep it simple, we have created a plugin on pre-operation that checks for null, the email address field in the Contact record on Create, and if blank throws an error.

On trying to create a contact record without an email address, we get the exception as specified in the plugin.

That’s all we are done with our plugin.

Now interestingly if we check our solution specified, we will not find our plugin there. We need to add them to the solution manually right now, here we need to look for FxExpression.

Read more about it here – https://debajmecrm.com/how-to-write-plugins-in-dataverse-using-low-code-powerfx-functions/

And all the details here

Hope it helps..
Advertisements

How to – Create an Instant low-code plug-in (Dataverse) (experimental)


Low-code plug-in is a new experimental feature released by Microsoft, for early adopters, not meant to be used in production. As per Microsoft, “the experimental features can change radically or completely disappear at any time“.

There are 2 types of low-code plug-ins we can write – Instant and Automated.

Instant plug-ins are triggered manually and support parameters, whereas automated plug-in as the name suggests, runs when a particular event (create, update, or delete) occurs on a table and they do not support parameters.

As a prerequisite, we need to first install the Dataverse Accelerator

We can install it from Admin Center >> Resources >> Dynamics 365 Apps

Or from the App Source, look for Dataverse Accelerator and click Get in now.

https://appsource.microsoft.com/en-us/product/dynamics-365/microsoftpowercatarch.dataversekit1?exp=kyyw

Specify the Environment to start the installation. (Should take around 5 minutes)

Open the Dataverse Accelerator App.

Click on + New plugin for the Instant Plugins

Provide the display name and the description for the plugin, and also select the appropriate solution.

We can specify optional Input and Output parameters along with the Expression that uses Power FX formulas to define the logic for the plugin.

Our sample plugin takes City as the Input Parameter and returns the total number of contact records having that same city.

Save the plugin and click on Test.

Provide the value for the input parameter and click on Run.

We can see the status as Success and the output parameter Result having a value of 4.

This completes our plugin.

Now to use it, click on the Integrate tab.

The tab provide us the required details.

We can copy the Power FX expression and use it inside the Canvas App.

We get the output as expected.

Below we are calling it from within the Power Automate Flow from a Perform an unbound action

The result –

Get more details and Check out the known limitations

Hope it helps..

Advertisements

Send bulk email / direct email to Customers – Dynamics 365


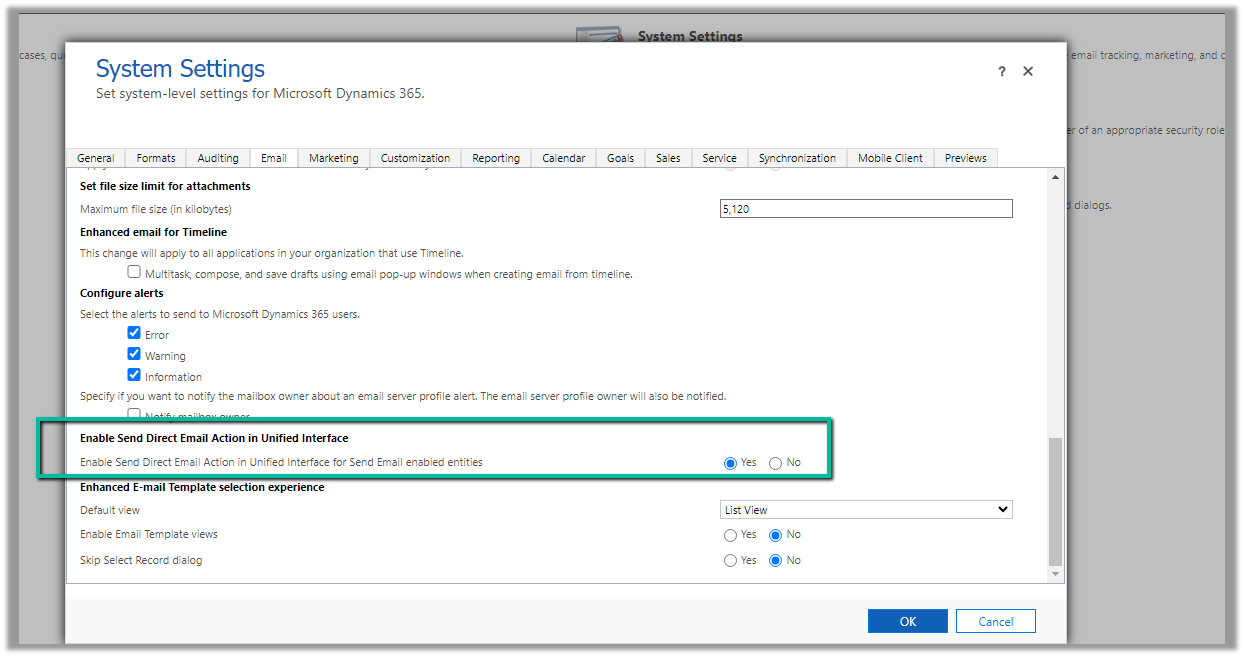
To enable the option of sending bulk email / direct mail in Unified Interface, we can navigate to Settings >> Administration >> System Settings >> Email >> Enabled Send Direct Email Action in Unified Interface

Now on selecting the record(s) of email enabled table, we get the option “Send Direct Email”

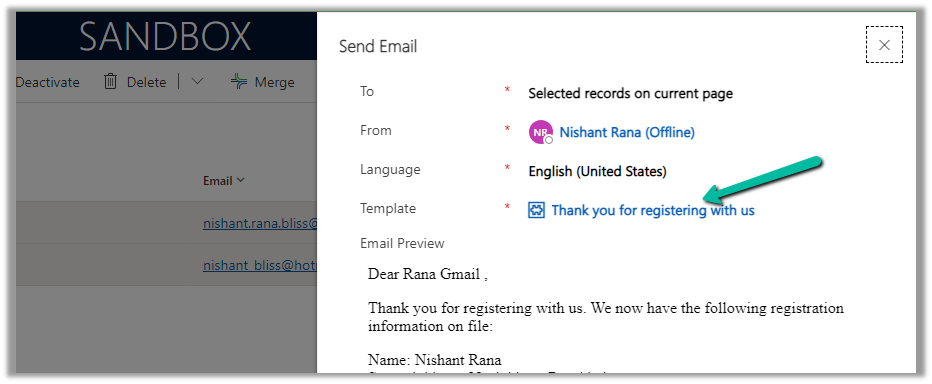
We can also specify the Email Template and preview the content before sending.

We can see the mail received in the Hotmail account from the CRM user’s email id/mailbox configured.

Here the end-user has also replied to the email.

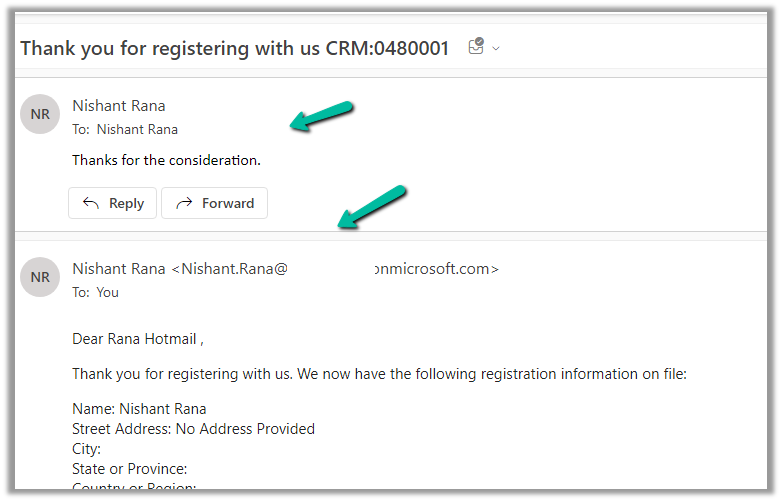
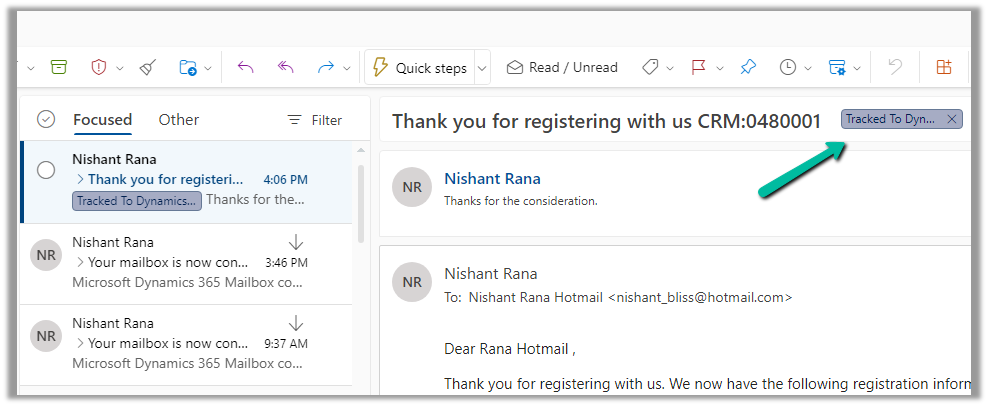
We can see the response / reply automatically “Tracked to Dynamics 365” in the CRM user’s outlook. (based on the CRM user’s Personal Options setting)

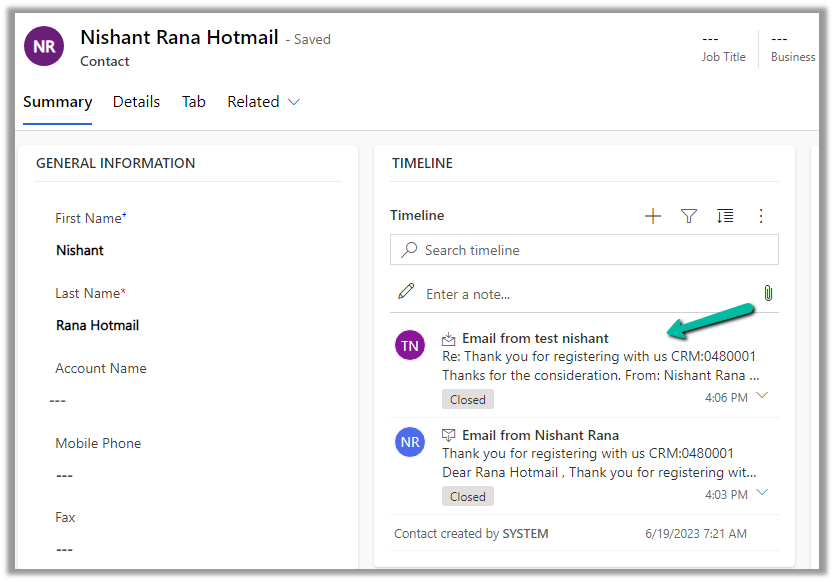
Which creates Email activity (closed status) in the corresponding contact record inside CRM.

More on Tracking Email

Hope it helps..

Advertisements

Fixed – The domain where this form is embedded might not be enlisted as a domain record for externally hosted forms in Dynamics 365 Marketing


Recently we were getting the below issue for our Marketing Forms hosted on an external website on a particular authenticated domain. The pages were working fine in other authenticated domains.

The domain where this form is embedded might not be enlisted as a domain record for externally hosted forms. Otherwise, a browser extension or plugin may be blocking this form from loading. Review and reload form to continue.”

This particular domain was also shown as authenticated in our Dynamics 365 marketing.

Our website was e.g. https://www.domain.kiwi/ so we had domain.kiwi authenticated in Dynamics 365 Marketing.

Eventually, we had to raise a Microsoft Support Ticket and were instructed to add/ authenticate www.domain.kiwi   (with www.) also, doing so resolved the issue for us.

Also, there seemed like a UI bug in the Marketing which will cut out “www.” automatically when trying to authenticate the domains.

Hope it helps..

Advertisements