Problem
The Microsoft Flow Approvals connector does not support sending approval requests to groups today or distributed groups.
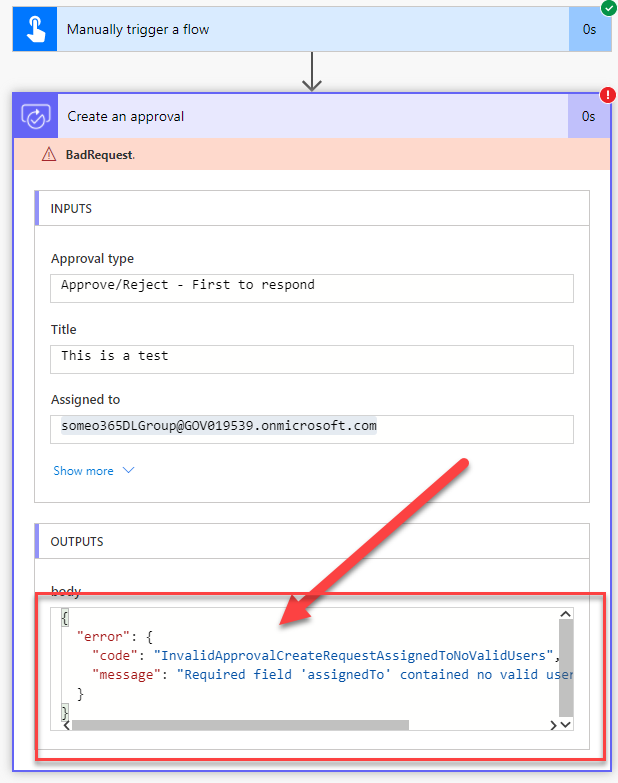
To demonstrate the issue I have a sample distributed list (DL) group ‘SomeO365DLGroup’.
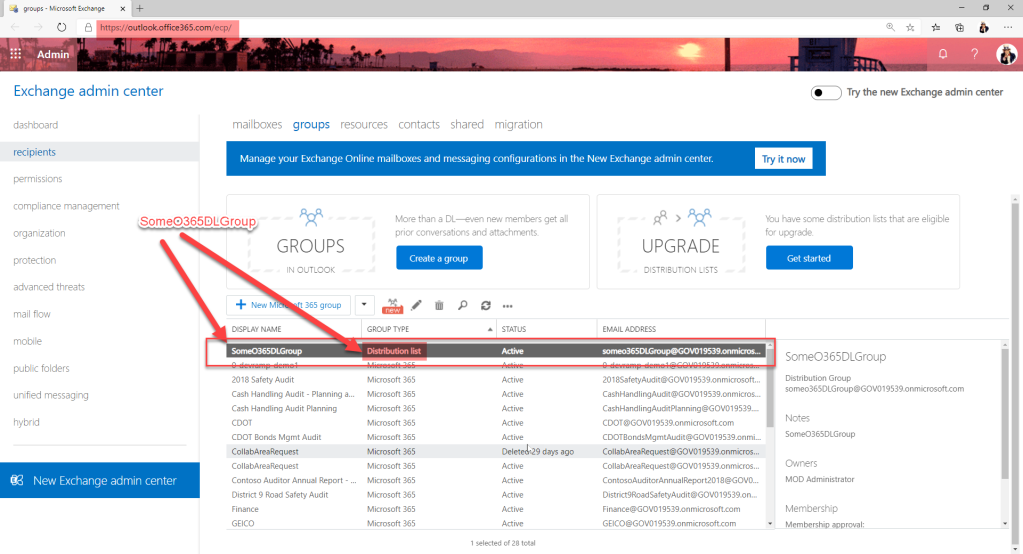
The DL group has the following members.

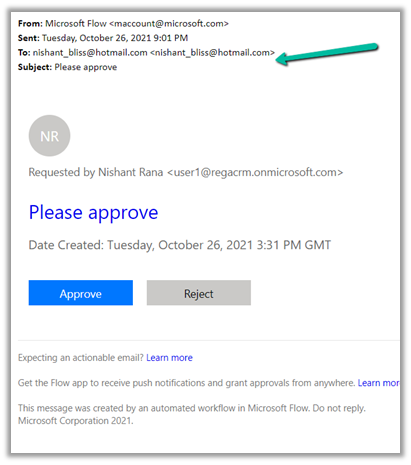
Created a sample manually triggered flow to send and approval with the DL ‘someo365DLGroup@GOV019539.onmicrosoft.com’. I got the following error.
{
"error":{
"code":"InvalidApprovalCreateRequestAssignedToNoValidUsers",
"message":"Requiredfield'assignedTo'containednovalidusersin
theorganization"
}
}
Step by Step Solution
There is an alternative approach, first to get list of members email from the DL group. We will use the “Office 365 Groups” connector with “List group members” action. The action requires to use the group ID.
Step # 1 : Using Azure AD portal get the group id of the distributed list.

Step # 2 : Create a…
View original post 180 more words